CSBCryoEMFacilityTF20OperatingInstructionsSEC
05/02/16
13. Verify that the clip ring is securely held in place with the cold black rod (clipring should not
move). If clipring is loose, cool down the knob end of the clipring tool and gently press on the
clipring.
14. Closetheshieldonthecryoholderandremovethetoolsfromthetransferstation.
15. ContinueaddingLN2asneededtothecryotransferstationbutdonotoverflow.
16. Tightenthegridboxlidandremovefromtransferstation.
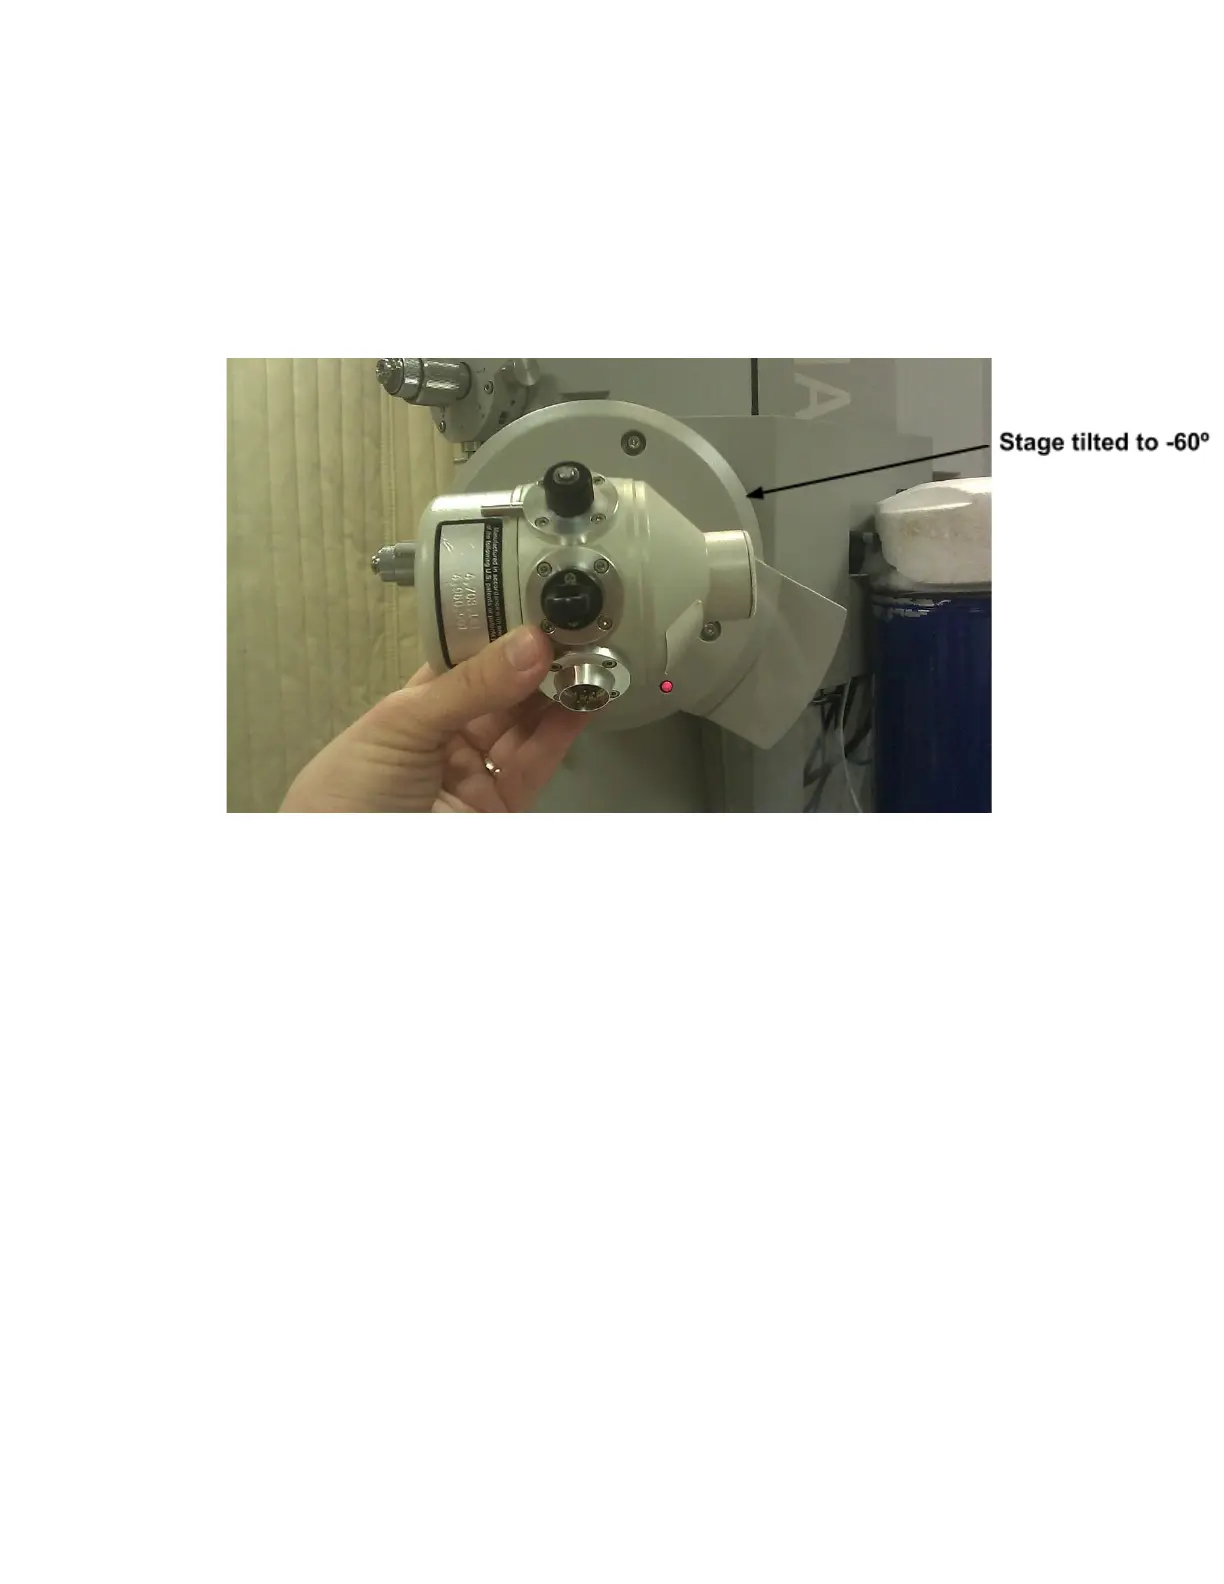
17. Carefully remove the cryo holder from the transfer station and insert it into the microscope.
18. The guide pin on the cryo holder will be at the 12 o’clock position and must be quickly rotated
clockwisetothe3o’clockpositionsothattheairlockistriggeredandthepre
pump begins. When the position of the holder is correct, the holder will slide into the airlock
about1inchfurther.
19. SelecttheSTCryoholderoption(bottomoftheTecnaiUserInterface).
20. Waitfortheairlockpumpingcycletofinish(6090s)asindicatedbythetimerontheUI.
21. When the holder is upright, reset the stage tilt to 0° by going to the Search tab, flapout window,
Controltab,AlphatoggleandclickSetAlpha(thiswillreturnthestageto0°).
22. Gentlyallowthevacuumtopulltheholderintoposition.
23. Refill the dewar on the cryo holder. Use the debubbler (rubber stopper with tubing) to remove
theanyexcessLN2fromtheneckofthecryoholder.
24. Remove any remaining LN2 from the transfer station and allow the tools used to warm up and
dryoff.
25. Wait ~1015 minutes before opening the column valves. Because there is a lot of movement
happening during insertion, the grid will drift a lot until it settles down. Ideally the column
vacuum(IGP1)willreturnto6beforeviewingthesample.