ChallengerPlus Installation and Quick Programming Manual 11
2. Insert the bracket with tamper switch into the 1 cm slot on top left-hand side
of the enclosure (for example, Figure 4 on page 9, item 3).
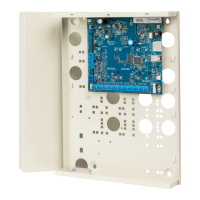
To mount the Challenger board to the enclosure:
1. Remove the Challenger board from its antistatic bag.
2. Use M3 x 14 pan head screws to fix the Challenger board to the enclosure’s
standoffs (for example, Figure 4 on page 9, item 2).
3. Slide the board’s terminal connectors together and mount them to the board.
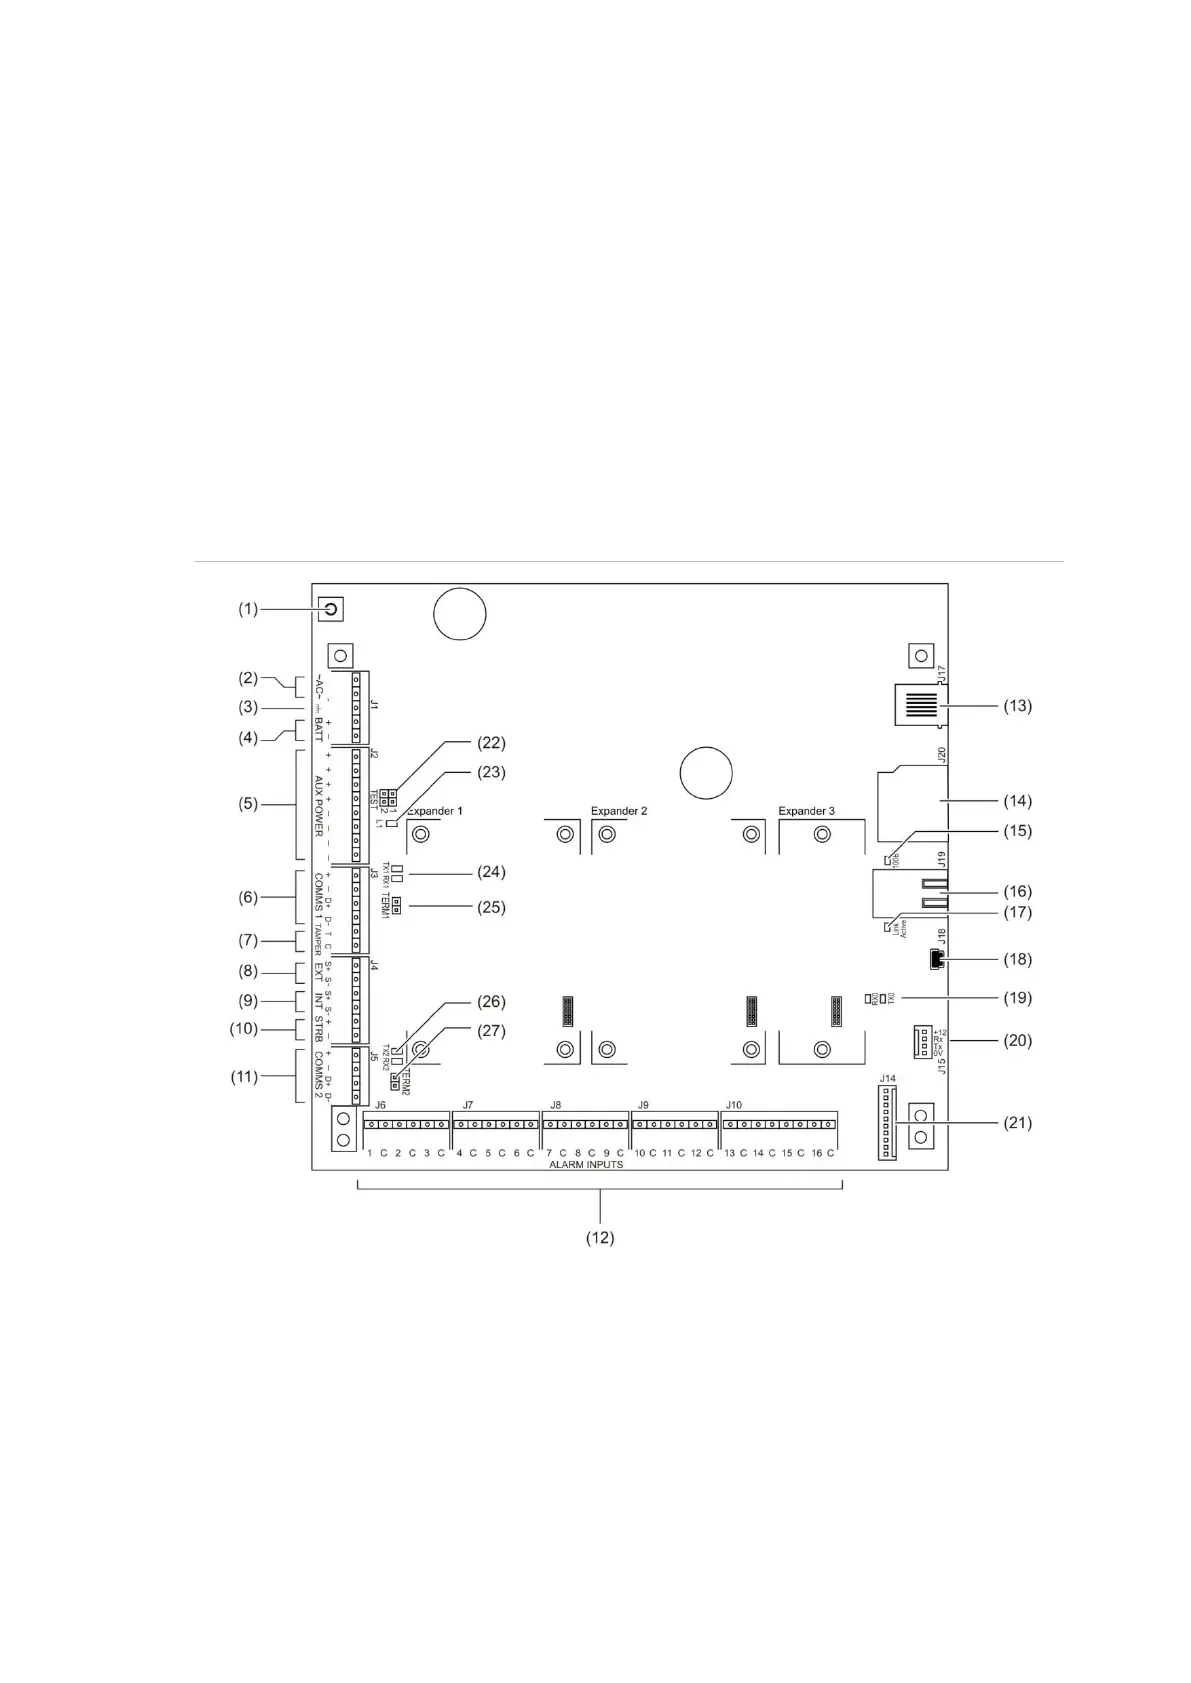
Board details
See Figure 5 below for the TS-CHPLUS ChallengerPlus panel.
Figure 5: Model TS-CHPLUS board details