7
STEP
2
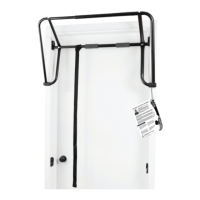
Assemble Table Bed to A-Frame
• Position the A-Frame on the floor with the crossbar pointing down,
so that the frame is resting on the Rotation Adjustment Arms
(Figure 4).
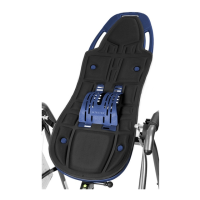
• With the Table Bed face up and the top of the bed pointing to the
A-Frame feet, slide it on the floor between the legs of the A-Frame.
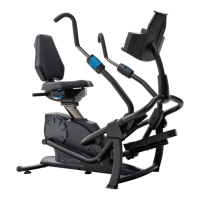
• Loosen the “de-rattler” function of the Pinlock Knobs on each Support
Housing by turning each counterclockwise (Figure 5).
• Align and insert the Rotation Adjustment Arms into the Support
Housings (Figure 6).
• Pull out both spring-loaded Pinlock Knobs at the same time then lift
up to align the Support Housings with one of the marked settings on
the Rotation Adjustment Arms (Figure 7).
NOTE: Refer to the Owner’s Manual for an explanation of the hole
settings. If you are unsure, use Setting C to start.
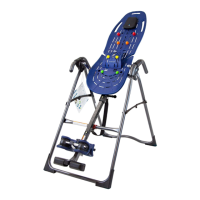
• Release the knobs so that they engage the same hole setting on each
side (Figure 7). Should the knobs remain locked in the “out” position,
simply rotate slightly clockwise to release (Figure 8).
• Leave the inversion table in this position for the next step.
FIGURE 5
FIGURE 6 FIGURE 7
FIGURE 8
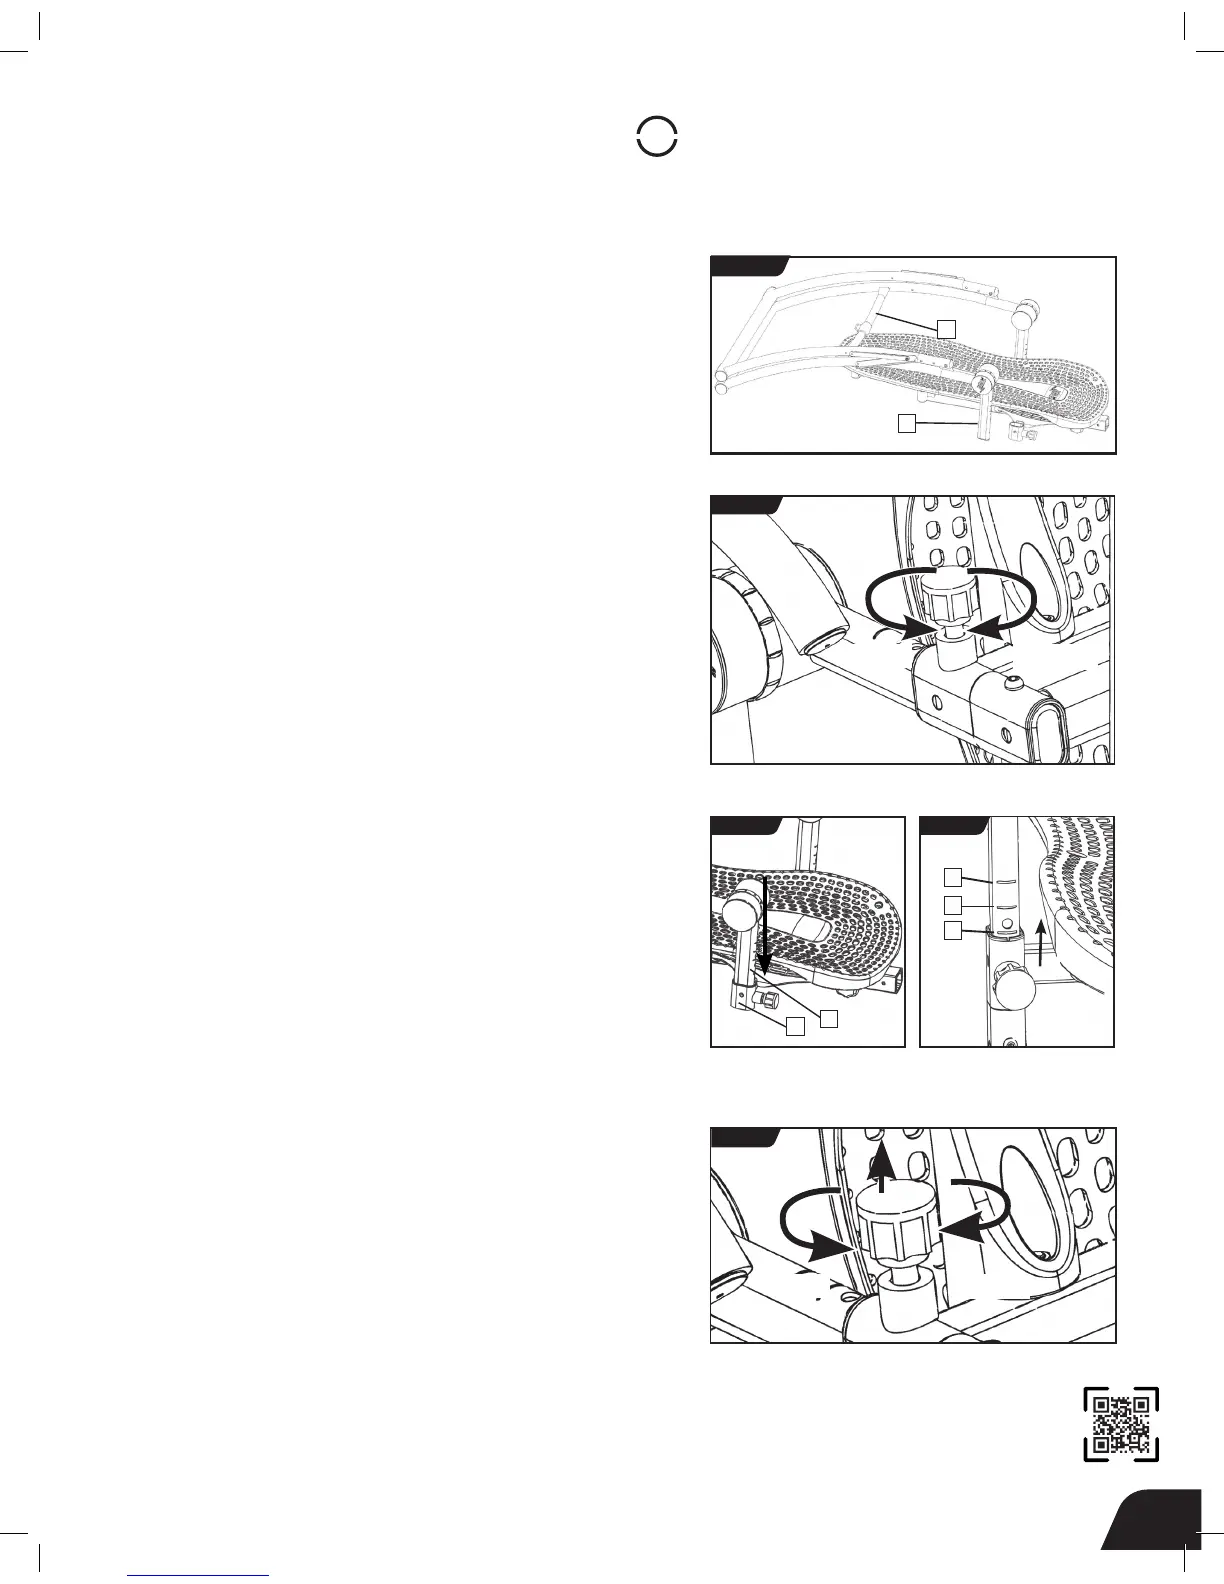
1 - Crossbar 2 - Rotation Adjustment Arm
FIGURE 4
Loosen Tighten
2
1
Derattler Function: Counterclockwise to loosen, clockwise
to tighten
1
1 - Support Housing
2 - Rotation Adjustment Arms
A
B
C
Lock Release
Pinlock Function - Pull out, turn counterclockwise to lock,
clockwise to release
2