10
STEP
5
Table Bed Assembly
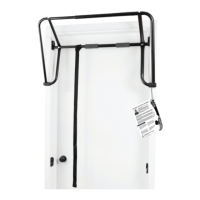
FIGURE 12
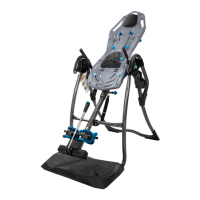
FIGURE 14
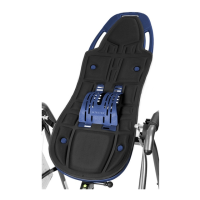
FIGURE 13
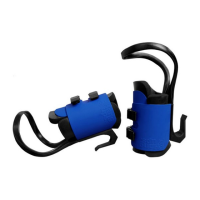
FIGURE 14a
NOTE: Do not detach the Bed Frame Extension from the clips.
• Locate the Table Bed Assembly Hardware Kit (HK1006)
• Lay the Upper and Lower Portions face down on the floor (Figure 12).
• Gently lift the base of the pre-assembled Bed Frame Extension to
slide the Lower Portion and Frame onto the Upper Portion. Align the
shaft of the frame into the plastic track of the Upper Portion
(Figure 13).
• Align the bolt holes of the upper part of the frame (triangle-shaped
area) to the bolt holes on the Upper Portion. Release the Bed Frame
Extension so that it rests on top of the bolt holes (Figure 14).
• Reaching underneath, insert one of the shorter bolts through one
of the holes in the Upper Portion and hold in place. Slide one of the
Bed Frame Extension loops over the bolt and hand-tighten with a nut
(Figures 14 & 14a). Repeat with the other shorter bolt.
• Reaching underneath, insert the longest bolt into the lower hole and
hand-tighten with a nut.
• To fully tighten all three nuts to the bolts, insert the Allen Wrench into
the bolt heads and tighten the nuts using a 10/13mm Open-Ended
Wrench.
Bed Frame Extension
Upper Portion
Lower Portion
Upper Holes / Shorter Bolts
Lower Hole / Longer Bolt