© 2007 D 161 - 08/07 2 of 36
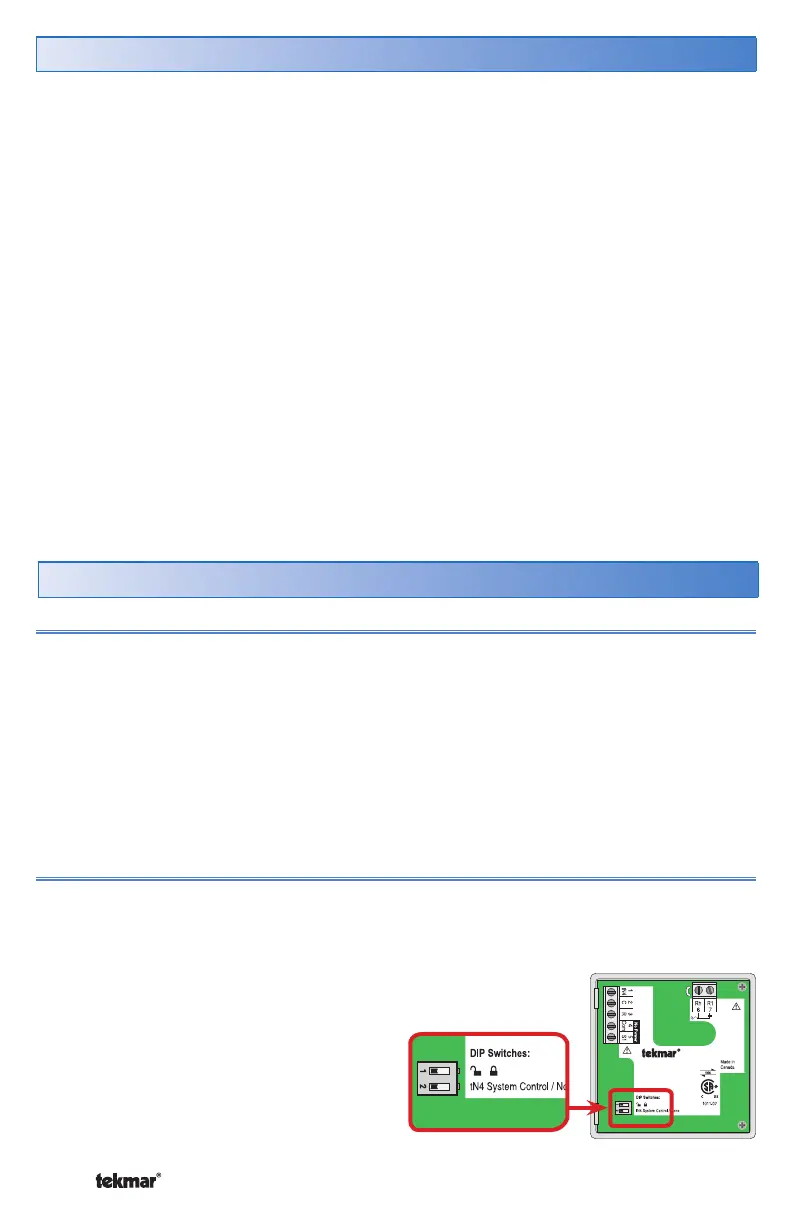
Display and DIP Switches
Lock / Unlock (DIP Switch #1)
Use the Lock / Unlock DIP switch to lock or unlock the Access Level of the 161.
• To unlock the Access Level, set the DIP switch to the unlocked (left) position.
• To lock the Access Level, set the DIP switch to the locked (right) position. Once
locked, a padlock is displayed in the lower right corner of the display and the Access
Level cannot be changed.
Note: The tN4 System Control’s Lock / Unlock DIP switch overrides the Lock / Unlock
DIP switch on the 161. Set the tN4 System Control’s Lock / Unlock DIP switch to the
Unlock position before Access Levels can be changed on the setpoint control.
tN4 System Control (DIP Switch #2)
A tN4 System Control is a control, not a thermostat, that the Setpoint Control 161
connects to through the tN4 bus. All tN4 compatible Outdoor Reset Modules are
tN4 System Controls.
Table of Contents
Table of Contents .............................. 2
Display and DIP Switches ................ 2
Dip Switches ................................. 2
Access Levels ............................... 3
Display .......................................... 3
Symbol Description ........................ 4
User Interface ............................... 4
Application Overview ........................ 5
On / Off Differential ......................... 5
Pulse Width Modulation ................ 6
Display Menus ................................. 7
VIEW Menu ................................... 7
ADJUST Menu ..............................10
SCENE Menu ...............................15
SCHEDULE Menu ........................16
MISCELLANEOUS Menu .............17
Sequence of Operation ...................19
Mode 1 - On / Off Setpoint ...........19
Mode 2 - Hot Tub ..........................19
Mode 3 - DHW Tank ................... 20
Mode 4 - Floor ............................ 21
Remote Enable / Disable ................ 22
Sensor Input ................................... 23
Setting the Schedule ...................... 23
Scenes ............................................ 24
Restore Factory Defaults ................ 25
Temperature Units .......................... 25
Backlight ........................................ 25
tN4 Features .................................. 25
Error Messages .............................. 28
Cleaning the Control ...................... 34
Warranty ......................................... 36
DIP Switches
24 V ±10% 50/60 Hz 1.7 VA
24 V (ac) 2 A
Power:
Relays:
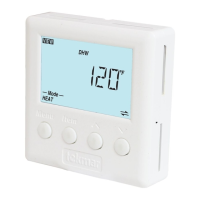
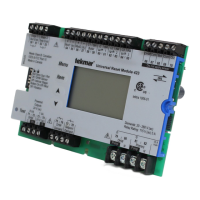
tN4 Setpoint Control 161
One Stage Heat
Feb 2006
Lot 1948
Meets Class B:
Canadian ICES
FCC Part 15
Cut jumper to
isolate relay
For product instructions see brochure
Use at least 194°F (90°C) conductors
/
161
• If the setpoint control is connected
to a tN4 System Control, set the tN4
System Control DIP switch to tN4
System Control (left position).
• If the setpoint control is not connected
to a tN4 System Control, set the tN4
System Control DIP switch to None
(right position).