Removal and Replacement
6–16
TDS 340A, TDS 360 & TDS 380 Technical Reference
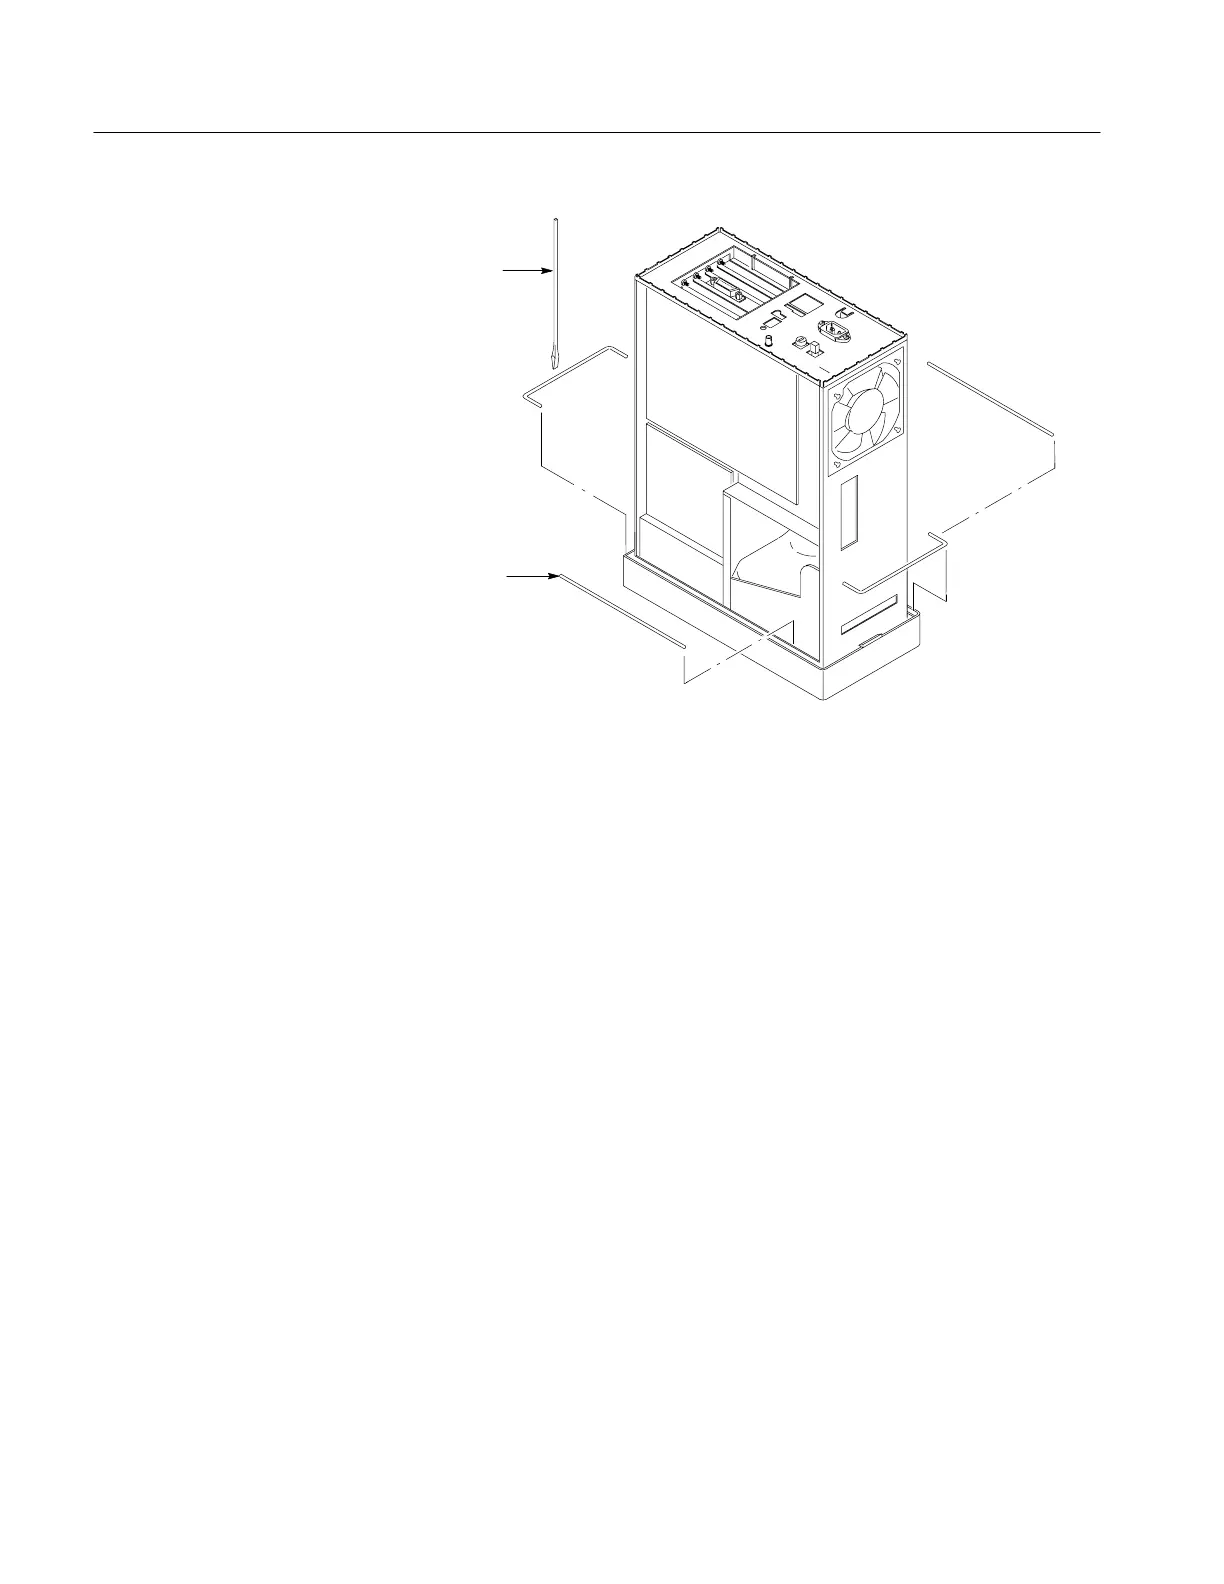
Spudger
EMI gaskets (4)
Figure 6–8: EMI gasket removal and installation
Front Panel Assembly and Menu Flex Circuit
Required tool: a flat-bladed screwdriver (Item 4).
1. Perform the previous procedure to remove the trim ring.
2. Set the oscilloscope so its bottom is down on the work surface and its front
is facing you.
3. Insert a flat-bladed screwdriver into the slot at the front-right of the chassis
(see Figure 6–9). Push inwards to release the snap lock at the right side.
4. Lift the front panel assembly out of the front of the main chassis until you
can reach the interconnect cables connecting it to various other modules.
5. Unplug the main board and menu flex-circuit cables from their jacks on the
front panel assembly.
6. Finally, lift the front panel assembly out of the front of the main chassis to
complete the removal.
 Loading...