UsingLogoGenerator
Logo Generato
r tutorials
This subsection describes the basics of operating the Logo Generator application.
Creating a logo file
Perform the following steps to create a logo file (.lgo) from a Windows bitmap
file (.bmp).
1. Select File > Open.
2. Select the bitmap file on the PC that you want to convert, and then click the
Open button. This will display the bitmap image in the BMP View and the
logo image converted to a gray scale in the LGO View.
3. Select Settings > Gray Level to open the Gray Scale Settings dialog box.
(SeeFigure9onpage21.)
4. Set the gray levels for the logo image. You can change the background color
for the logo image using the Background command.
5. Select Settings > Miscellaneous to open the Miscellaneous Settings dialog
box. (See Figure 10 on page 22.)
6. Set the vertical and horizontal positions for the logo to be displayed on the
monitor. If necessary, set the logo name and user comment.
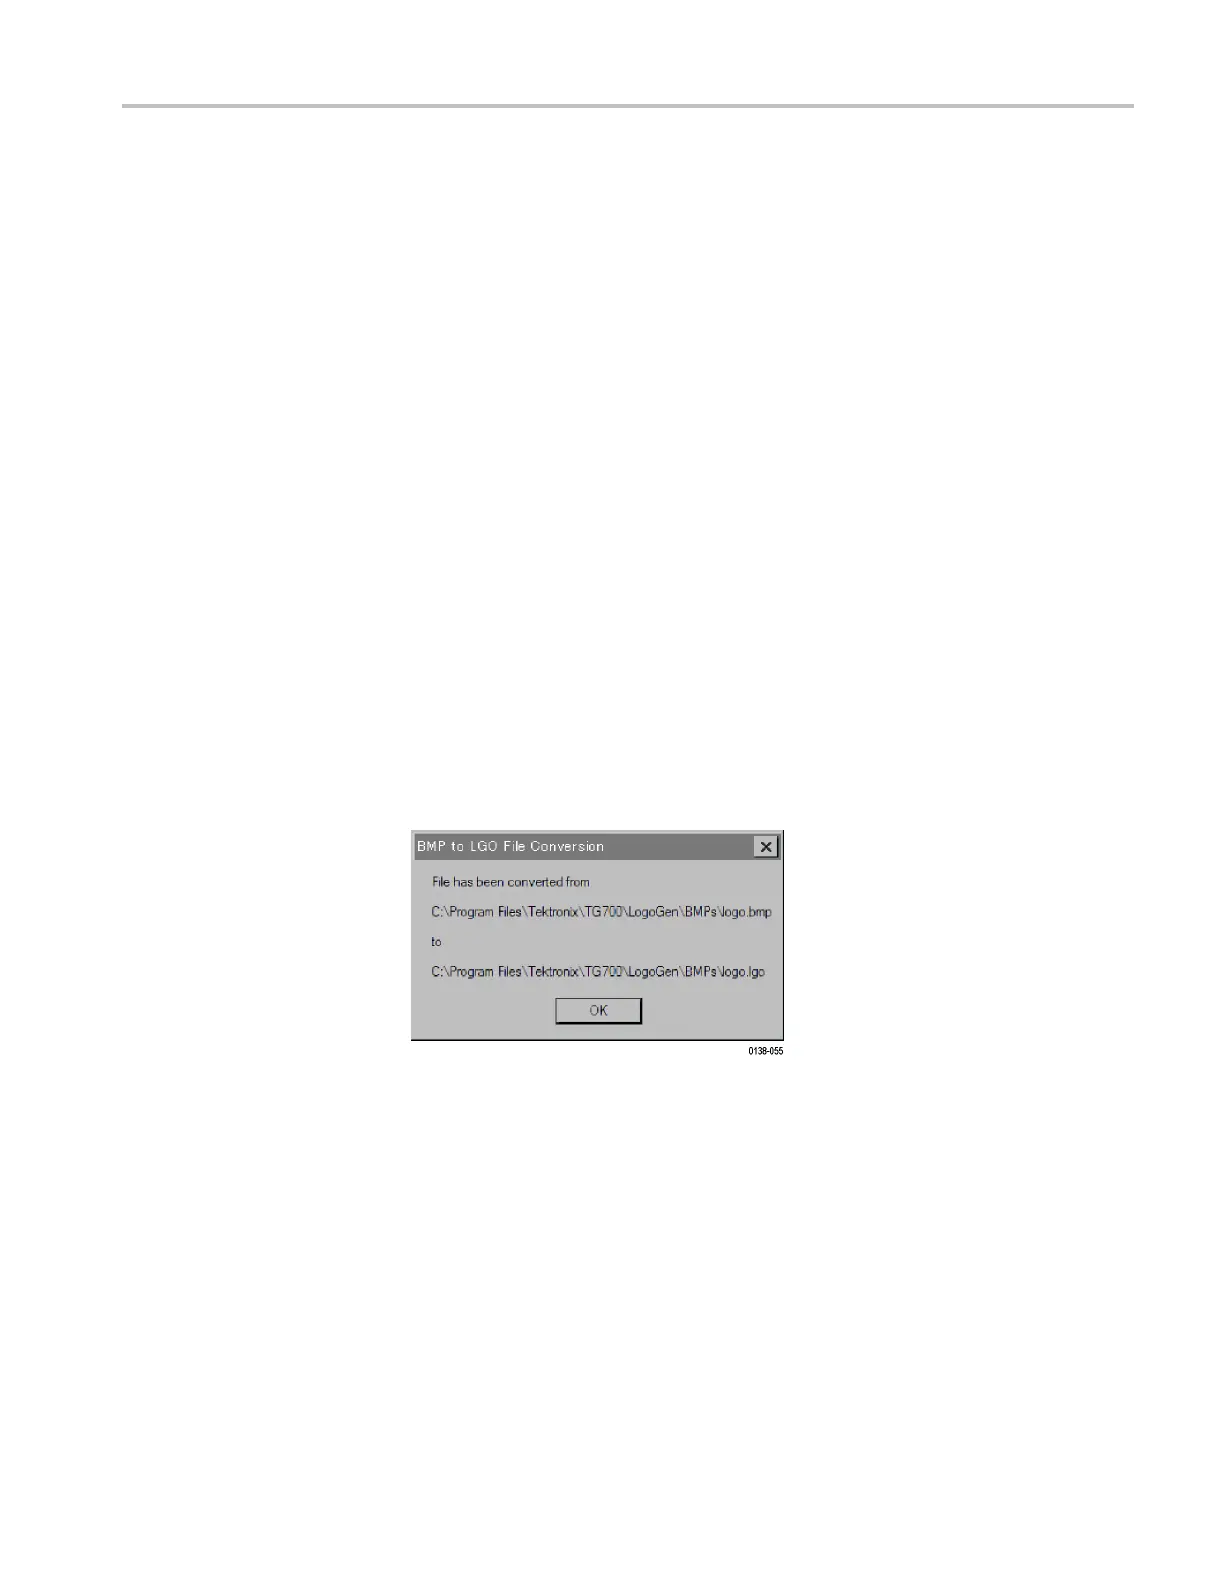
7. Select Build > Build Logo File from the Build pull-down menu to open the
BMP to LGO File Conversion dialog box shown in the following figure.
F
igure 11: BMP to LGO File Conversion dialog box
8
.
C
lick the OK button to create the logo file.
TG8000 Multiformat Test Signal Generator PC Tools Technical Reference 23
 Loading...


