Using Frame Picture Generator
Frame Picture
Generator tutorials
This subsection describes the basics of operating the Frame Picture Generator
application.
Creating a fr
ame picture
file
Perform the following steps to create a frame picture file (.pic) from a Windows
bitmap file (.bmp).
1. Select File > Open.
2. Select the bitmap file on the PC that you want to convert, and then click the
Open button. This will display the bitmap image in the BMP View window.
3. Select Settings > Background to specify the background color for the frame
bitmap.
4. Select Settings > Format to select the video format size when the frame
bitmap is created.
5. Select Build > Build Frame Bmp. This will display the frame bitmap image
converted to the specified video format size in the FrameBMP View window.
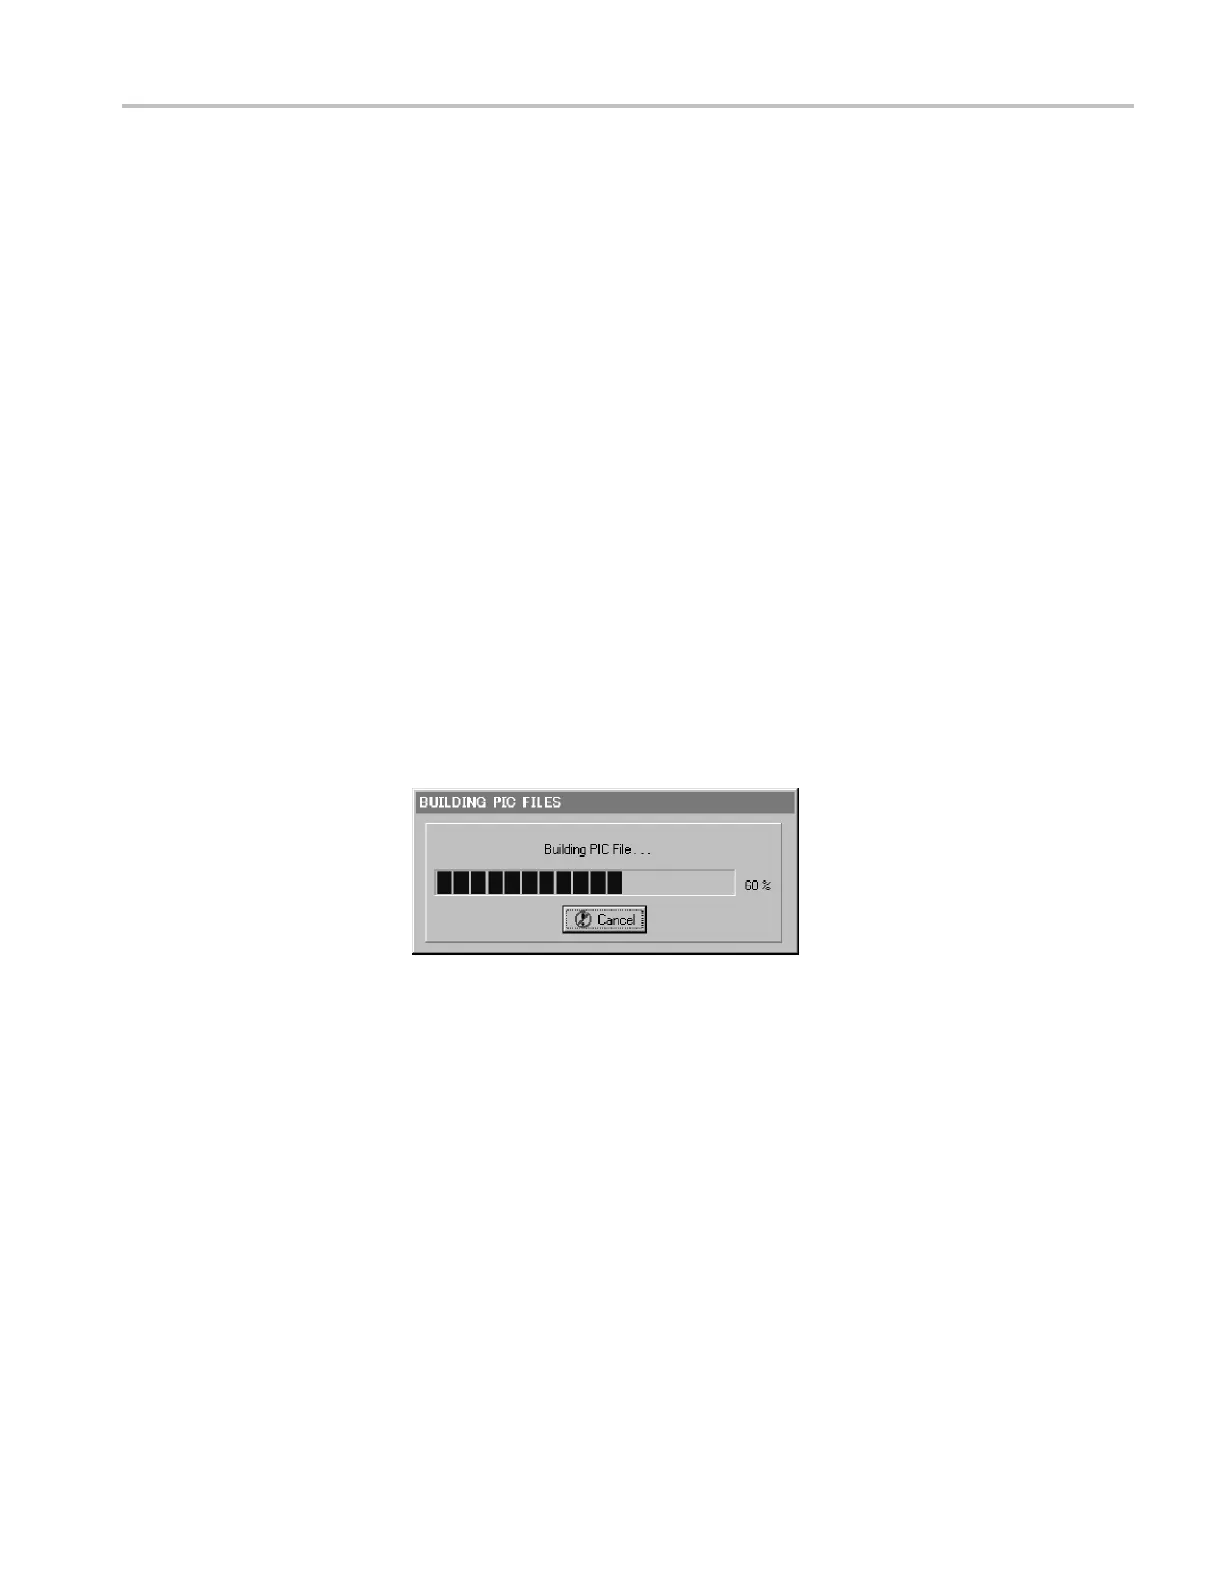
6. Select Build > Build Pic File to convert the frame bitmap file to the frame
picture file. While the conversion is in progress, the BUILDING PIC FILES
dialog box shown in the following figure appears.
Fi
gure 7: BUILDING PIC FILES dialog box
7. Wh
en the file conversion is completed, the Pic File dialog box appears.
8. In the dialog b ox specify the destination folder where you want to save the
f
rame picture file, and the file name.
9. Click the Save button to save the file.
TG8000 Multiformat Test Signal Generator PC Tools Technical Reference 15

 Loading...


