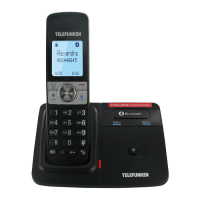
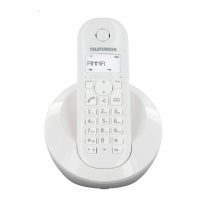
TX Bluetooth 48
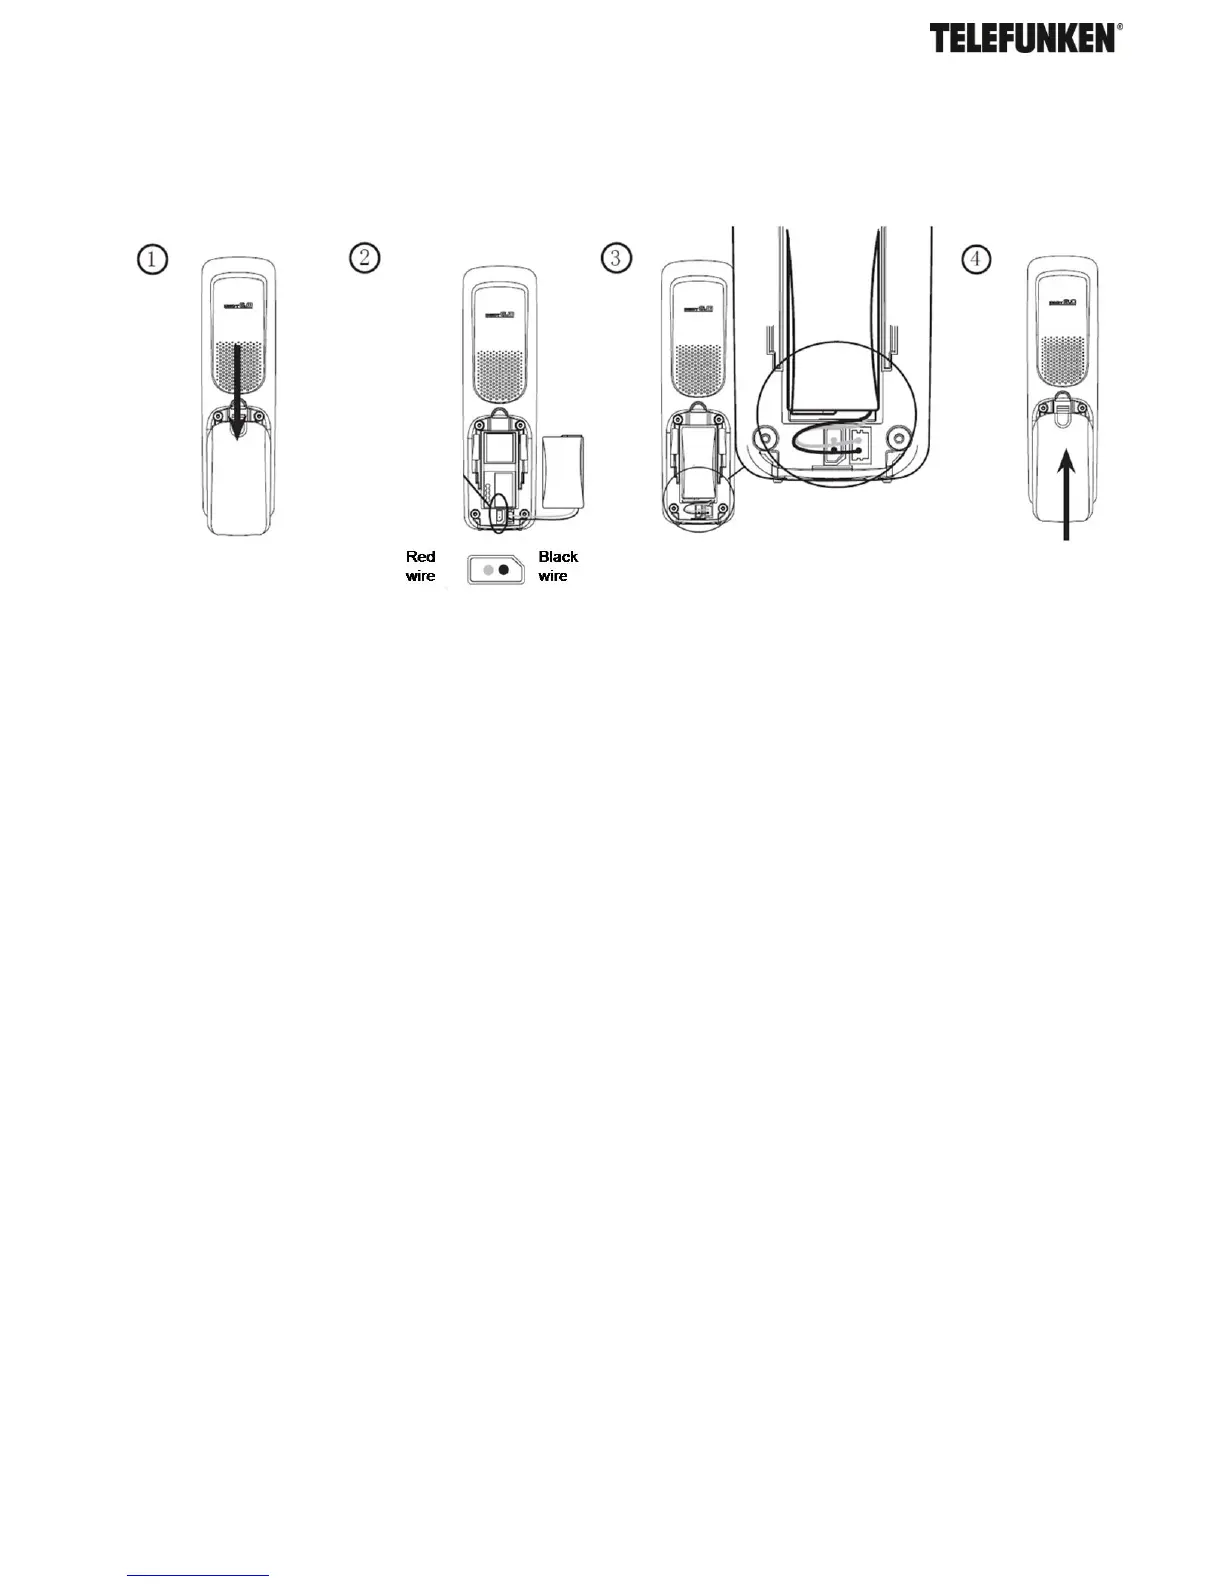
C. Battery
Place the handset on the base to charge for at least 24 hours. When the handset is fully charged
the <Fully charged battery icon> will be displayed. The Charging LED lighting up indicates that the
handset is properly placed on the base.
When the battery pack is fully charged, plug one end of the telephone line cord into the base
station and the other end into the telephone wall socket.
Note: Ensure the line cord is fed through the slot on the base so unit sits flush with the desk.
D. Wall mounting
Your TELEFUNKEN TX 1** is designed to mount on a standard wall mounting plate. Attach the
wall mount bracket to your TX 1** base and attach to your wall mount plate.
WARNING
Do not place your TELEFUNKEN TX 1** in the bathroom or other humid areas.
IMPORTANT
The base station must be plugged into the mains power socket at all times. Do not connect the
telephone line until the handset is fully charged. Only use the power supply, telephone cables and
NiMH battery pack supplied with the product
E. Setting up for multiple packs
If you have purchased a TELEFUNKEN TX 1** multiple packs, you will need to prepare additional
handsets and chargers for use.