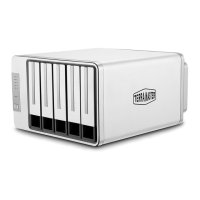
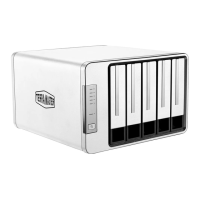
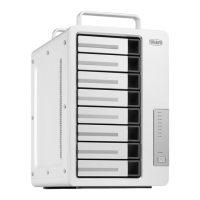
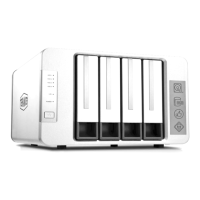
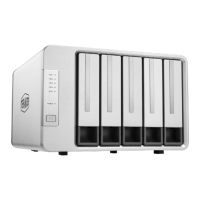
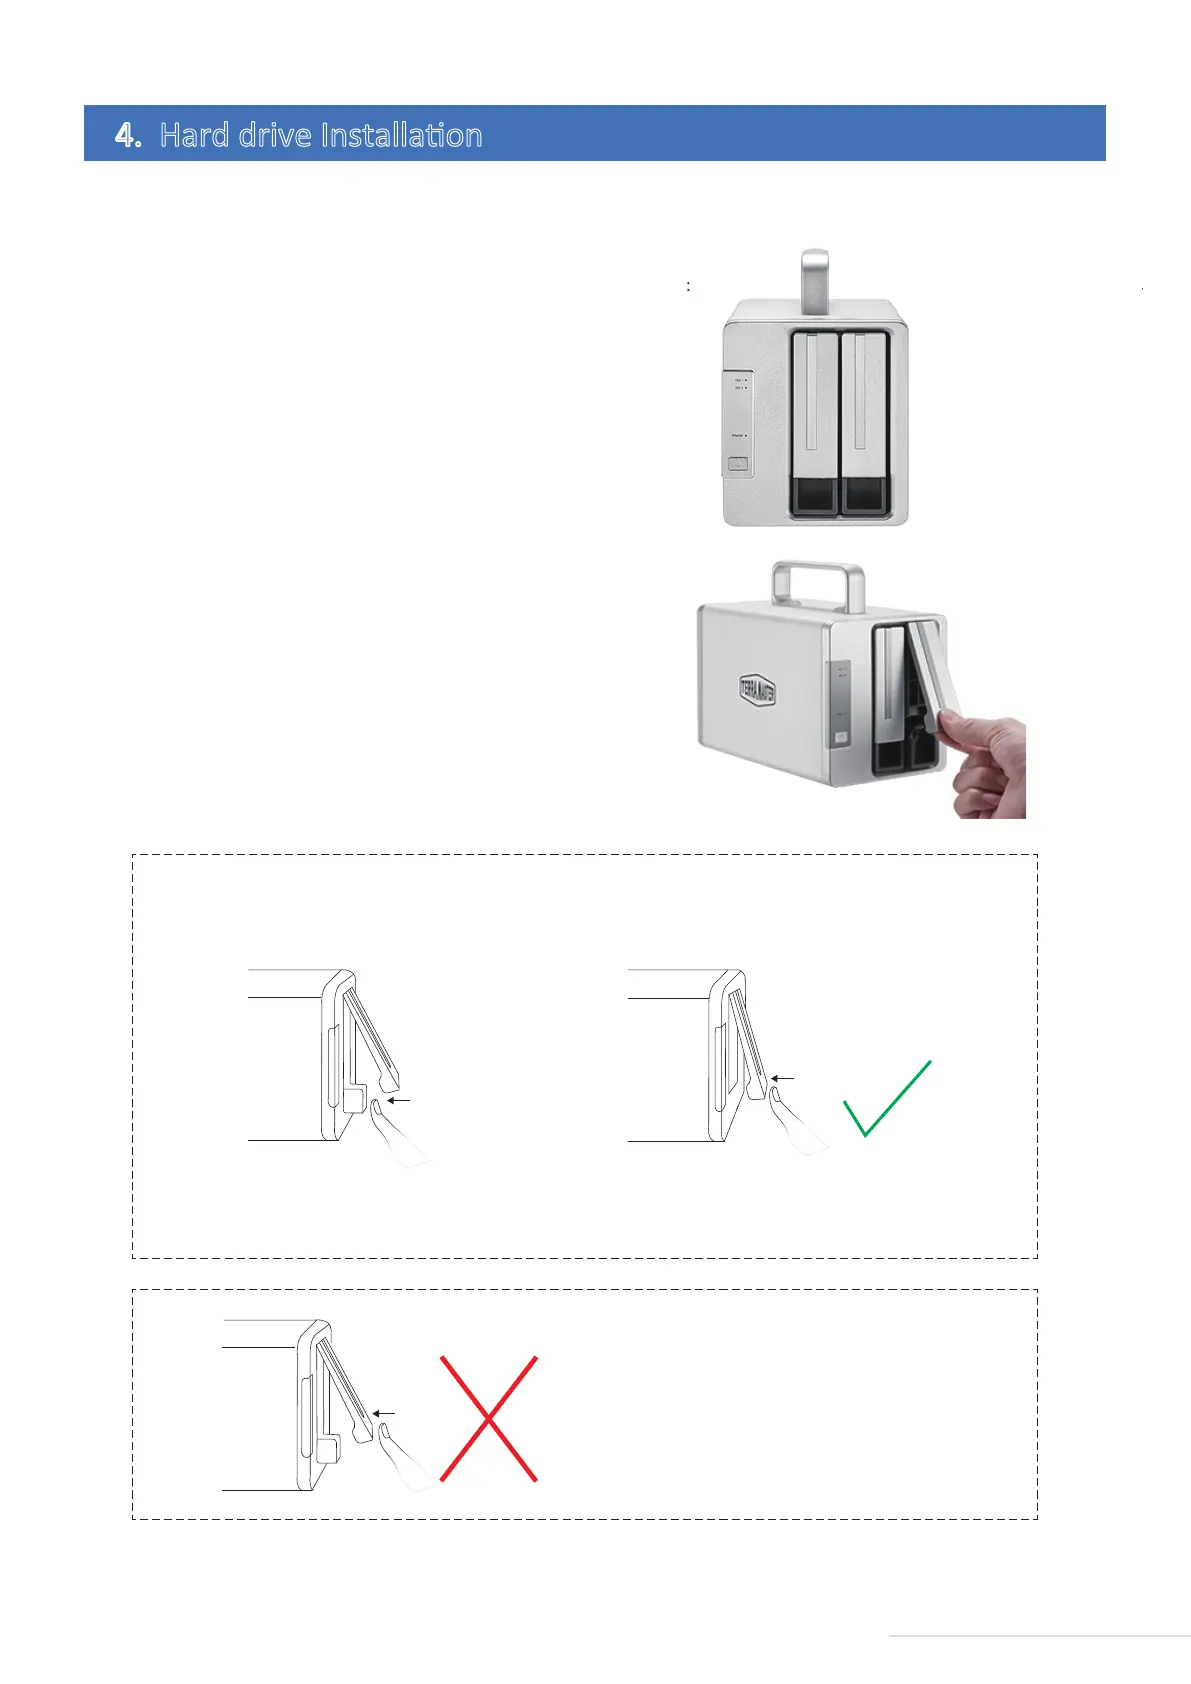
Prior to use, hard drives must be installed properly into the device. Therefore, if you have no hard drives for
your device, please purchase a compable one and oversee its installaon.
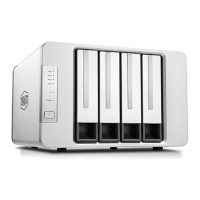
1.Pull the handle out of the hard drive
tray, Grasp it and draw the hard drive tray
from the device. Fix in the hard drive and
tray by using the given screws and insert
the tray into the device along the track.
While inserng the tray, please open the
handle and keep the handle in this
posion. Otherwise, the tray may not be
inserted into the device correctly.
To install a hard drive, please complete the following instrucons:
2.Aer the tray is fully inserted, the
handle should be closed. The hard drive
installaon is completed. If you would
like to install the remaining hard drives
your have, please refer to steps above.
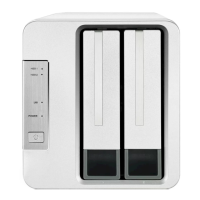
4. Hard drive Installaon
4
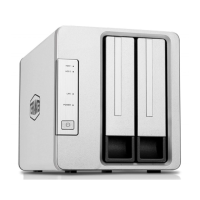
Model:D2 Thunderbolt 3
1.Push the lower part of the hard drive tray to fully
insert it.
step 1 step 2
2.Lock the tray by pressing the handle aer
compleng inseron of it.
3.The hard drive tray is locked without fully
inserng it; if the hard drive is not inserted fully,
taking out fails or read/write is unstable.
Warning! Please do it right!