Before use, power on the device and connect the data interface to your computer.
Procedure for creang or changing RAID:
For Mac users, disk array inialisaon and formang can be completed as below:
5. Connecon
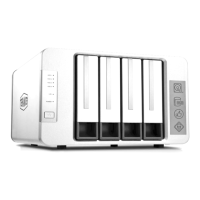
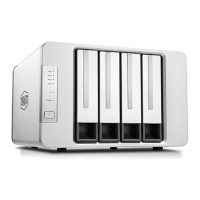
6. RAID
Procedure for connecon:
Step 1: Connect one end of the USB Type-C cord to the Thunderbolt3 interface of this device, and connect the
other end to the USB interface of your computer.
Step 2: Please connect the device a power source by using the power adapter. The power adapter provides
12V DC;
Warning: do not use the non-original power adapter for this device. Otherwise, the device may malfuncon
and the physical body may be damaged in an extreme case!
Step 3: Press the power buon to power on. When the power is connected, the device’s power indicator will
turn on.
Step 4: If the hard drives work normally and the device powers on, the hard drive indicator will temporarily
display red, followed by Blinking orange, followed by Blinking green, and finally green lights. If the hard drive
indicator displays red all the me, it indicates that the hard drive is cannot be read. The hard drive may be
damaged, inccompable with the device. If this occurs, please turn off the device and proceed to reinstall the
same hard drive. If the hard drive indicator sll displays red, please replace the hard drive with a new one and
try again.
Step 5: Aer the device is connected to your computer, you might see a prompt asking you to format the
device or come across a message reading “The disk you inserted was not readable by this computer”. Please
select “Cancel” or “Ignore”, as the formang of the device should occur only aer you create a disk group.
Step 1: Connect this device to your computer through a USB type C cord, and power it on.
Step 2: Choose a RAID for the device (the factory default is SINGLE). To choose a RAID type, use a screwdriver
to rotate the rotary switch on the rear cover of this device to turn the pointer to the desired RAID type.
Step 3: Use a thimble to press and hold the RESET buon for 5s to let the newly set RAID take effect.
Step 4: Format RAID. Aer seng RAID, you need to inialize and format the RAID on your computer. The
procedure for inializaon and formang is the same for hard drive inializaon and formang. As for the
detailed procedure for hard drive inializaon and formang, please look it up online.
A. Go to GO > Applicaon Tool > Disk Ulity > External;
b. Locate an uninialized external disk in the menu (this will be the TerraMaster array);
5
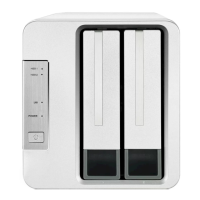
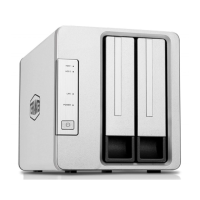
Model:D2 Thunderbolt 3