Wheels and tires
10-9Technical specifications
The TPMS is not a substitute for proper tire
maintenance, and it is the driver’s
responsibility to maintain correct tire
pressure, even if under-inflation has not
reached a level to trigger illumination of the
TPMS tire pressure telltale.
Checking tire pressures
WARNING: Tire pressures should be
checked using an accurate pressure
gauge when cold. Under-inflation is the most
common cause of tire failures and may result
in severe tire cracking, tread separation or
“blowout”, with unexpected loss of vehicle
control and increased risk of injury.
S
Check the pressures when the tires are cold.
Be aware that it only takes 1 mile (1.5 km) of
driving to warm up the tires sufficiently to
affect the tire pressures. If it is necessary to
check the tires when they are warm, you
should expect the pressures to have
increased. Do not let air out of warm tires in
an attempt to match the recommended cold
tire pressures.
Note: When adjusting tire pressures, you can
display tire pressure values on the Touch
Screen’s tire pressure screen. However, the
values displayed by the Touch Screen will not
be updated until you place the car in drive
long enough for the tire pressure monitoring
sensors to take new readings.
Always inflate your tires to the Tesla Motors
recommended inflation pressure even if it is
different from the maximum inflation
pressure information found on the tire itself.
For the correct tire pressures, refer to
Specifications and tire pressures, page 10-4.
The following procedure should be used to
check and adjust tire pressures:
1. Remove the cap from the valve, then
firmly press the tire gauge onto the valve
and measure the pressure.
2. If required add air to reach the required
pressure.
3. Check the pressure by removing the tire
gauge and then re-attaching it.
Note: Failure to remove and re-attach the
gauge to the valve could cause the gauge
to show an incorrect reading.
4. If too much air is added, air can be
released by pushing on the metal stem in
the center of the valve.
5. Recheck the pressure with the tire gauge
and adjust if necessary.
6. Refit the valve cap.
Valves
Fit the valve caps securely to prevent dirt
from entering the valve. Periodically check
the valve for damage and leaks.
Tire wear
WARNING: The tires should be
regularly checked for wear and to make
sure that there are no cuts, bulges or
exposure of the ply/cord structure. Do not
drive with tires which are worn or damaged.
The safety of the vehicle and occupants will
be adversely affected.
S
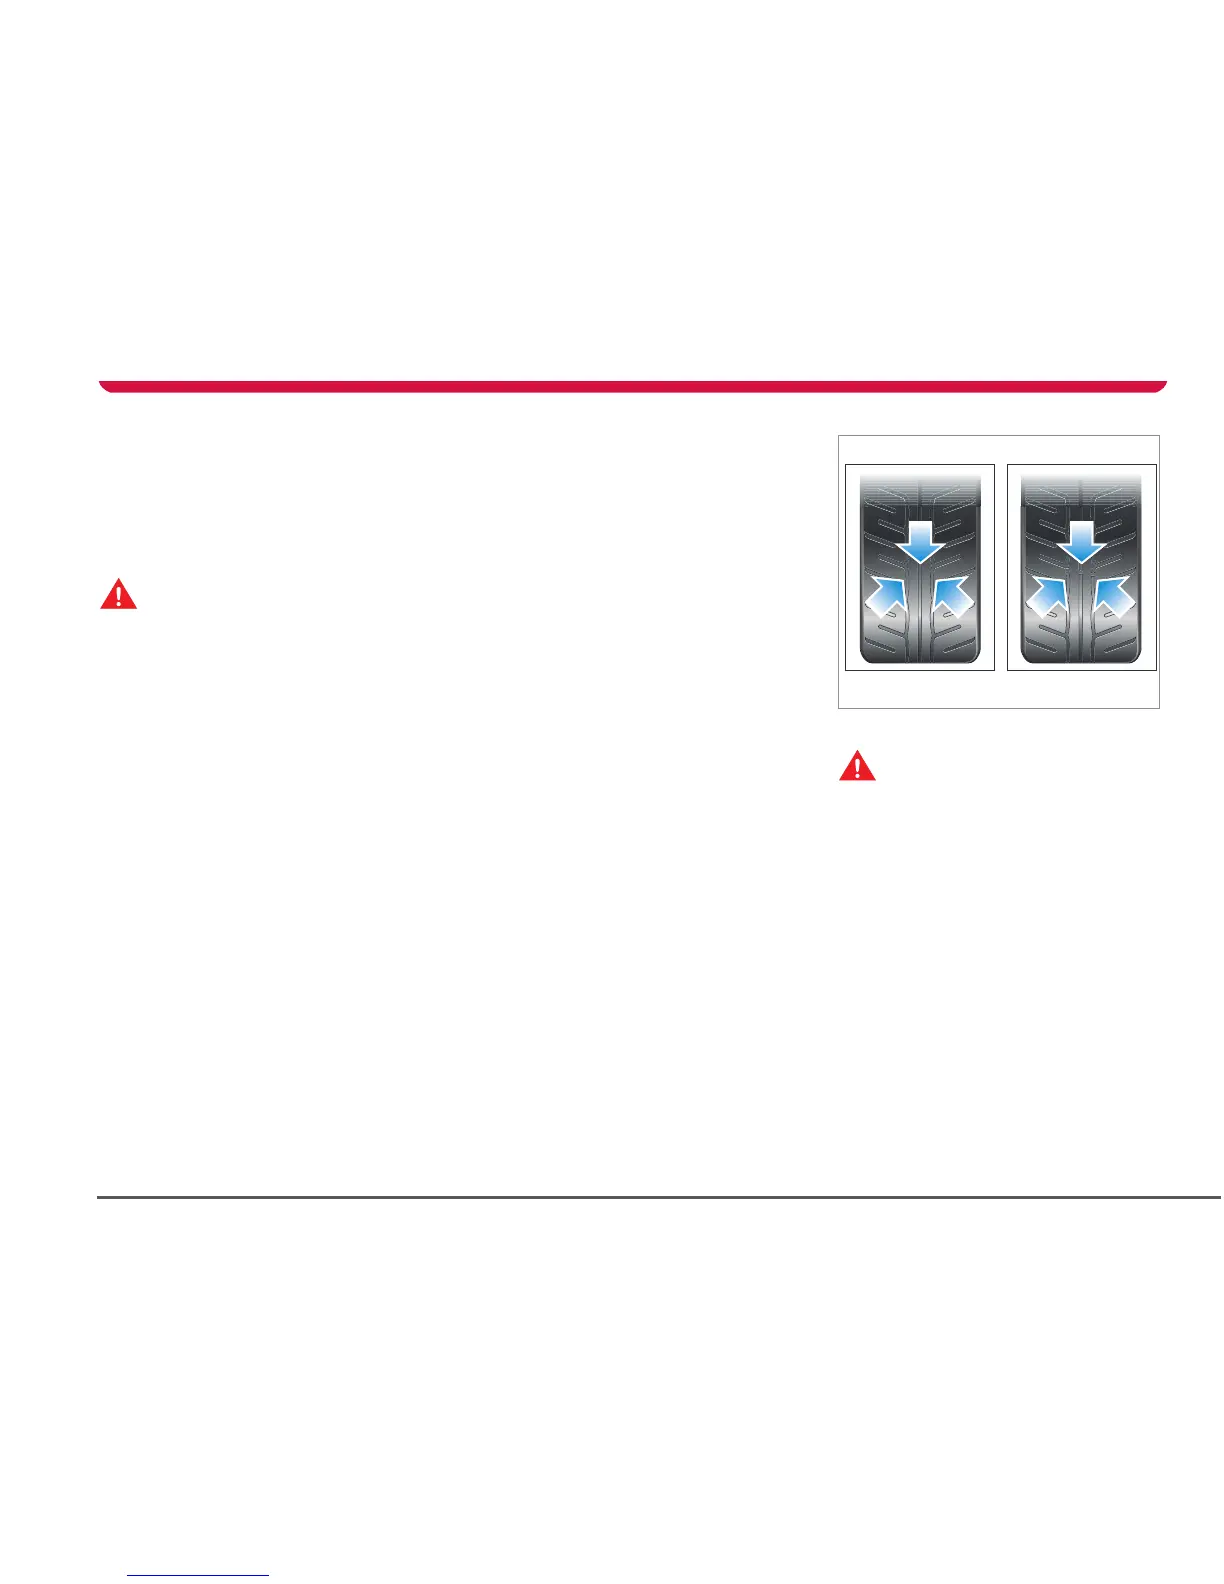
Tires fitted as original equipment have wear
indicators moulded into the tread pattern.
When the tread has been worn down to 1/16”,
(1.59 mm) the indicators start appearing at
the surface of the tread pattern, producing
the effect of a continuous band of rubber
across the width of the tire.
A tire must be replaced as soon as an
indicator band becomes visible or the tread
depth reaches the minimum permitted by
legislation.



 To Next Page