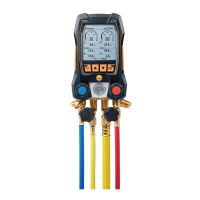
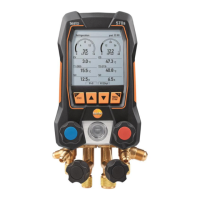
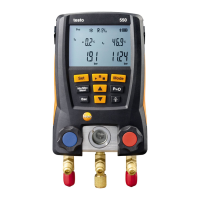
6 Using the product
25
✓ The desired measuring mode has been selected.
1. Press [ ].
2. Select Serial measurement.
3. Setting the measuring cycle: Adjust the flashing number with
[▲] and [▼] and press [◄] and [►] to go to the next number.
Confirm the input with [OK].
4. Set measurement period: Adjust the flashing number with [▲]
and [▼] and press [◄] and [►] to go to the next number.
Confirm the input with [OK].
5. Select the desired memory location: Press [▲]
and [▼] to set
the desired value and press [◄]
and [►] to toggle between
Customer / Measplace / Installation / Component.
- The set measurement view is displayed. The memory symbol
is displayed.
6. Press [Start].
- The memory symbol flashes in the set measuring cycle
when saving the measurement values. Clock (00:00:00) shows
the remaining measuring duration.
7. Press [Stop].
- The serial measurement was stopped. Clock (00:00:00) shows
the residual measuring duration.
- The measurement view is displayed.
6.4. Printing measurement values
From the measuring mode
✓ The desired measuring mode has been selected.
✓ The testo printer (0554 0549) has been switched on.
1. Press [ ].
2. Select Single measurement.
3. Align IR interfaces testo 570 and testo printer.
4. Select Print.
- The set measurement view and printing... is displayed.
- The printout is generated.
From the device memory
1. Press [ ].
2. Select Memory.
Shop for Data Logging products online at: www.DataLoggerStore.com 1.877.766.5412