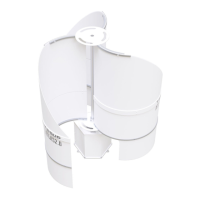
ATLAS 2.0 (MADE IN EUROPE)
~ 20 ~
TESUP
7.2 UNPACKING THE COMPONENTS:
▪ Carefully open the packaging.
▪ Check the shipment for completeness (refer to the shipping documents).
▪ Separate the packaging material and dispose of it in an environmentally responsible
way.
7.3 ASSEMBLING THE WIND TURBINE:
Turbine Body:
▪ First, we take the shaft out of the box and connect it with shaft on the motor body. Then we fix
it to the motor shaft with the headless screws called set screw to the holes in the bottom area of
the shaft.
▪ We mount the number one round flange to the fixed motor shaft. Make sure that the flange hub
should be on top. Then we take number two round flange and mount it to the top of the shaft.
Similarly, like flange 1 the flange union should be on top.
▪ So Now our Turbine Body Is ready.
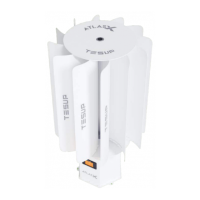
Turbine Wings:
▪ Three thin and long, three thick and long, three thin and small lamas come out of the box for the
blades.
▪ First we take thick thin and long lamas and mount the thin ones to the outside of the blade (in the
direction of TESUP), the thick ones to the inside of the blade with the corresponding hole centres.
We apply this mounting on three blades too.
▪ Then we take the small lamas and mount thin ones to be out, thick ones to the inside of the blade.
Upper holes of the thick lamas must remain on the flat side of the blade.
▪ We complete the turbine mounting by cantering the upper holes of lamas with the holes in the
flanges and by placing the blades whose mountings are installed between two flanges.