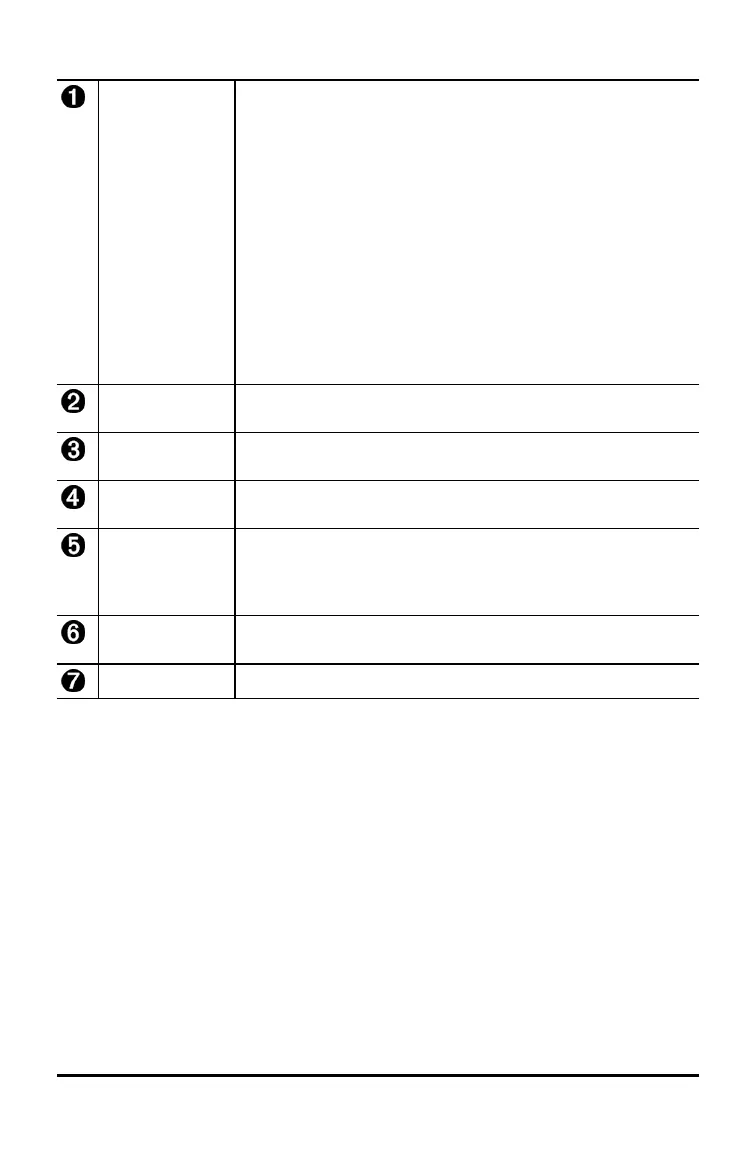
Parts of the Screen Capture Workspace
Capture Click here to take an emulator screen capture.
Actions > Capture Screen
Note: A border is automatically added to each image when
you capture it, but you can remove the border by clicking View
> Hide Screen Capture Borders. (If you have multiple images,
this removes the border from every image.)
With screen capture you can:
• capture up to 44 screens at a time, (to capture additional
images, delete images from the Screen Capture window)
• automatically store screen captures in memory until you
close the main TI-SmartView™ CE window.
Closing Screen Capture gives a prompt to save your screen
captures. You can start a new Screen Capture session during
a TI-SmartView™ CE session.
Save Click here to save selected screen captures.
File > Save As
Copy Click here to copy selected screen captures to the clipboard.
Edit > Copy
Delete Click here to delete selected screen captures.
Edit > Delete
Resize Slide the dot along the bar to adjust the current screen
capture preview size.
View > Scale Screen Captures
Note: Screens save at the percentage in view.
Rename Rename a screen capture by highlighting the title and typing
in a new name.
View View screen captures here.
Dragging and Dropping a Screen to Another Application
You can drag and drop and paste any TI-SmartView™ CE screen into another
application.
The TI-SmartView™ CE screens that you can drag and paste include the following:
• The screen above the keyboard in the Emulator Panel
• Large Screen
• View
3
™ panel screens
Note: You can drag a View
3
™ screen into Screen Capture and use Screen Capture as
a history of important screens during a class session.
• Saved or unsaved screen captures
Using Screen Capture 22
 Loading...