Do you have a question about the Thames Side XT2000 and is the answer not in the manual?
Input '2802' to access calibration and configuration settings.
Define the scale's maximum allowable weight capacity.
Configure the smallest measurement unit for the scale.
Specify the number of decimal places for readings.
Define the range for automatic zeroing based on weight stability.
Define the acceptable range for the scale's zero point.
Enable or disable the indicator's auto-zero feature.
Define the minimum input threshold for error signals.
Choose the desired unit of measurement for the scale.
Select CAL 1 mode for calibration using verified weights.
Establish the scale's zero point before applying weights.
Place a known weight on the scale for calibration.
Verify the scale reading matches the applied weight.
Select CAL 2 for calibration without verified weights.
Enter the nominal capacity of the load cell(s).
Enter the total count of load supports, including empty ones.
Enter the mV/v value of the load cell(s).
Execute the automatic zero adjustment after calibration.
| Brand | Thames Side |
|---|---|
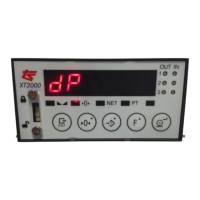
| Model | XT2000 |
| Category | Measuring Instruments |
| Language | English |