Do you have a question about the Thermogroup 5259 and is the answer not in the manual?
Guides on positioning conduit for cavity and concrete walls for sensor probe placement.
Ensures accurate readings by positioning the conduit and sensor centrally between heating cables.
Instructions on how to safely remove the thermostat's faceplate using a screwdriver.
Details on releasing the black steel wall plate by pushing a wire clip.
Guidance on pulling the black steel wall plate away from the thermostat.
Aligning and fixing the steel plate to the back box ensuring the mount is level.
Instructions for pulling wires, loosening tension screws, and inserting wires.
Shows cable positioning for sensor probe, heating cable cold tail, and power supply.
Guidance on sliding the thermostat into position and ensuring metal brackets engage.
How to secure the thermostat by pushing down the steel wire clip.
Instructions for clipping the face plate on and removing it using a screwdriver.
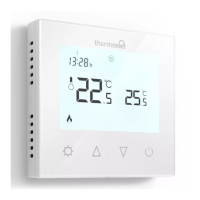
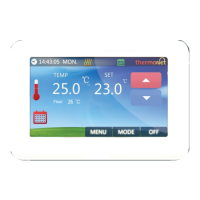
Steps to turn on the thermostat via the power button and begin programming.
Configuring advanced settings like Sensor Setup, Frost Protection, and Heating Schedule Options.
Details on selecting Air Sensor (IN), Floor Sensor (OUT), or combined mode for accurate control.
Enables a built-in feature to prevent substrate temperatures from dropping below 10°C.
Configuring heating schedules for different day combinations and comfort periods.
Step-by-step guide to setting the current time and date on the thermostat.
Instructions for switching to and setting a target temperature in Manual mode.
Detailed steps for setting up daily heating schedules with comfort and eco temperatures.
| Brand | Thermogroup |
|---|---|
| Model | 5259 |
| Category | Thermostat |
| Language | English |