ASSEMBLY
The scooter is heavy, assembly and disassembly will require
assistance of one or more persons. Do not attempt to lift the
scooter beyond your physical capability and/or without assistance.
• Alwaysassembleordisassemblethescooteronalevel,dry
surface
• Ensureyouhavesufcientroomtoworkandmovearoundwhile
assembling or disassembling the scooter (1.83 meter circle or
6 feet is recommended)
Fully Assembled Scooters
your scooter may come fully assembled, BATTERIES ARE NOT
ATTACHED on fully assembled scooters. Please follow the below
steps to attach the battery to the scooter.
The scooter’s parts can be heavy and difficult to maneuver, it is
always best to have assistance during the removal of the seat or
contact an authorized Thermor service center representative.
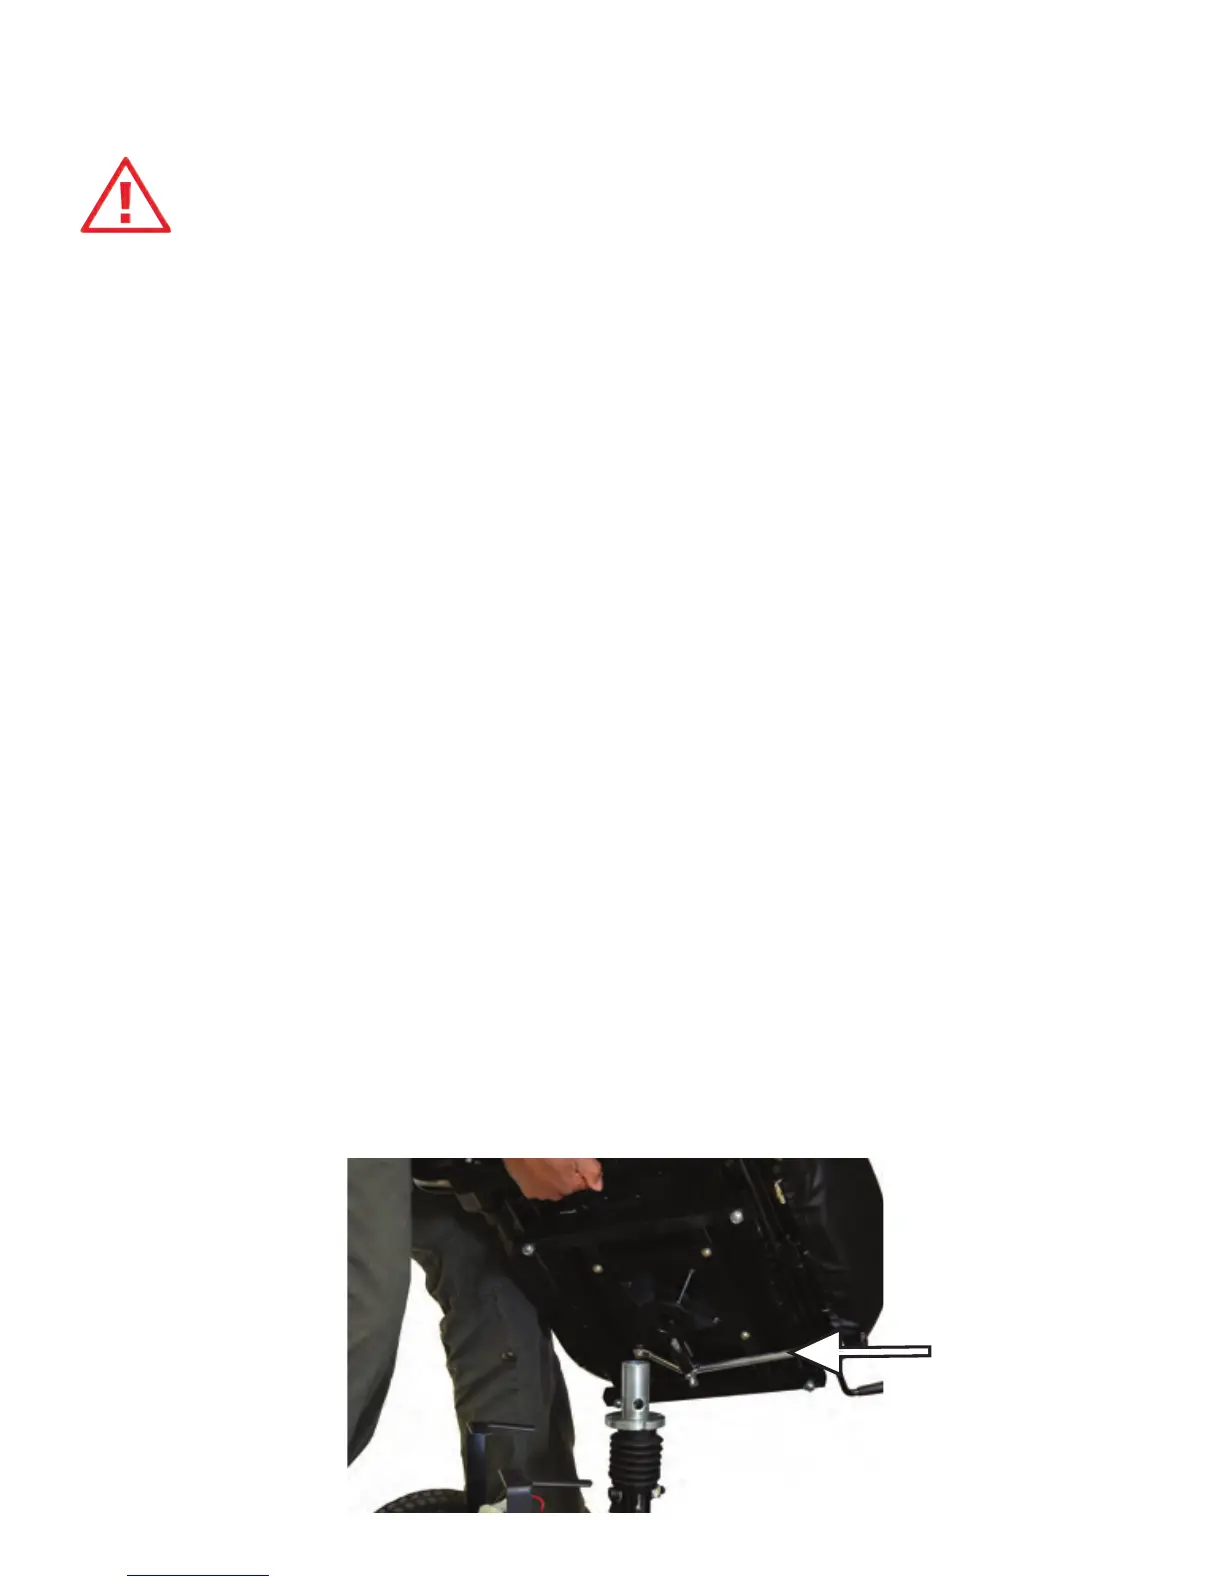
1. Ensure the tiller is in the most upright position.
2. Locate the seat rotation lever.
5
Seat rotation
lever