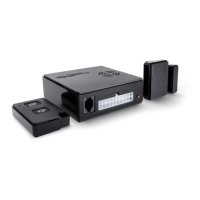
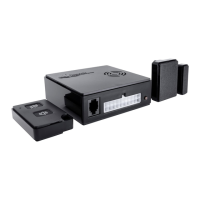
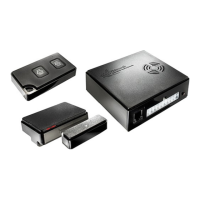
2.1 Expanding WiPro with wireless accessories (easy add)
Additional wireless magnetic contacts, radio cable loops, wireless remote controls
and wireless gas alarms can be stored in the unit during initial installation as
describedintheinstallationmanual(Chapter1.8).Onceinstalled,theWiProIII
canbeexpanded/deletedlateratanytime
Activating assignment by wireless remote control
1. Closedriver‘scabdoors
2. Disconnectpowersupplyfromthemainunit(removefuseorplug)
3. Reconnect power supply
4. Onaremotecontrolwhichhasalreadybeenassigned,pressthebutton
5timesconsecutivelywithin30seconds(This will cause WiPro to change
status several times; the Assign mode is indicated when the status LED
is illuminated)
5. Initiate/conrmnewaccessories
(WiPro acknowledges each successful assignment
by sounding the internal beeper)
6. Again,disconnectandreconnectthepowersupply
The new accessories are now assigned and ready for use.
Deleting wireless components using the wireless remote control:
1. Closedriver‘scabdoors
2. Disconnectpowersupplyfromthemainunit(removefuseorplug)
3. Reconnect power supply
4. Ontheremotecontrolwhichwasassignedrst(masterremotecontrol)
press the button 5 times consecutively within 30 seconds
(thiscausesWiProtochangestatusseveraltimes,clearingthememory
andnallyswitchingtoAssignmode.Theclearingofmemoryisconrmed
by one long beep.)
5 Eitherassignnewaccessoriesorcontinuewithstep6.
6. Again,disconnectandreconnectthepowersupply
All accessories are now deleted, with the exception of the master remote control.
Activating assignment by CAN bus
1. Disconnectpowersupplyfromthemainunit(removefuseorplug)
2. Reconnectpowersupply
3. Now,open/closethedriver‘sdoorvetimesinarowwithin30seconds.
(WiPro will indicate Assign mode by illuminating the status LED)
4. Initiate/conrmnewaccessories
(WiPro acknowledges each successful assignment
by sounding the internal beeper)
5. Again, disconnect and reconnect the power supply
The new accessories are now assigned and ready for use.
DeletingisnotpossibleusingtheCANbus.
WiPro III Operating Instructions Page 7
GB
 Loading...