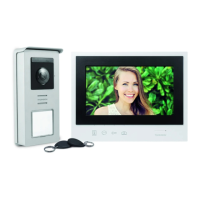
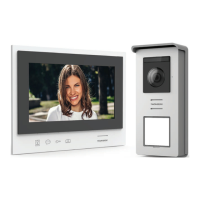
COLOUR VIDEO INTERCOM
EN
10
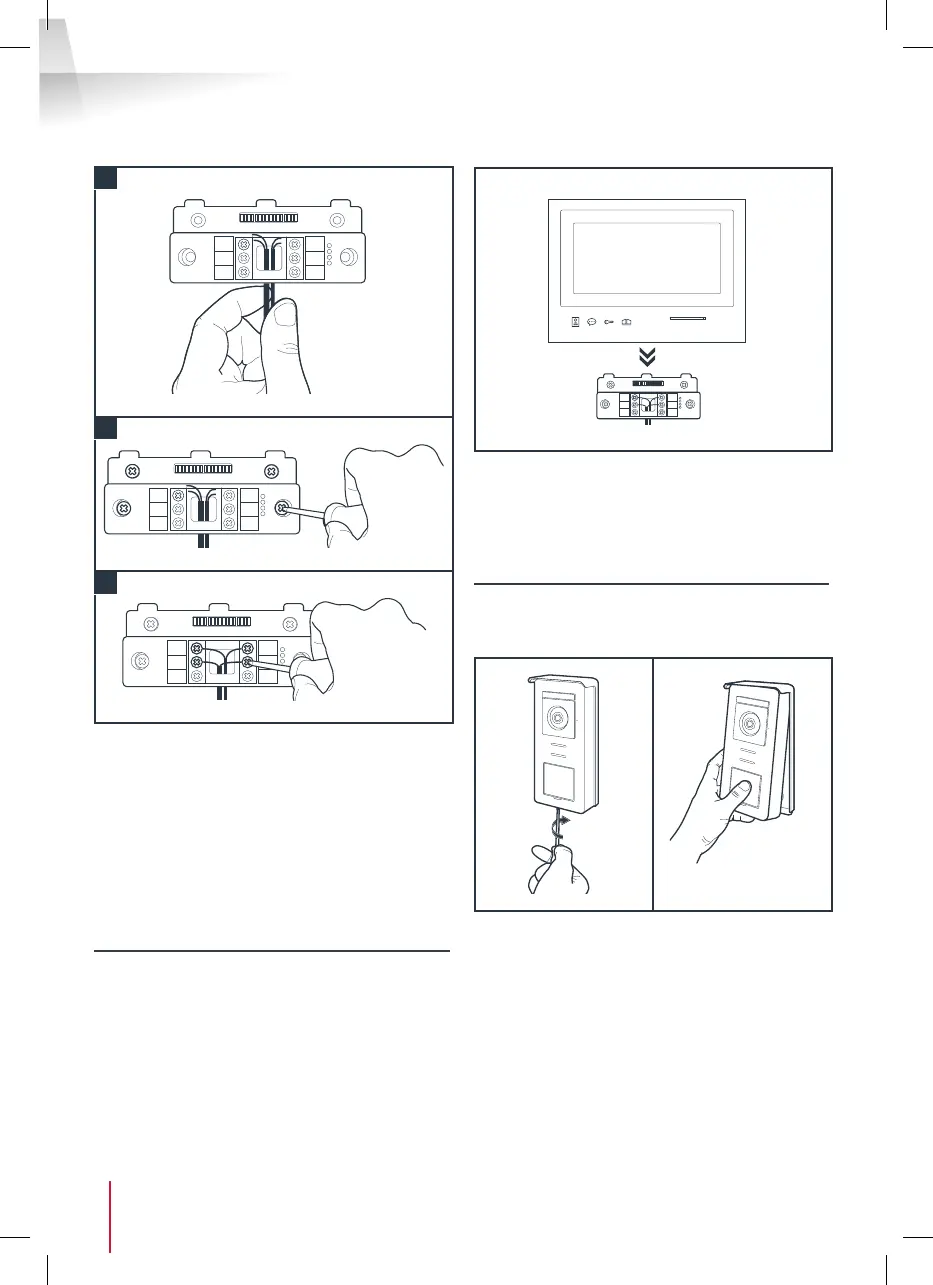
C - INSTALLATION
1
2
3
1. Feed the wires into the space provided for this
purpose.
2. Mount the smart bracket using suitable screws
and wall plugs for the type of bracket (the
screws and wall plugs provided are suitable for
solid walls).
3. Connect the connection terminals, ensuring
you follow the colour coding accurately.
4 -DIAGNOSTICS AND INSTALLATION
• Once the wiring has been completed and before
installing the monitor, check the smart bracket
status:
• If all the indicator lights on the smart bracket are
blue (with the possible exception of the one on
the intercom panel, see chapter 3 monitor), place
the monitor in its compartment. If not, check
installation.
Warning: for this step, do not connect the 230V AC
power supply.
5. INSTALLATION OF THE MAIN OR ADDITIONAL
INTERCOM PANEL
Note: The product must not be connected to the
power supply before the wiring has been completed.
• Remove the tamper-resistant screw under the
intercom panel.
• Tilt the intercom panel forwards.