27
14. Calibrating the Microscope
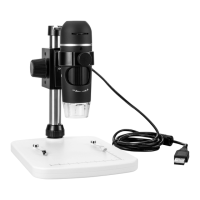
• Focus the microscope on the calibration ruler.
• Rotatethenefocusdialuntilthepicturebecomessharp.
• Adjust the microscope position so the image is lined
up square with the XY guides.
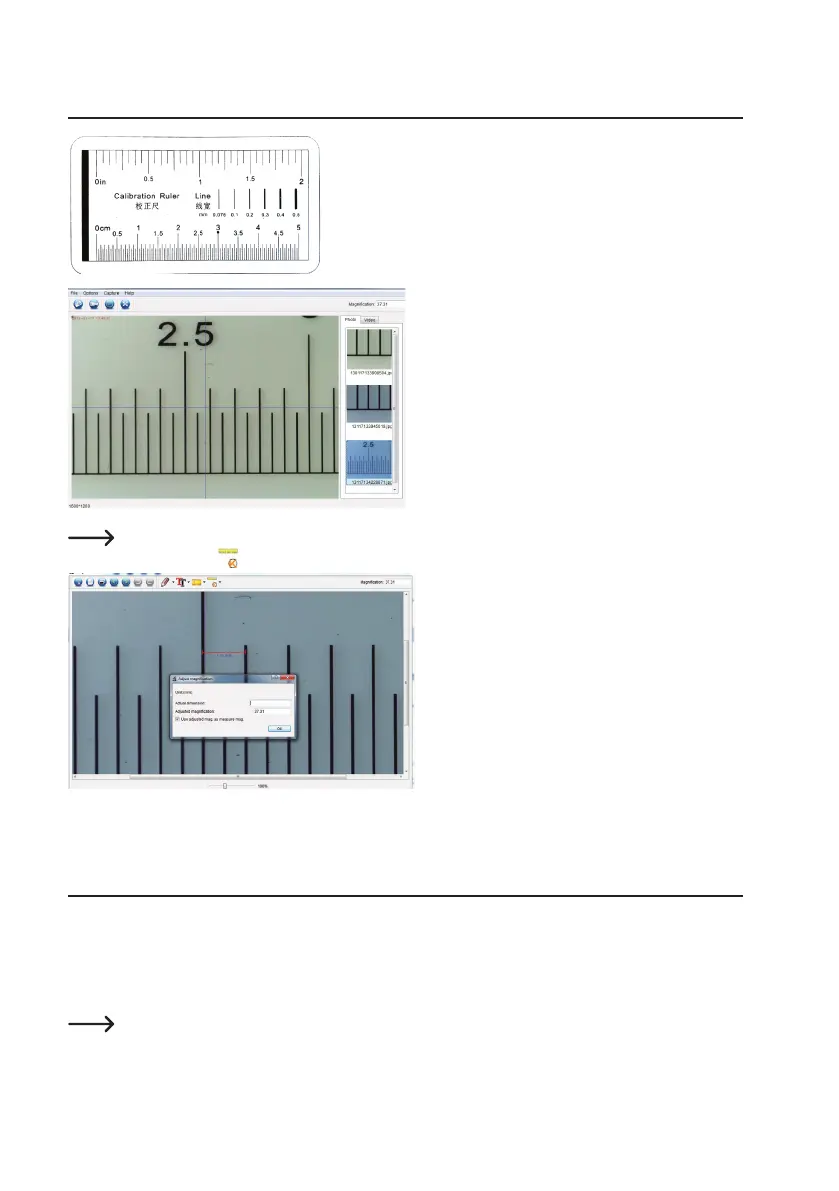
Double-click an image in the saved images window (B7) to enter the measurement interface, then select
the calibration icon.
• Click and drag to select start and end points across
a known value e.g. 1 mm increment along the ruler.
• When the dialog box shows, enter the exact value of
the measurement sample in the Actual dimension
eld.Thesoftwarewillcalibratethemagnication.
• Select OK to conrm. The adjusted magnication
value will show in the upper right corner.
15. High and Low Magnication
• Highmagnication(1.5mmeldofview):Turnthenefocusdial(A6) all the way to the right, then slowly dial back
until the image comes into focus.
• Lowmagnication(6mmeldofview):Turnthenefocusdial(A6) all the way to the left, then slowly dial back until
the image comes into focus.
Afterturningthenefocusdial(A6) all the way right or left, it will take a few seconds for the LED light
balance to adjust.