6 2031005680 Rev. C, 06/2016
5.5 Auxiliary Receptacle Button
The auxiliary buttons, AUX 1 & 2, control the power to the auxiliary receptacles located to
the right of the circuit board assembly inside the IS-5500. These receptacles are
recommended for chart projector or any other desired equipment connections.
5.6 Charging Wells
Three (3) smart Charging Wells are available to recharge handheld instrument batteries.
Charging well will perform fast charge if inserted instrument handle is low in charge level.
Once handle is fully charged, charging well will turn to trickle mode to maintain charge
level. Normally the handhelds will maintain full charge if placed in the well during the day.
A well is charging if the green LED is lit. Well charging will not stop even if the main power
switch is turned OFF. It will stop only if the stand is unplugged from power.
Warning: Do Not Touch Wells Contact and Patient simultaneously.
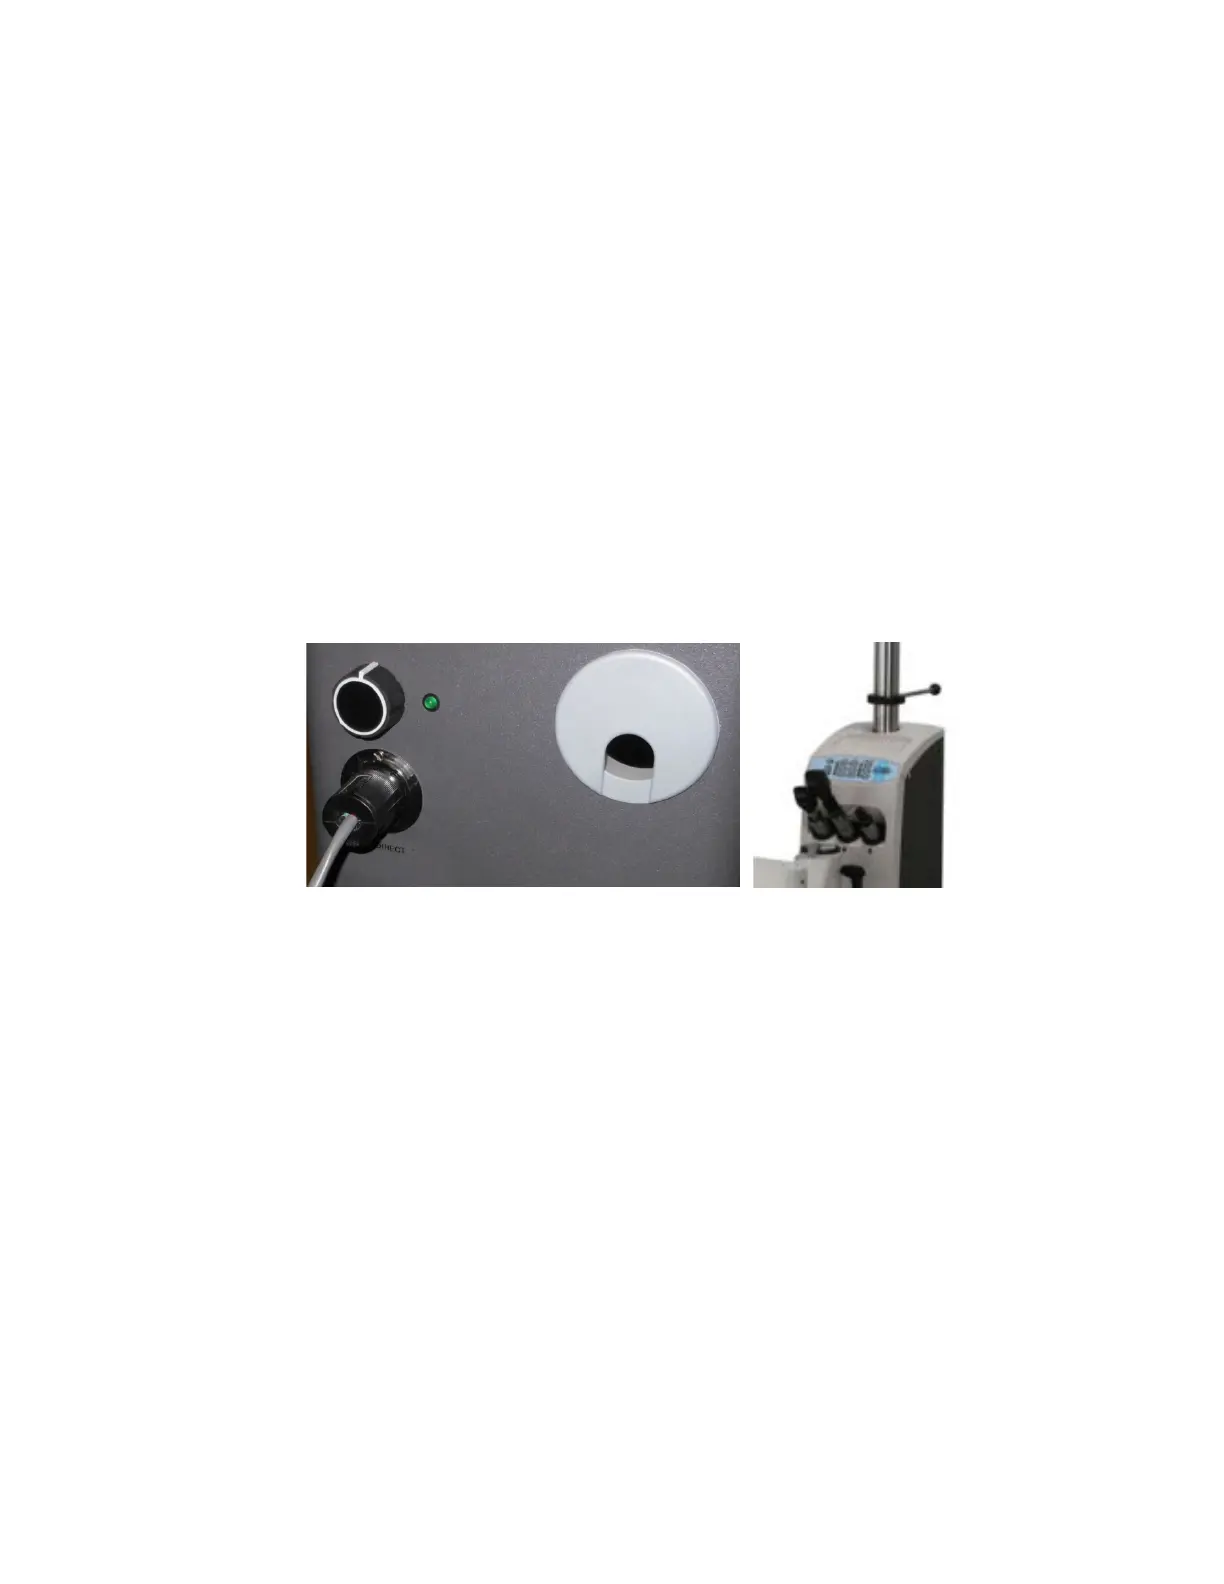
5.7 Indirect (BIO)
Once BIO is plugged in and functional, use the dimmer knob in the back of the stand to turn
the BIO ON/OFF and to control the intensity of the light.
Figure 3: BIO Control and Hanger
5.8 Roomlights
The Roomlight kit allows the IS-5500 to be an independent control of the room light
environment. Once it has been wired and roomlight cable has been plugged in and set-up by
a qualified technician, use Roomlight functions on the control panel (Figure 2) to control the
room light.
Press ON/OFF to switch the room light ON or OFF.
(NOTE: The following dimming functions are only provided for incandescent lighting only).
Roomlight switch has to be in the ON position to use dimming functions.
To adjust brightness of the light, simply press the ▲ or ▼ (UP or DOWN) button under
Roomlight.
 Loading...