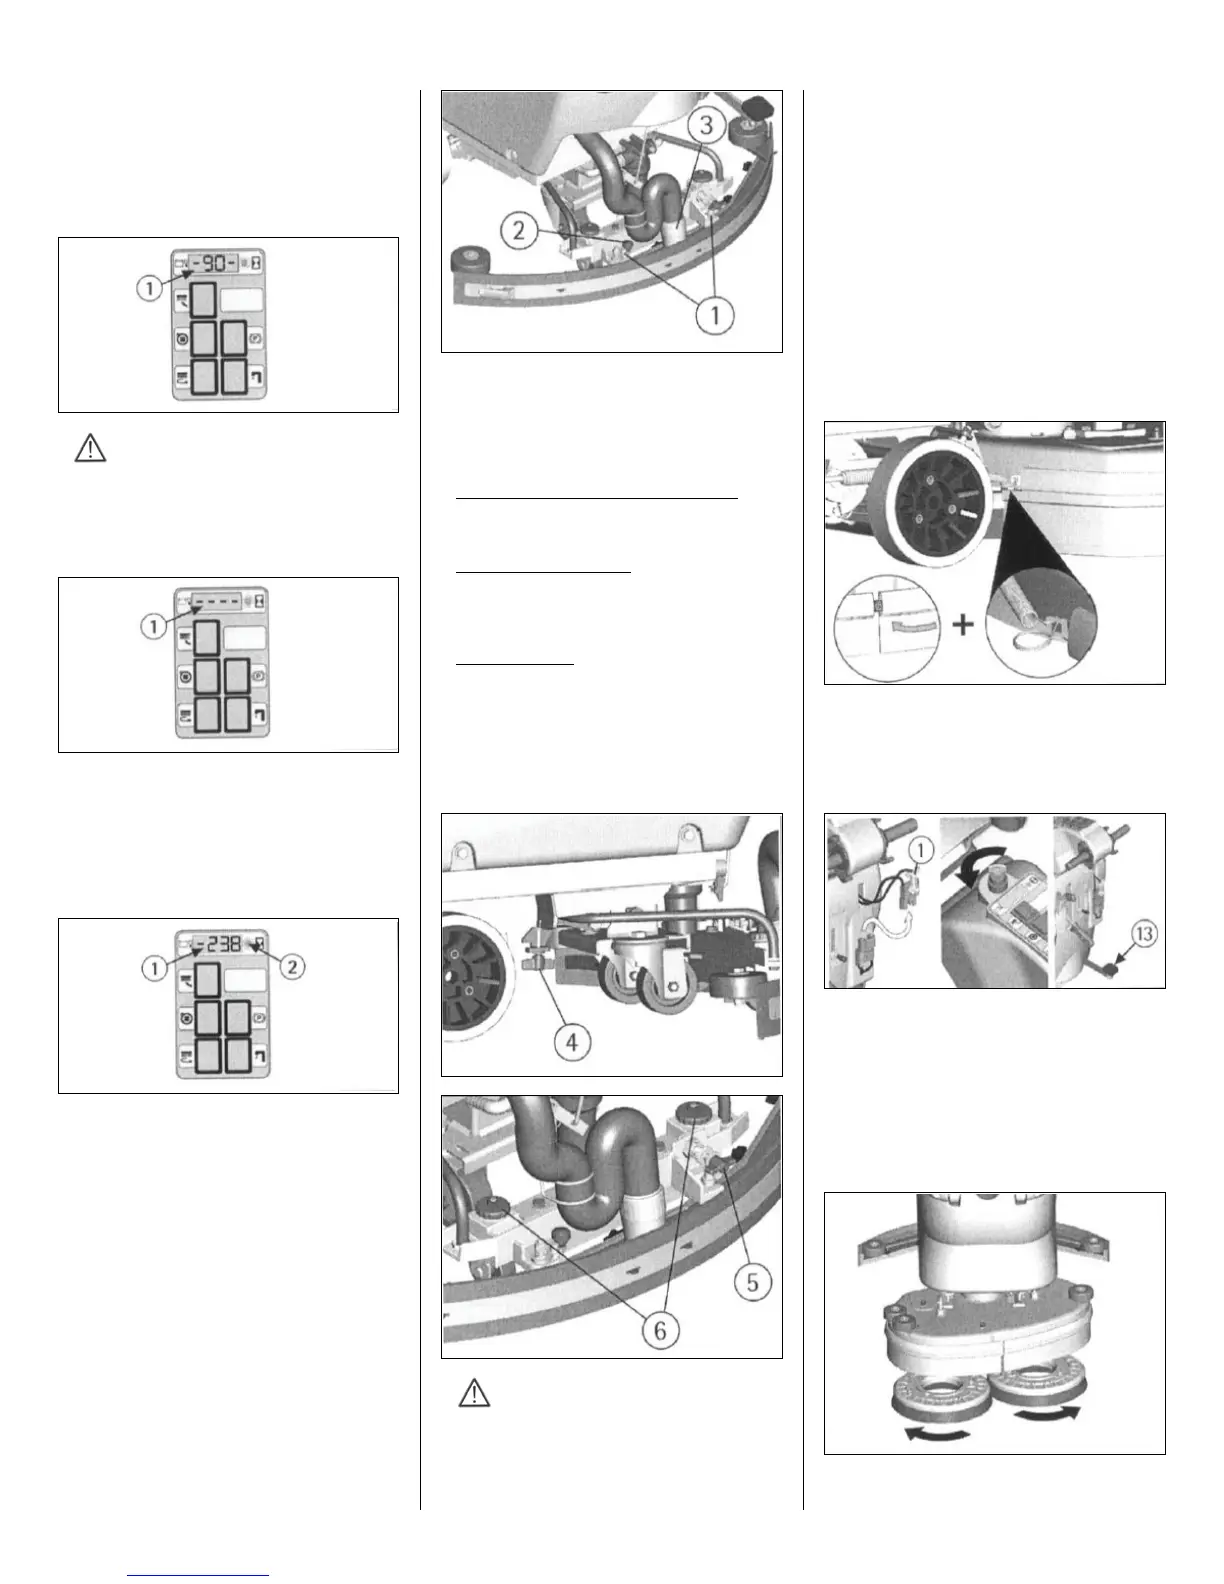
The battery charge level indicator (1) is digital
and indicates the percentage of the battery
charge. 90 is the maximum charge, down to a
minimum of 10, indicating every 10% decrease.
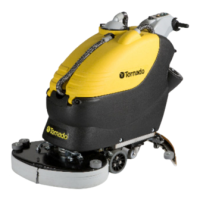
When the charge level reaches 20%, the display
starts blinking indicating the end of the battery
charge.
ATTENTION:
After a few seconds from the blinking of the
four lines, the brush motor stops
automatically. It is possible to finish the
drying operation before proceeding to the
recharge.
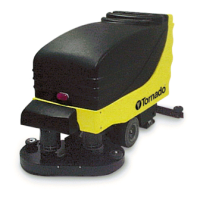
HOUR METER
The machine is equipped with an hour meter
located on the same display as the battery
charge level indicator (1). Keep the button (2)
pressed for more than 3 seconds, the first data
indicates the working hours and after a few
seconds the working minutes are shown.
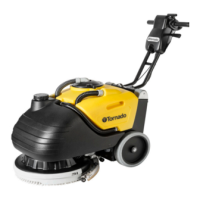
SQUEEGEE ASSEMBLY
With the squeegee support slightly lifted from
the floor, slide the two stud bolts (1) placed on
the upper part of the squeegee inside the slots on
the support. Block the squeegee by rotating the
lever (2) clockwise.
Insert the squeegee hose (3) into the coupling,
as indicated in the figure.
ADJUSTMENT OF THE SQUEEGEE
In order to have better drying results with the
squeegee, the rear rubber must have its lower
bending uniformly adjusted in all its length. For
squeegee adjustment, use the instructions
below:
Adjusting the bend: lower part of the rubber
Adjust the pressure by rotating the wing nut (4).
To increase: rotate clockwise. To decrease:
rotate counter-clockwise.
The bending is not uniform
Adjust the squeegee inclination by rotating
counter-clockwise the wing nut (5) to increase
the bending in the central part, and clockwise to
increase the bending on the extremities.
Height adjustment
Once the pressure and inclination of the
squeegee has been adjusted, make sure that the
wheels slightly touches the floor. To adjust,
rotate the registers counter-clockwise (6) to
lower the wheels or clockwise to raise them.
Both wheels must be adjusted in the same
measure.
ATTENTION:
Every type of floor requires a specific
adjustment. For example, concrete floors
(where the friction is high) need little
pressure, while smooth floors (like ceramics)
need higher pressure.
If the cleaning operations are made on the same
type of floor, adjust according to rubber wear.
SPLASH GUARD ASSEMBLY
The two splash guards have to be assembled onto
the brush base. Insert the metal strips inside the
slots on the rubber. Place the round hole at the flat
extremity of the strip onto the screw placed in the
front part of the brush base. Secure the strips
through the nut that blocks it.
Hook the spring in the rear part of the brush base
to the slot placed at the extremity of the metal
strip. Please follow above instructions for both the
splash guard rubbers. Minimize the gap between
the two rubbers in the front part of the brush base.
With brushes assembled, the splash guard must
slightly touch the floor.
BRUSH ASSEMBLY
1. Take off the electric supply to the brush motor
unplugging the battery connector (1). Turn the key
counter-clockwise.
2. Lift the brush base by pressing the pedal (13).
3. With the brush base lifted, insert the brushes
into their plate underneath the brush base. Turn
them until the three metal buttons are properly
seated in their slots; rotate the brushes to push the
button towards the coupling spring until they get
blocked.
The figure shows the rotation of the brush
couplings.
(BD 22/14 and BD 26/14)