1
InstallingtheHandle
Partsneededforthisprocedure:
1Handle
2
Bolt(5/16x1-1/4inches)
4Washer
2
Thinnyloninsertlocknut(5/16inch)
2
Bolt(5/16x1-1/2inches)
1
Carriagebolt
2
Locknut(5/16inch)
1Bagsupportrod
1Bagaligningplate
3
Caplocknut
3
Cabletie
Procedure
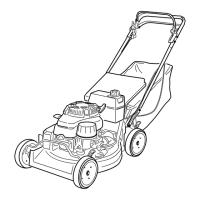
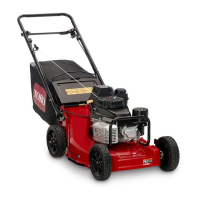
1.Mountthehandletotheoutsideofthemowerhousing
(usingthebottomhole)withtwobolts(5/16x
1-1/4inches),washers,andthinlocknuts(5/16inch)
(Figure3).
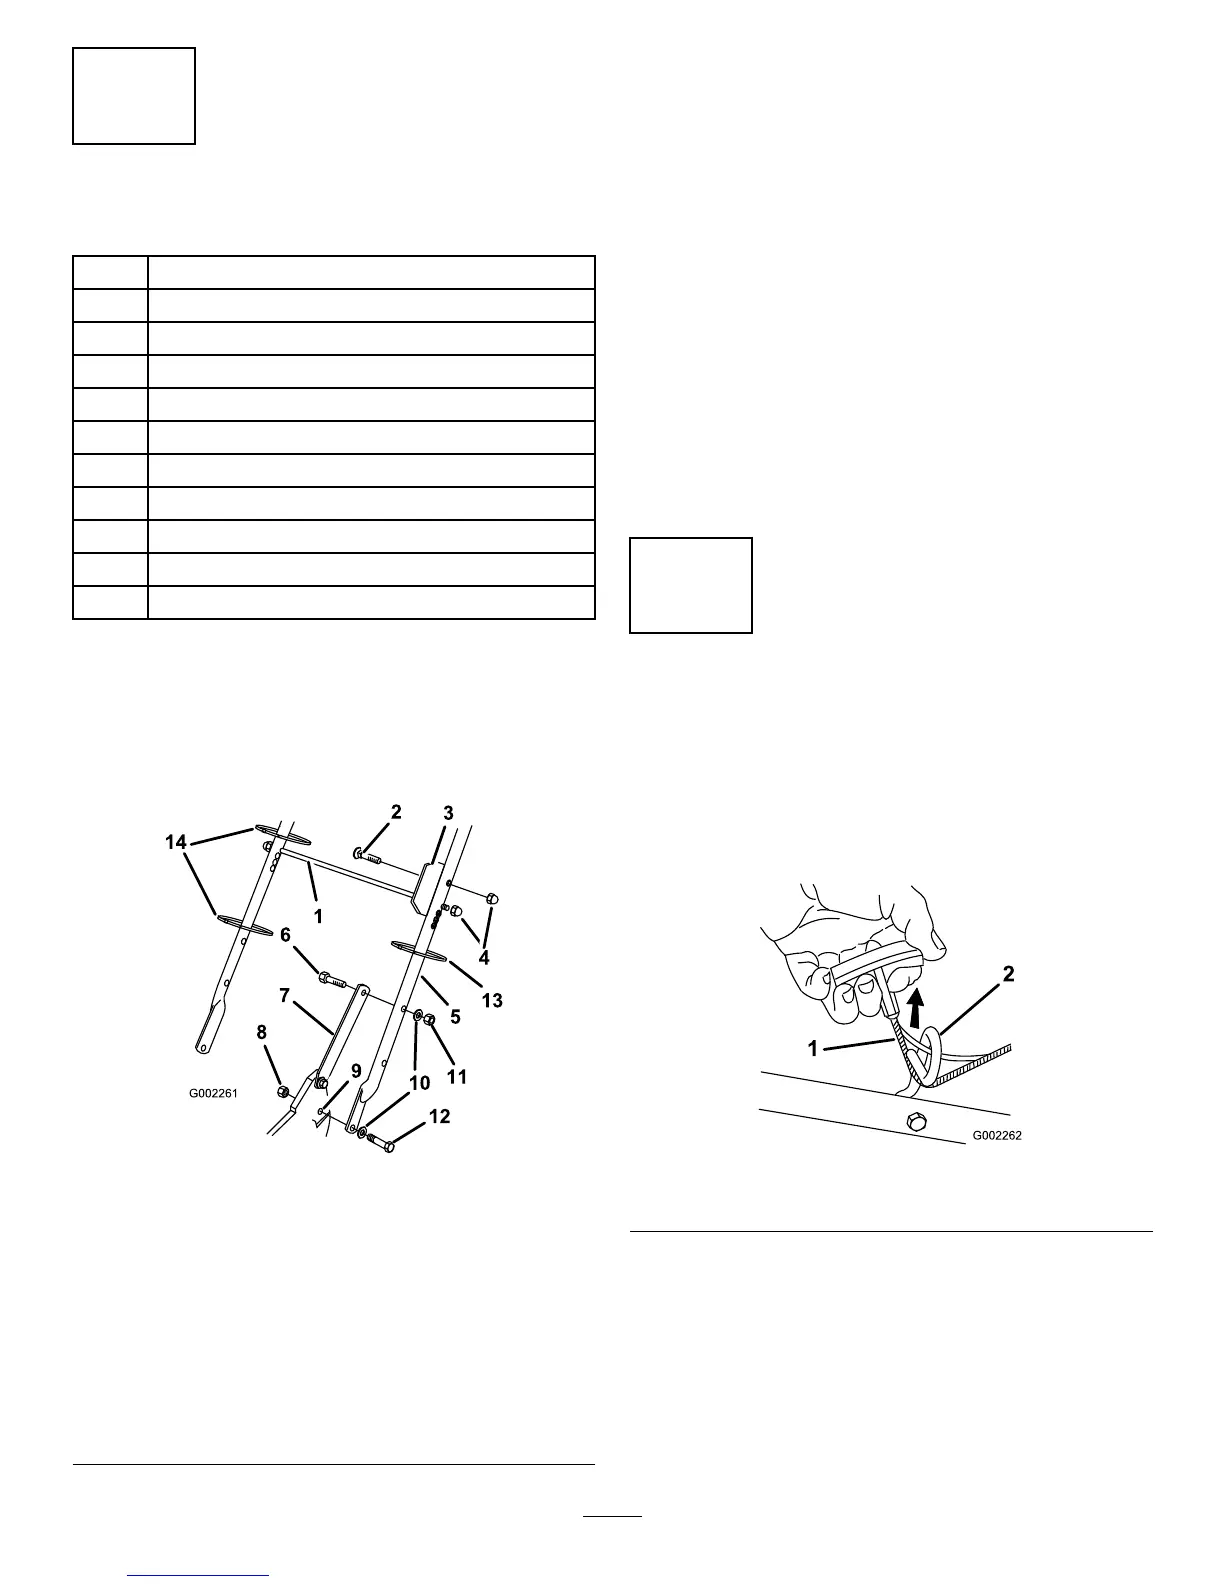
Figure3
1.Bagsupportrod8.Thinnyloninsertlocknut
(2)
2.Carriagebolt
9.Bottomholeinhousing
3.Bagaligningplate
10.Washer(4)
4.Caplocknuts(3)11.Locknut(2)
5.Handle
12.Bolt,(5/16x1-1/4inches)
(2)
6.Bolt,(5/16x1-1/2inches)
(2)
13.Cabletie(3)
7.Handlelatch(2)
2.Securethehandlelatchestothehandlewith2bolts
(5/16x1-1/2inches),washers,andlocknuts(5/16
inch)(Figure3).
Note:Youcanadjustthehandleheightfor
comfortableoperation.Standbehindthehandleto
determinetheheight.Toadjustthehandleheight,
positiontheboltsandthelocknutsthatsecurethe
handlelatchestothehandleintotheothermounting
holesinthelatches.
3.Insertthecarriageboltthroughthebagaligningplate
andthesecondfromthetopholeontheleftsideofthe
handle,andsecureitwithacaplocknut(Figure3).
4.Slidethebagsupportrodthroughthethirdfromthe
topmountingholesinthehandle,andsecureeachend
withacaplocknut(Figure3).
5.Usecabletiestosecurethecontrolcablestothehandle
(Figure3).
2
InstallingtheStarterRope
NoPartsRequired
Procedure
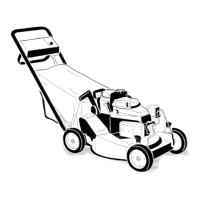
Pullthestarterropethroughtheropeguideonthehandle
(Figure4).
Figure4
1.Starterrope
2.Ropeguide
Note:Tomaketheropeeasiertoinstall,squeezetheblade
controlbaronthehandle.
7