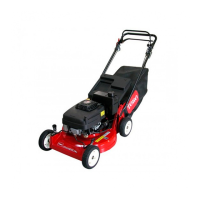
3.Slidethebagsupportrodthroughthesecondfrom
thetopmountingholesinthehandleandsecure
eachendwithacaplocknut(Figure3).
4.Useacabletietosecurethecontrolcablestotheleft
handlebelowthebagsupportrod.
2
InstallingtheFuelTank
Partsneededforthisprocedure:
2
Self-tappingscrew
1Fueltank
Procedure
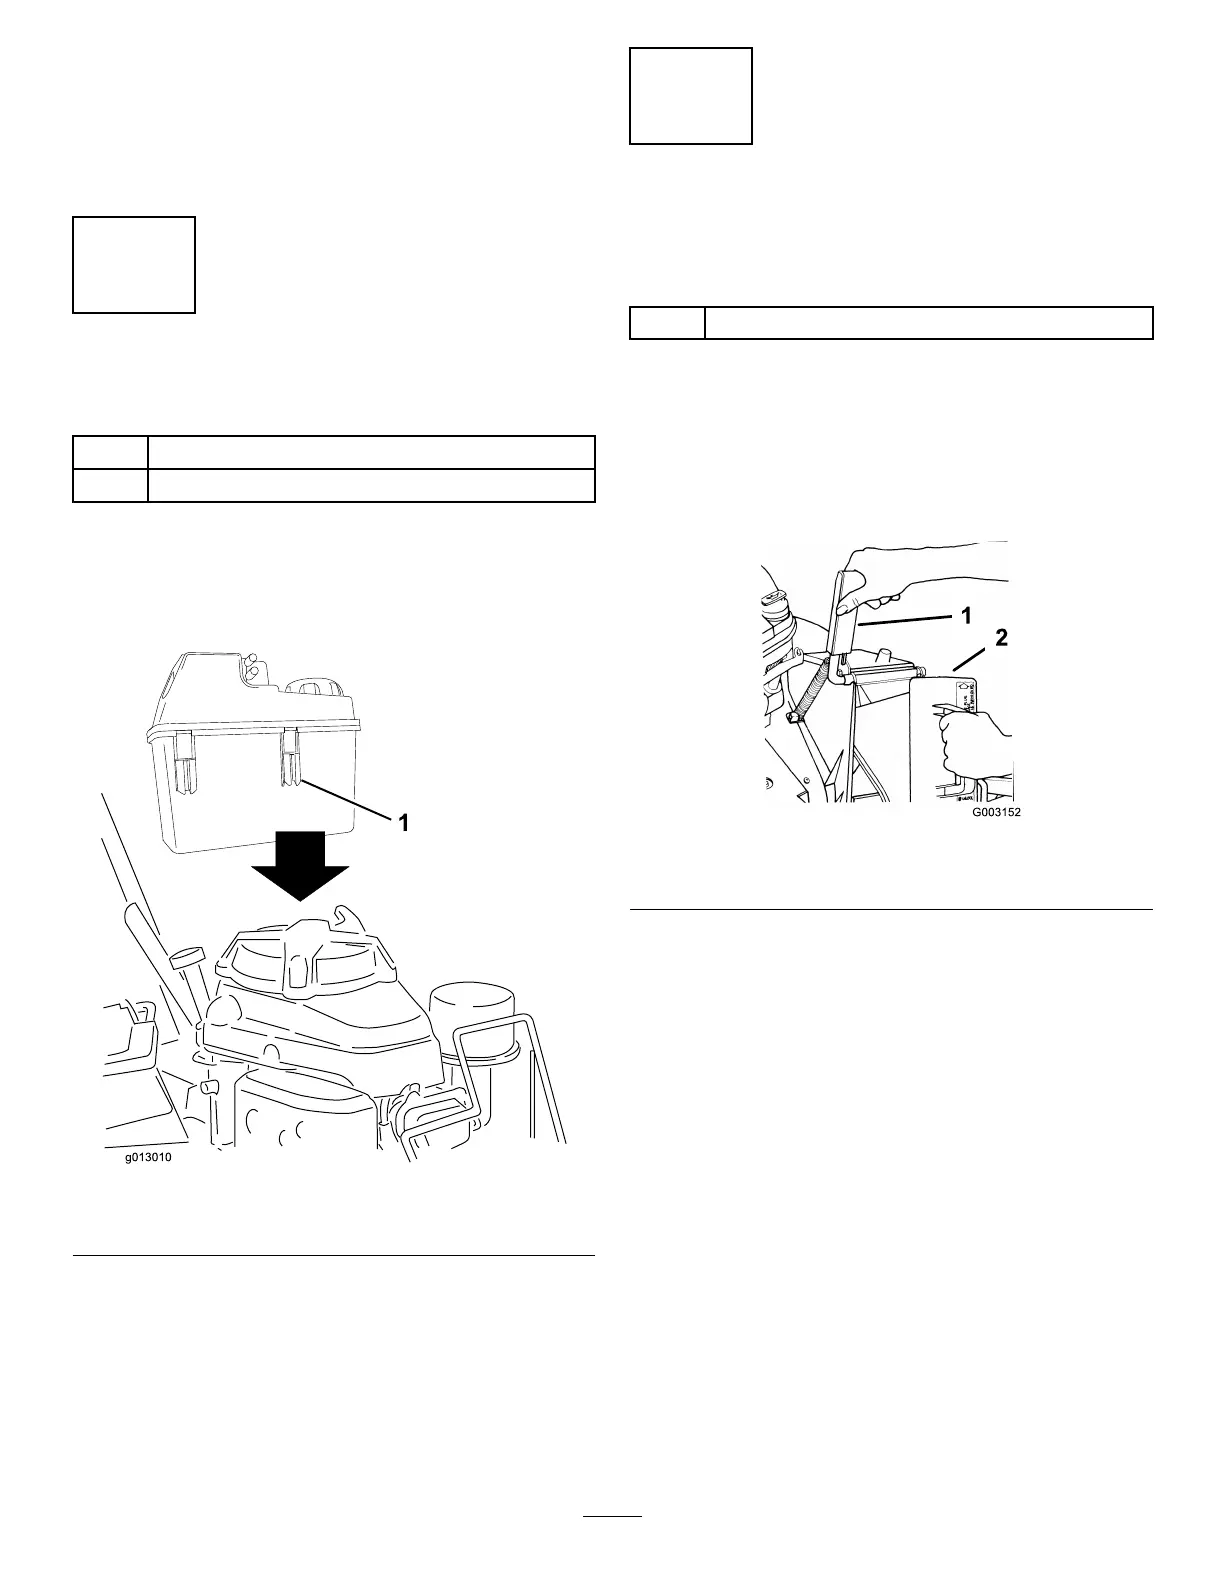
1.Slidetheplasticclipsonthefrontofthefueltank
ontothefueltankmount(
Figure4).
Figure4
1.Plasticclip(2)
2.Securethebottomofthefueltanktothefueltank
bracketbyinstallingtheself-tappingscrewsfromthe
bottom.Torquethescrewsto40to50in-lb(4.5
to5.6N-m).Donotovertightenthescrews.
3
InstallingtheDischargeTunnel
Plug
Partsneededforthisprocedure:
1Dischargetunnelplug
Procedure
1.Openthedischargedoorbypullingforwardonthe
handleandmovingitrearward(
Figure5).Holdthe
dischargedoorhandletopreventthespring-loaded
doorfromclosingwhileyouinserttheplug.
Figure5
1.Dischargedoorhandle2.Plug,rotatedclockwise
2.Sincetheplugisslightlywiderthanthedischarge
tunnelopening,rotatetheplugclockwiseslightly
whileinsertingit(
Figure5).
Note:Ensurethatthearrowontheplugdecal
pointsupward.
3.Pushtheplugallthewayinuntilthespringclipon
thebottomoftheplugclicksintoplace,lockingthe
plugsecurelyintothedischargetunnel(
Figure6).
8