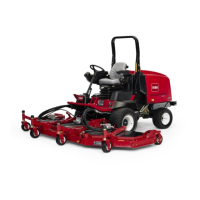
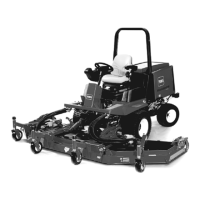
Figure 13
1. Gear box 2. Check/ll plug
Checking the Tire Pressure
T he tires are o v er -inflated for shipping . T herefore ,
release some of the air to reduce the pressure . T he
cor rect air pressure in the front and rear tires is
25-30 psi (172-207 kP a).
Important: Maintain ev en pr essur e in all
tir es to ensur e a good quality-of-cut and pr oper
machine perf or mance. Do not under -inflate.
Checking the Torque of the Wheel
Nuts or Bolts
F ailur e to maintain pr oper torque of the
wheel n uts could r esult in f ailur e or loss of
wheel and may r esult in per sonal injur y .
T orque the fr ont wheel n uts and r ear
bolts to 85-100 ft-lb (115-136 N ⋅ m) after
1-4 hour s of operation and a gain after 10
hour s of operation. T orque ev er y 200 hour s
ther eafter .
Adjusting the Height-of-Cut
Center Cutting Unit
T he height-of-cut is adjustable from 1 to 5 inc hes
(25 to 127 mm) in 1/2 inc h (13 mm) increments .
T o adjust the height-of-cut on the front cutting
unit, position the castor wheel axles in the upper
or lo w er holes of the castor forks , add or remo v e
an equal n umber of spacers from the castor forks ,
and secure the rear c hain to the desired hole .
1. Star t the engine and raise the cutting units so
that the height-of-cut can be c hang ed. Stop
the engine and remo v e the k ey after the cutting
unit is raised.
2. P osition the castor wheel axles in the same
holes in all castor forks . R efer to the follo wing
c har t to deter mine the cor rect holes for the
setting .
Figure 14
1. Castor wheel 4. Shims
2. Tensioning cap
5. Axle mounting holes
3. Spacers
Note: W hen operating in 2-1/2 inc h (64
mm) height of cut or higher , the axle bolt
m ust be installed in the lo w er castor fork hole
to prev ent g rass buildup betw een the wheel
and the fork. W hen operating in height of
cuts lo w er than 2-1/2 inc hes (64 mm) and
g rass buildup is detected, rev erse the mac hines
direction to pull any clippings a w a y from the
wheel/fork area.
3. R emo v e the tensioning cap from the spindle
shaft ( Figure 14 ) and slide the spindle out of the
castor ar m. Put the 2 shims (1/8 inc h [3 mm])
onto the spindle shaft as they w ere originally
installed. T hese shims are required to ac hiev e
a lev el across the entire width of the cutting
units . Slide the appropriate n umber of 1/2
23

 Loading...


