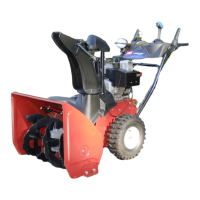
Figure 34
Checking and Adjusting the
Skids and Scraper
Chec k the skids and the scraper to ensure that the aug er
does not contact the pa v ed or g ra v el surface . Adjust the
skids and the scraper as needed to compensate for w ear .
1. Chec k the tire pressure . R efer to Chec king the Tire
Pressure .
2. Loosen the n uts that secure both skids to the aug er
sides until the skids slide up and do wn easily ( Figure 35 ).
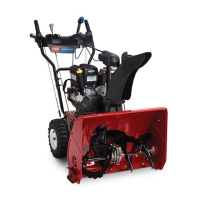
Figure 35
3. Suppor t the side plates so that they are at least 1/2 inc h
(1.3 cm) abo v e a lev el surface .
Important: T he auger blades must be suppor ted
a bo v e the g r ound by the skids.
4. Ensure that the scraper is 1/8 inc h (3 mm) abo v e and
parallel to a lev el surface .
Note: If the pa v ement is crac k ed, rough, or unev en,
adjust the skids to raise the scraper . F or g ra v el
surfaces , adjust the skids fur ther do wn to prev ent the
sno wthro w er from pic king up roc ks .
5. Mo v e the skids do wn until they are ev en with the
g round.
6. Fir mly tighten the n uts that secure both skids to the
aug er sides .
Note: T o quic kly adjust the skids if they loosen,
suppor t the scraper 1/8 inc h (3 mm) off the pa v ement,
then adjust the skids do wn to the pa v ement.
Note: If the skids become ex cessi v ely w or n, y ou can
tur n them o v er and set the un used side to w ard the
pa v ement.
Checking and Adjusting the
Traction Cable
Chec k and adjust the traction cable after the first 2 operating
hours , then yearly thereafter . If the sno wthro w er does not
dri v e in the forw ard or rev erse speeds or it dri v es when y ou
release the traction lev er , adjust the traction cable .
With the traction lev er diseng ag ed, c hec k the pin in the
elong ated slot in the left side of the sno wthro w er abo v e
the tire . T here should be a g ap of 1/32 to 1/16 inc h (1 to
1.5 mm) from the front of the slot to the front edg e of the
pin ( Figure 36 ).
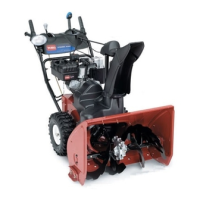
Figure 36
1. Pin
If the left hand (traction) cable is not properly adjusted,
do the follo wing ste ps:
1. Loosen the jam n ut.
2. Loosen or tighten the tur nbuc kle to adjust the pin until
it is the proper g ap from the front edg e of the slot.
3. Tighten the jam n ut ( Figure 37 ).
16

 Loading...