17
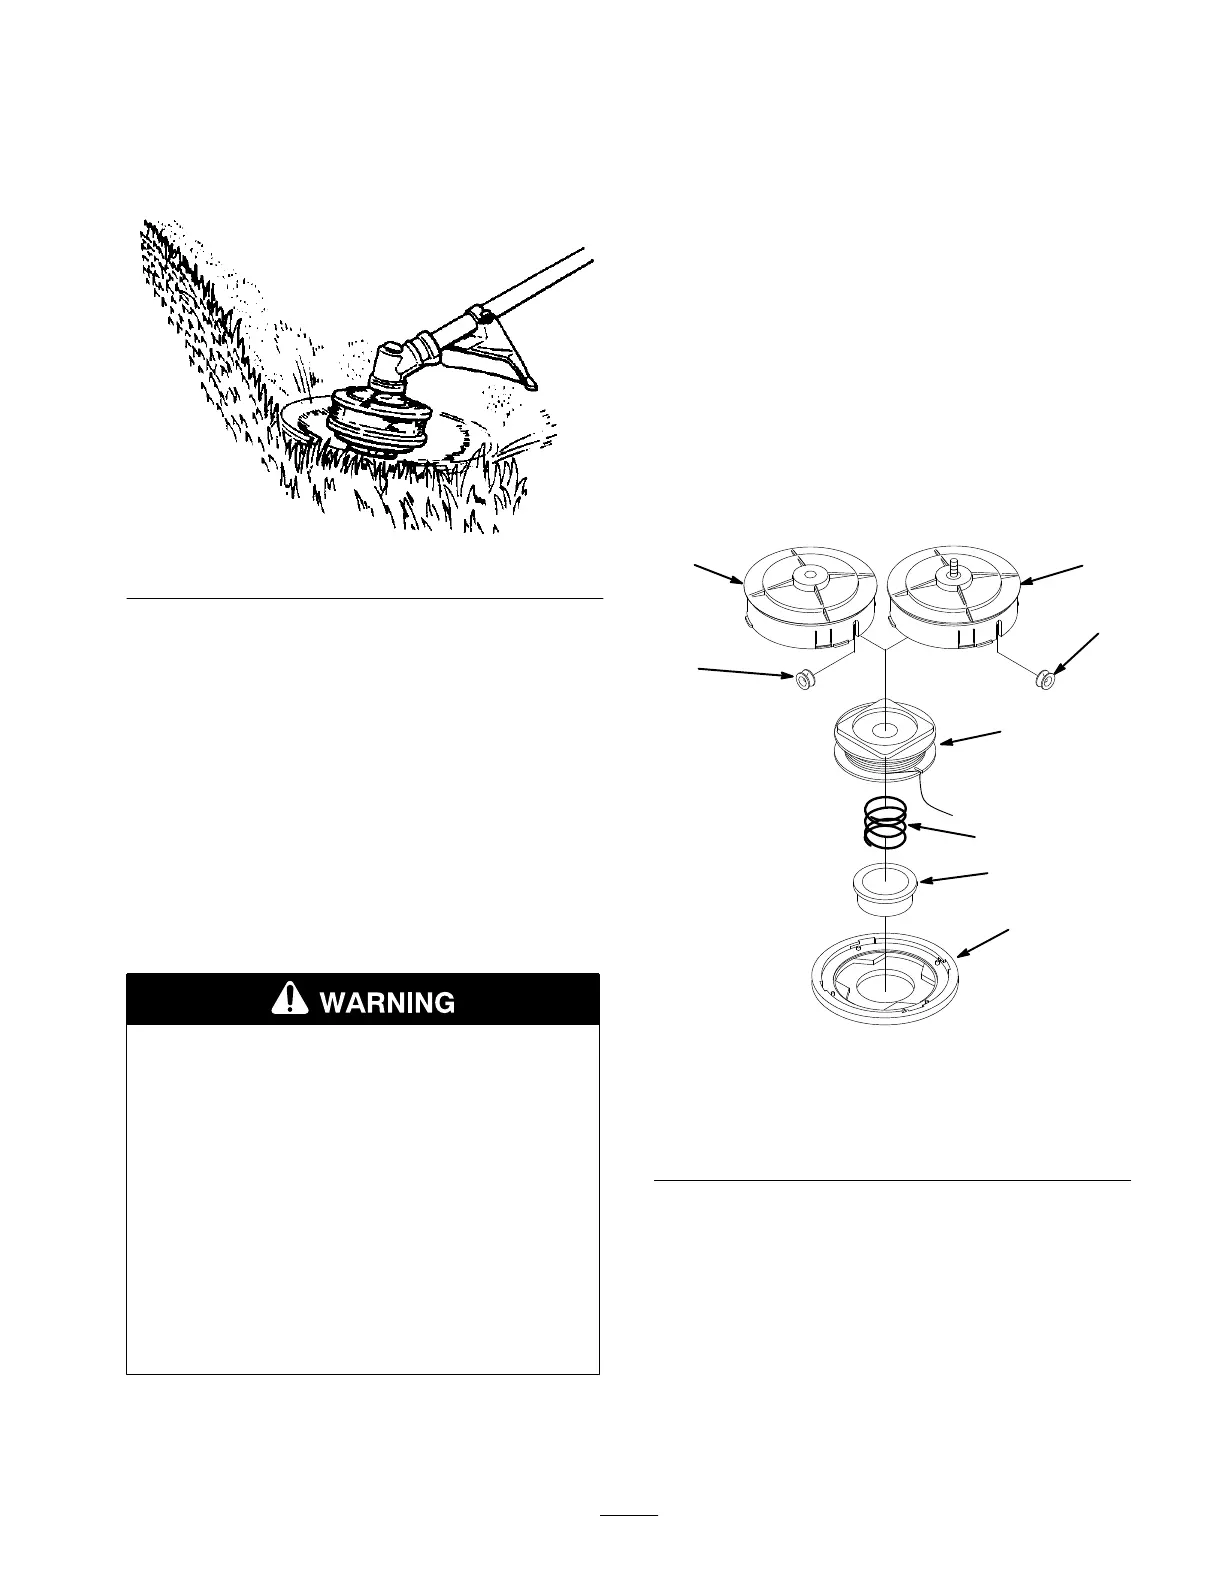
Mowing
Keep the line parallel to the ground and use a gentle
side-to-side motion (Fig. 19).
m-2983
Figure 19
Maintenance
NOTICE:Maintenance, replacement or repair of the
emission control devices and systems may be
performed by any non-road engine repair
establishment or individual. However, to obtain no
charge repairs under the terms and provisions of the
Toro warranty statement, any service or emission
control part repair or replacement must be performed
by an Authorized Toro Service Dealer.
Rewinding the Trimmer Spool
POTENTIAL HAZARD
• Use of improper line could cause line to break
and be thrown in operator’s or bystander’s
direction.
WHAT CAN HAPPEN
• Use of improper line could result in serious
personal injury.
HOW TO AVOID THE HAZARD
• Use only good quality, commercial grade, weld
resistant trimmer line with a diameter of .095
inches (2.413 mm).
• Do not use any type of wire or other string-like
substance. Do not use metal-reinforced line.
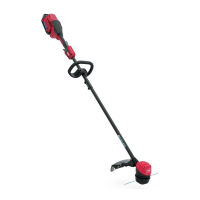
1. Unlock the spool cover by depressing the tab and
turning the cover clockwise (Figs. 20).
2. Remove the cover and bump knob (Figs. 20).
3. Remove the spool. Make sure the metal eyelets and
spring do not fall out (Figs. 20).
4. Clean the dirt from the inside of the spool parts if
required.
5. Use approximately 20 to 25 feet (6 to 7.6 m) of new
trimmer line and fold the line in half.
6. Insert one end of the new line through the hole in the
spool shaft (Figs. 20).
7. Wind the line in even, tight layers onto the spool in the
direction indicated on the spool.
8. Thread the two ends of the line through the eyelets
(Figs. 20).
9. Replace the bump knob and spool cover. Align the
pointed projections and turn the cover
counterclockwise (Figs. 20).
Figure 20
1. Housing (straight shaft)
2. Housing (curved shaft)
3. Eyelet (2)
4. Spool (with Line)
5. Spring
6. Bump Knob
7. Spool Cover