Installation
11
Adjusting front–to–Rear Blade Cut
1. Disengage the power take off (PTO), set the
parking brake, lower the attachment lift, and turn
the ignition key to “STOP” to stop the engine.
Remove the ignition key.
2. Carefully rotate one of the blades so it is facing
front and rear (Fig. 19).
3. Measure the distance from the front tip of the
blade (Fig. 19) to the flat surface. Then
carefully rotate the blade tip until it is in the rear
position. When the blade tip is in the front
position, it should be 1/8” (3 mm) lower than
when it is in the rear position.
m–3576
1
2
3
Front
44
Figure 19
1. Blade
oriented
front to rear
2. Measure
front blade tip
3. Rotate
front tip to rear and
measure
4.
Measure here (side to
side)
4. Front–to–rear adjustment is made by turning the
adjusting nut (Fig. 20) on the back of the mower.
To raise the front of the mower, turn the
adjustment nut clockwise. To lower the front of
the mower, turn the nut counterclockwise.
m–3574
1
Figure 20
1. Front–to–rear
adjustment
rod
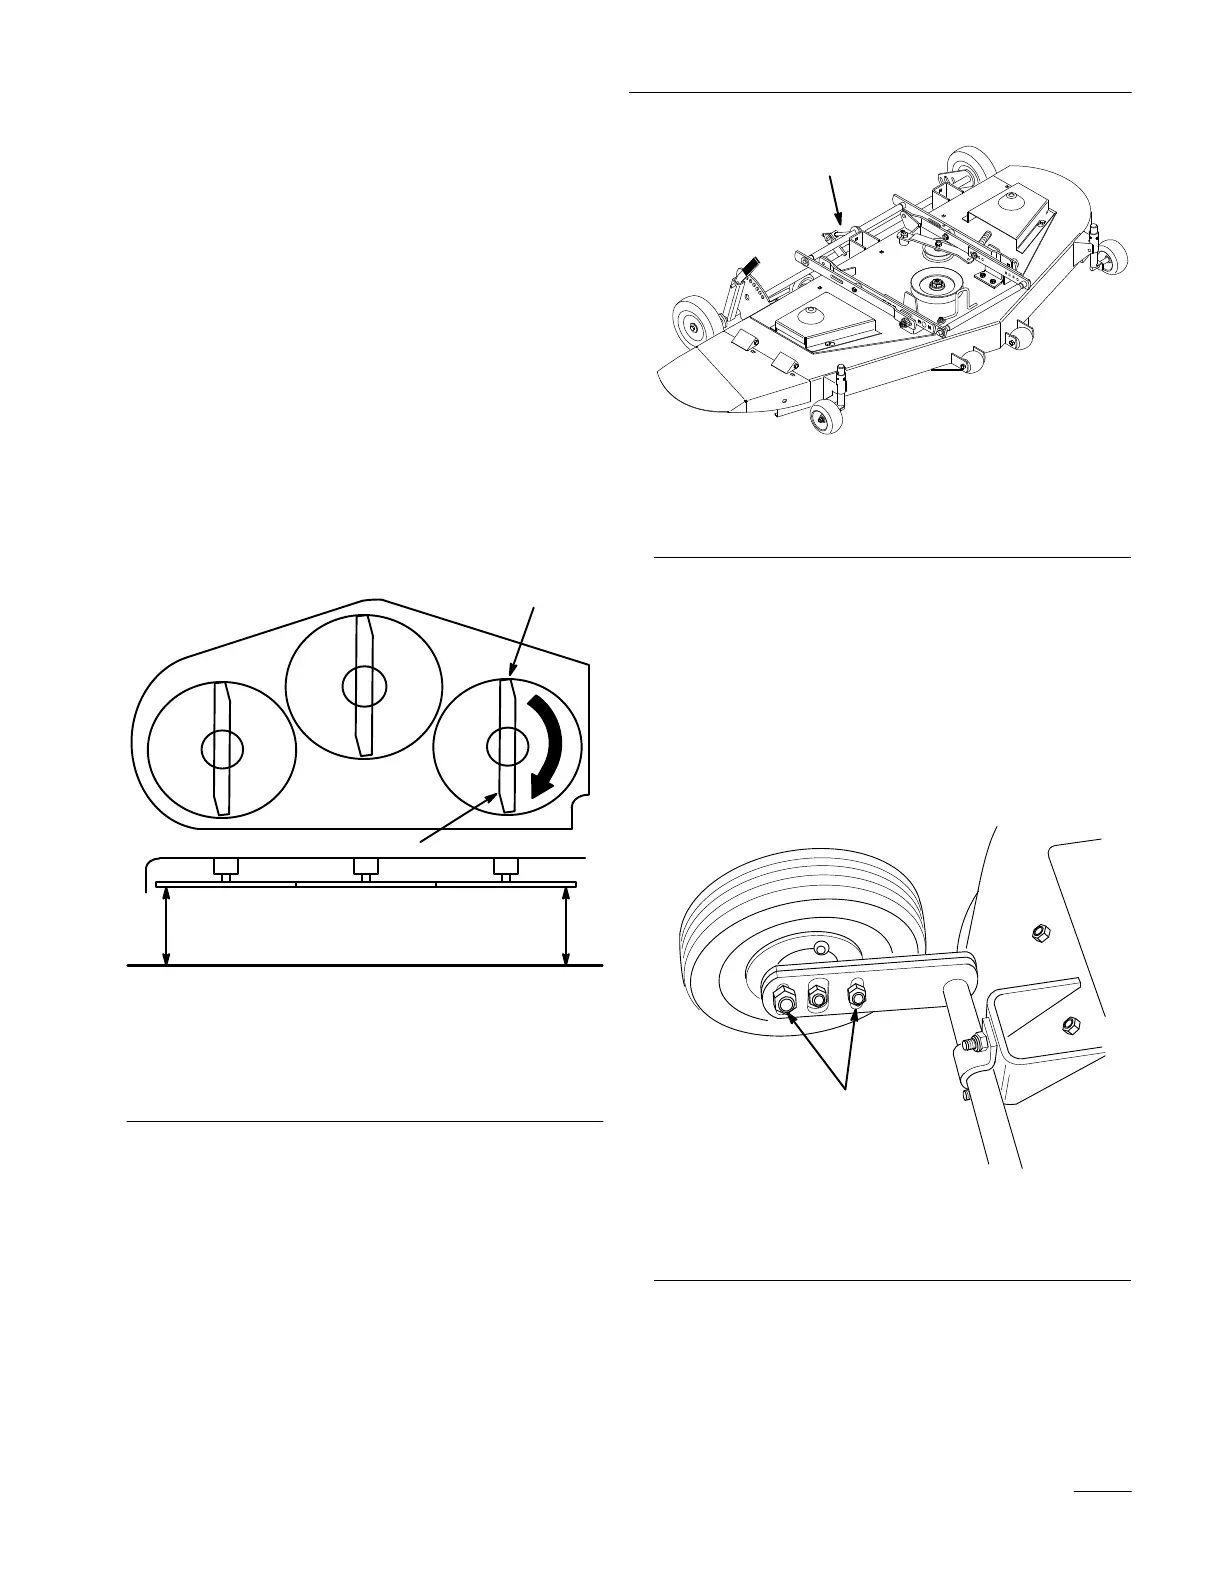
Adjusting Side–to–Side Blade Cut
This optional adjustment is available if necessary to
compensate for uneven side–to–side cut.
Equalize side–to–side cut by adjusting the two
carriage bolts (Fig. 21) on the mower. Check height
of blade at outside blade tips as shown (Fig. 19).
m–3577
1
Figure 21
1. Side–to–side
adjustment
bolts