3
Installation
Loose
Parts
Note: Use the chart below to identify parts used for assembly.
DESCRIPTION QTY. USE
Discharge chute
Spring
Bolt 3/8–24 x 3–1/2”
Lock nut 3/8”
1
2
2
2
Install discharge chute
PT
O drive belt
1
Install PT
O drive belt
Pulley box
1
Install pulley box
Operator’
s Manual
1
Read before operating
Mower
Preparation
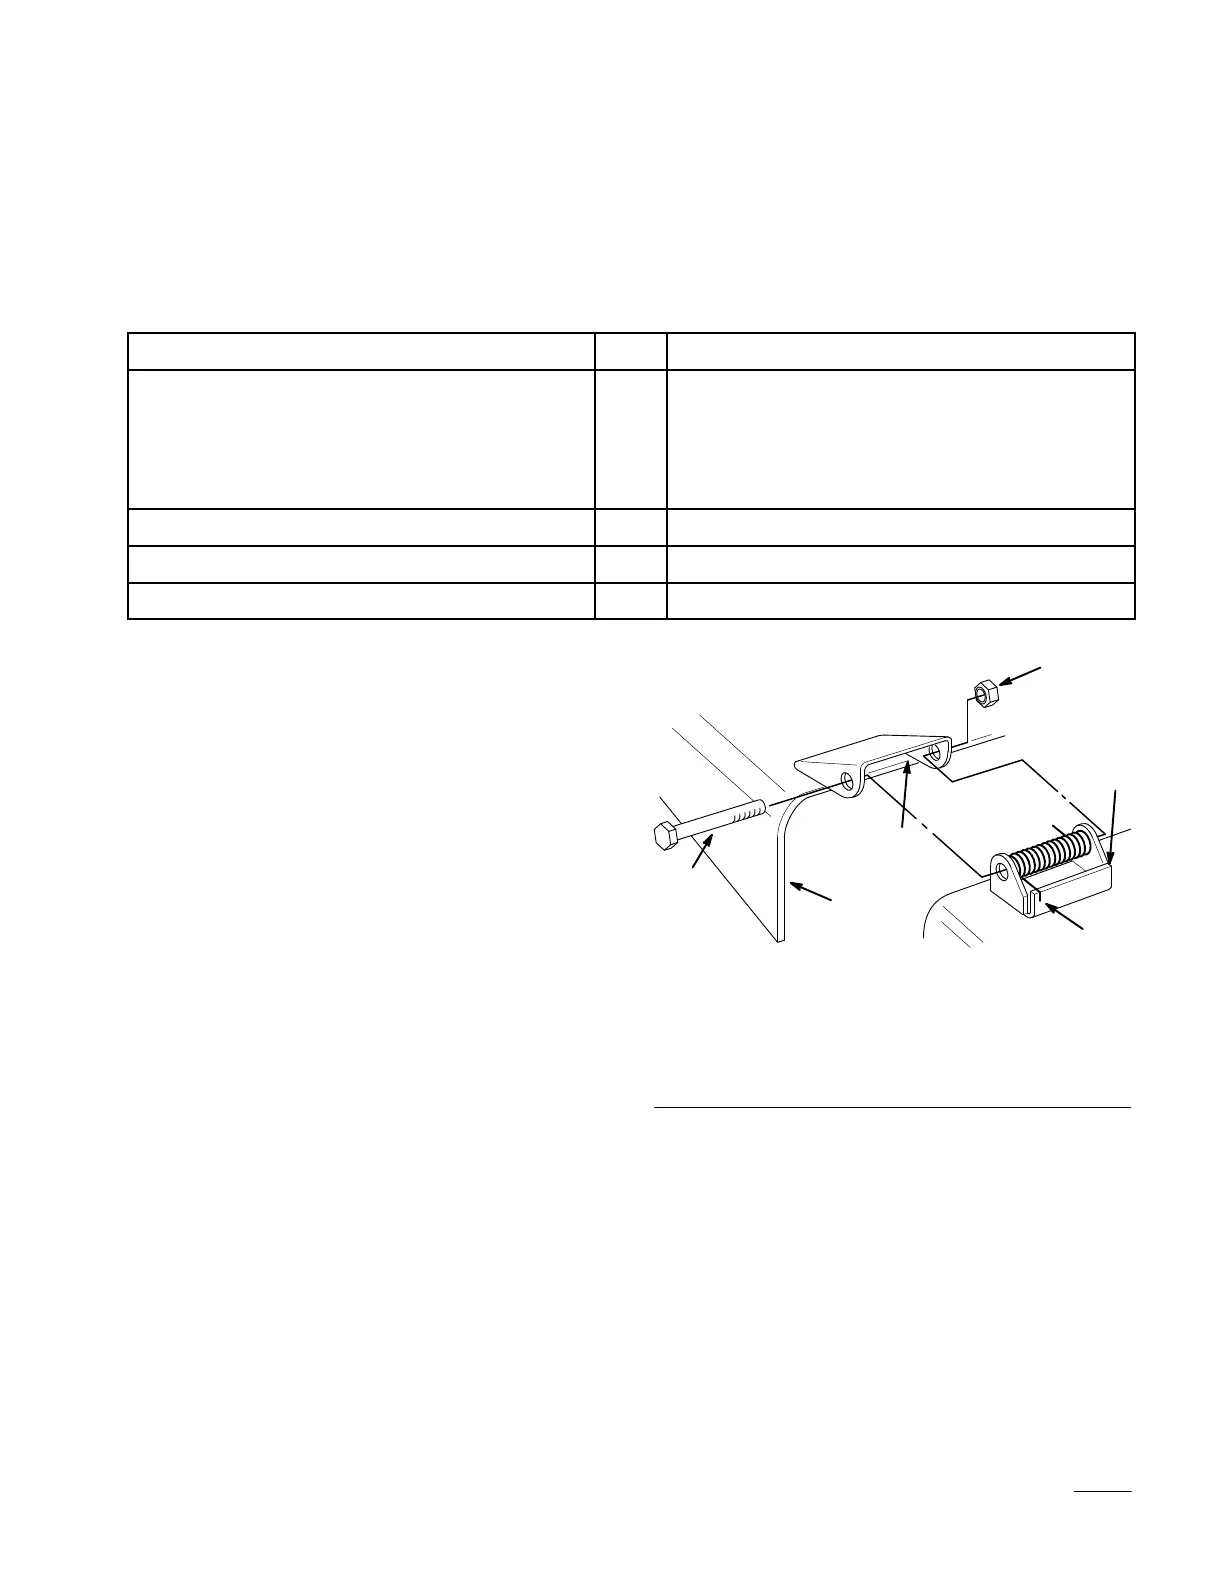
Install the Discharge Chute
1. Place the springs into the brackets on the mower
with the hooked ends over the raised back of the
bracket (Fig. 1).
2. Align the discharge chute with the holes in the
brackets and the spring straight ends in the space
under the hinge and above the chute (Fig. 1).
3. Secure the chute to the bracket with bolts
through the discharge chute, springs and
brackets. Secure with lock nuts (Fig. 1).
4. Lift the discharge chute and check that it is
spring loaded and pivots freely to the full down
position.
IMPORTANT: Discharge chute must be
spring loaded in the down position. Lift the
chute up to test that it snaps to the full down
position.
1
5
3
6
m–3484
4
2
Figure 1
1. Bracket
2. Spring
hook end
3.
Space for spring
4.
Discharge chute
5. Bolt
6.
Lock nut