1
PreparingtheMachine
NoPartsRequired
Procedure
1.Parkthemachineonalevelsurface,andlowerthe
mowerdeckandanyattachmentstotheground.
2.Shutofftheengine,engagetheparkingbrake,and
removethekeyfromtheignitionswitch.
3.Disconnectthenegative(–)batterycablefromthe
battery.
WARNING
Wearsafetygogglesandrubbergloveswhen
workingwithbatteries.Sincethegasesare
explosive,keepopenamesandelectrical
sparksawayfrombatteries.Donotsmoke
nearthebattery.
4.Tiltthesteeringtowerforward.
5.Movetheseatlatch(locatedontheleftsideoftheseat)
rearwardtounlatchtheseat,thenpullforwardonthe
topoftheseatuntiltheseattiltsforwardandcontacts
thesteeringwheel(Figure1).
Note:Ensurethattheseatproplockstheseatplate
securelyinplace.
Figure1
1.Seatlatch
6.Removetheboltsthatsecuretheconsolepanel,and
removethepanel.
2
RoutingtheJoystickWire
Harness
Partsneededforthisprocedure:
1Joystickwireharness
Procedure
1.Plugthejoystickwireharnessintothejoystick
expansionportconnectorsonthemainkitwire
harness,whicharelocatednearthecontroller.
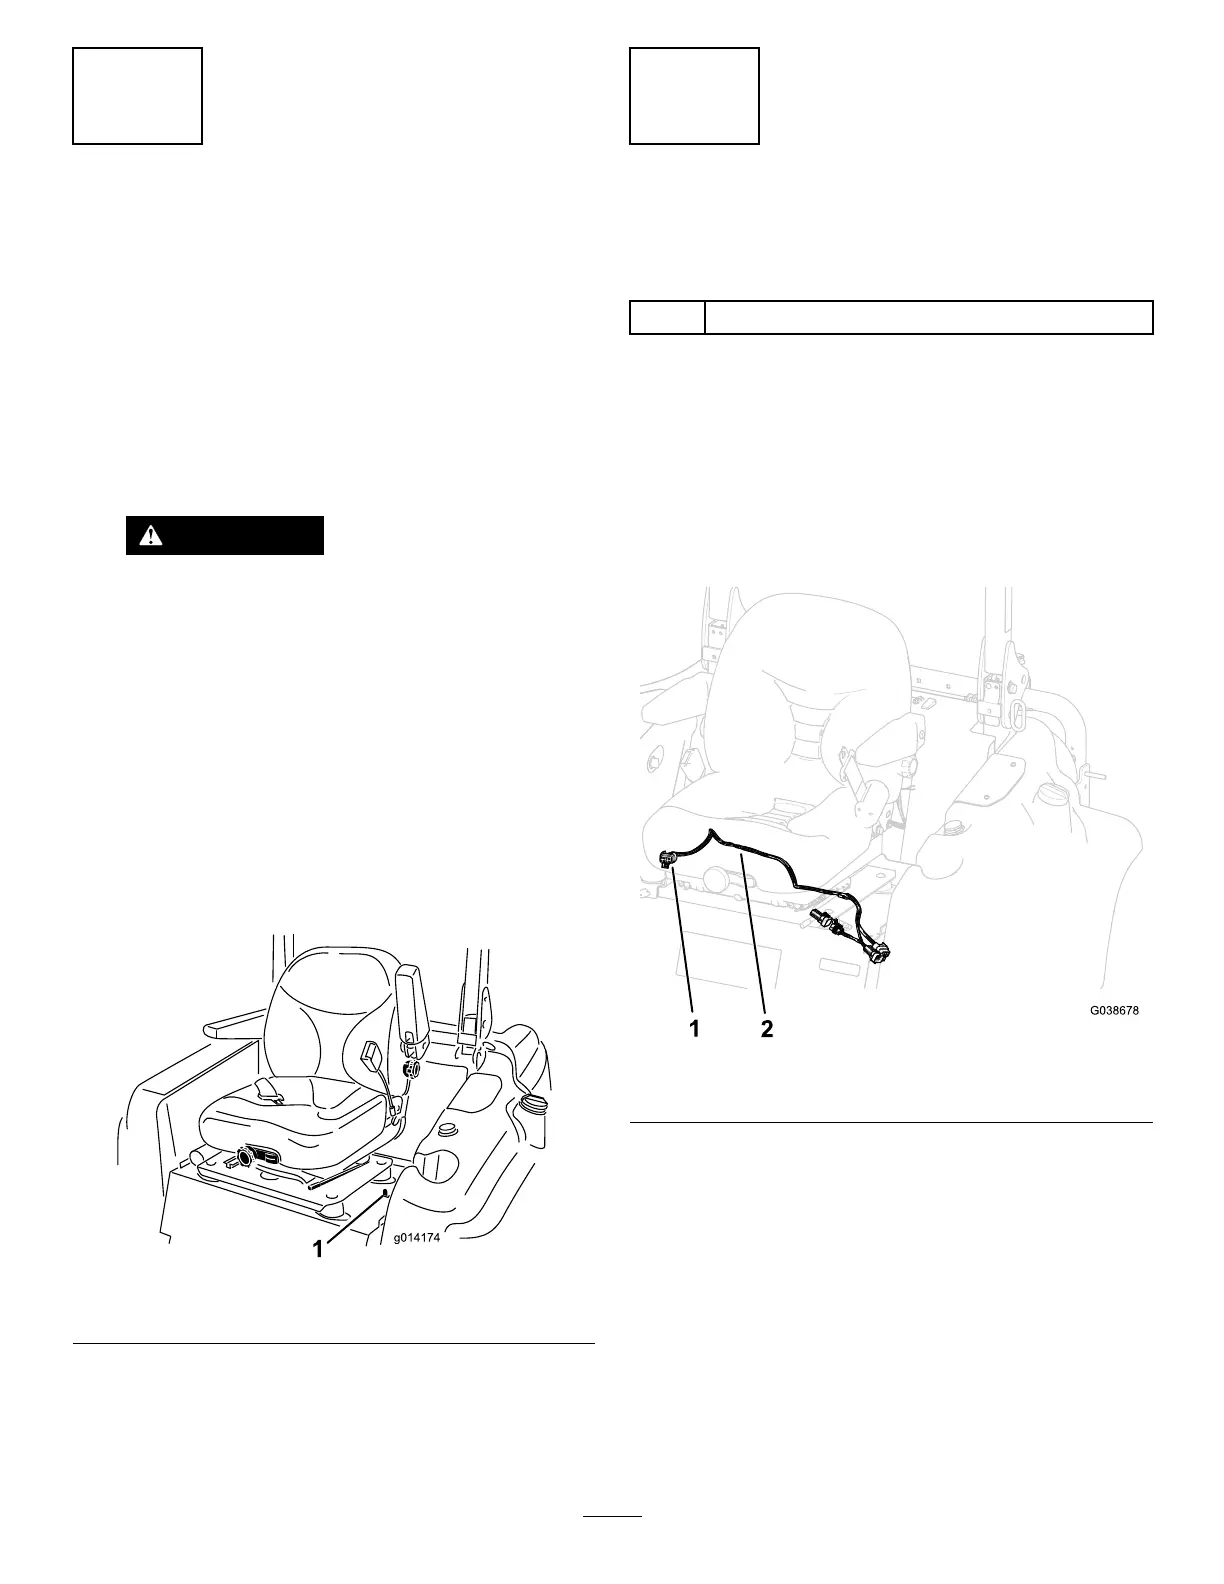
2.Routethejoystickwireharnessalongtheexistingseat
wireharnessundertheseatplateandthoughthehole
undertheseat(Figure2).
Figure2
1.Wire-harnessconnector2.Wireharness
3.Removethe2carriageboltsand2nutsthatsecurethe
rightsideoftheseatmountingbrackettotheseatplate.
4.Routethewireharnessbetweentheseat-mounting
bracket,theseatplate,andbehindtheright,rearrubber
isolatorontheseatplate(Figure2).
3

 Loading...


