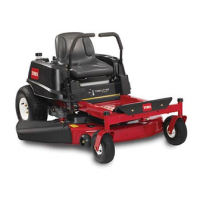
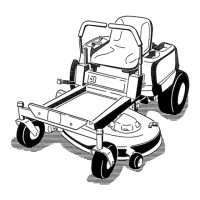
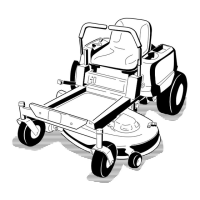
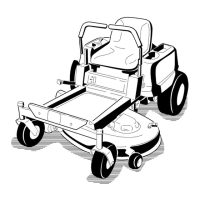
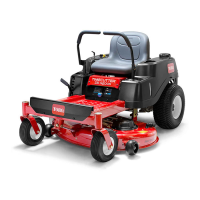
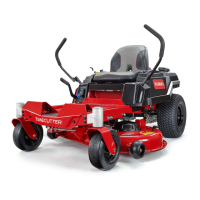
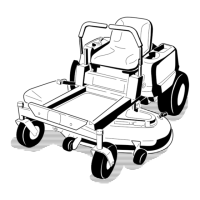
Figure 7
1. Blade control switch—On 2. Blade control switch—Off
3. Mo v e the throttle lev er to Chok e before
star ting a cold engine ( Figure 8 ).
Note: A w ar m or hot engine ma y not require
c hoking .
4. T ur n the ignition k ey to Star t to energize the
star ter . W hen the engine star ts , release the k ey .
Important: Do not enga ge the star ter
f or mor e than 10 seconds at a time. If the
engine f ails to star t, allo w a 60 second
cool-do wn period betw een attempts.
F ailur e to f ollo w these instr uctions can
bur n out the star ter motor .
5. After the engine star ts , mo v e the throttle
lev er to F ast ( Figure 8 ). If the engine stalls
or hesitates , mo v e the throttle lev er bac k to
Chok e for a few seconds . T hen mo v e the
throttle lev er to the desired setting . R e peat this
as required.
Figure 8
1. Engine
3. Fast
2. Choke 4. Slow
Figure 9
1. Off
3. Start
2. Run
4. Ignition
Stopping the Engine
1. Mo v e the throttle lev er to F ast ( Figure 8 ).
2. Diseng ag e the blades b y mo ving the blade
control switc h to Off ( Figure 7 ).
3. T ur n the ignition k ey to Off ( Figure 9 ).
4. Pull the wire off of the spark plug(s) to prev ent
the possibility of someone accidentally star ting
the mac hine before transpor ting or storing the
mac hine .
5. Close the fuel shut-off v alv e under the front
of the fuel tank before transpor ting or storing
the mac hine .
Important: Mak e sur e the fuel shut-of f
v alv e is closed bef or e transpor ting or
storing the machine, as fuel leaka ge may
occur .
Operating the Blades
T he blade control switc h, re presented b y a po w er
tak e-off (PTO) symbol, eng ag es and diseng ag es
po w er to the mo w er blades . T his switc h controls
po w er to any attac hments that dra w po w er from
the engine , including the mo w er dec k and cutting
blades .
Engaging the Blades
1. R elease pressure on the traction control lev ers
and place the mac hine in neutral.
2. Mo v e the throttle to the F ast position.
3. Pull out on the blade control switc h to eng ag e
blades ( Figure 10 ).
Figure 10
1. Blade control switch-On 2. Blade control switch-Off
Disengaging the Blades
Push the blade control switc h to Off to diseng ag e
the blades ( Figure 10 ).
15

 Loading...
