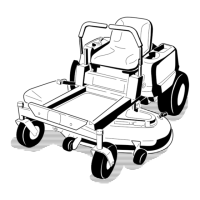
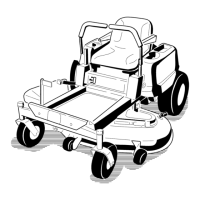
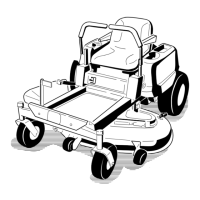
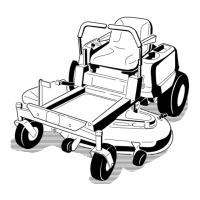
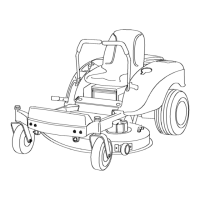
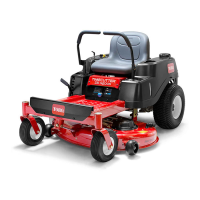
Figure51
MowerDeckswith3Blades
1.Bladessidetoside
3.Outsidecuttingedges
2.Sailareaofblade4.Measurefromthetipofthe
bladetotheatsurface
here
5.Measurebetweentheoutsidecuttingedgesand
theatsurface(Figure50andFigure51).Ifboth
measurementsarenotwithin3/16inch(5mm),an
adjustmentisrequired;continuewiththisprocedure.
6.Movetotheleftsideofthemachine.Loosen,but
donotremove,therearlockingnutonthehanger
bracket(Figure52).
7.Loosenthesidelockingnutonthehangerbracket
justenoughtoallowtheeccentricplatetobeadjusted
(Figure52).Usea3/8inchdriveextensionona
socketwrenchtomanipulatetheeccentricplate.Use
thewrenchtorepositiontheheightofthemower
deckandadjusttothedesiredheight.
8.Stopthedeckattheadjustedpositionandtightenthe
sidelockingnutonthehangerbrackettoholdthe
newposition(Figure52).Tightentherearlocking
nutonthehangerbracket.
9.Continuelevelingthedeckbycheckingthe
front-to-rearbladeslope;refertoAdjustingthe
Front-to-RearBladeSlope.
Figure52
1.Hangerbracket4.Eccentricadjustmentplate
2.Rearlockingnut
5.Socketwrenchhole
3.Sidelockingnut6.Socketwrenchwith3/8
inchextension
AdjustingtheFront-to-RearBlade
Slope
Checkthefront-to-rearbladelevelanytimeyouinstall
themower.Ifthefrontofthemowerismorethan
5/16inch(7.9mm)lowerthantherearofthemower,
adjustthebladelevelusingthefollowinginstructions:
1.Parkthemachineonalevelsurfaceanddisengage
thebladecontrolswitch.
2.Movethemotioncontrolleversoutwardtothe
parkposition,stoptheengine,removethekey,and
waitforallmovingpartstostopbeforeleavingthe
operatingposition.
3.Settheheight-of-cutlevertomiddleposition.
Note:Checkandadjusttheside-to-sideblade
levelifyouhavenotcheckedthesetting;referto
Side-to-SideLeveling.
4.Carefullyrotatethebladessotheyarefacingfrontto
rear(Figure53andFigure54).
39
 Loading...
