g261683
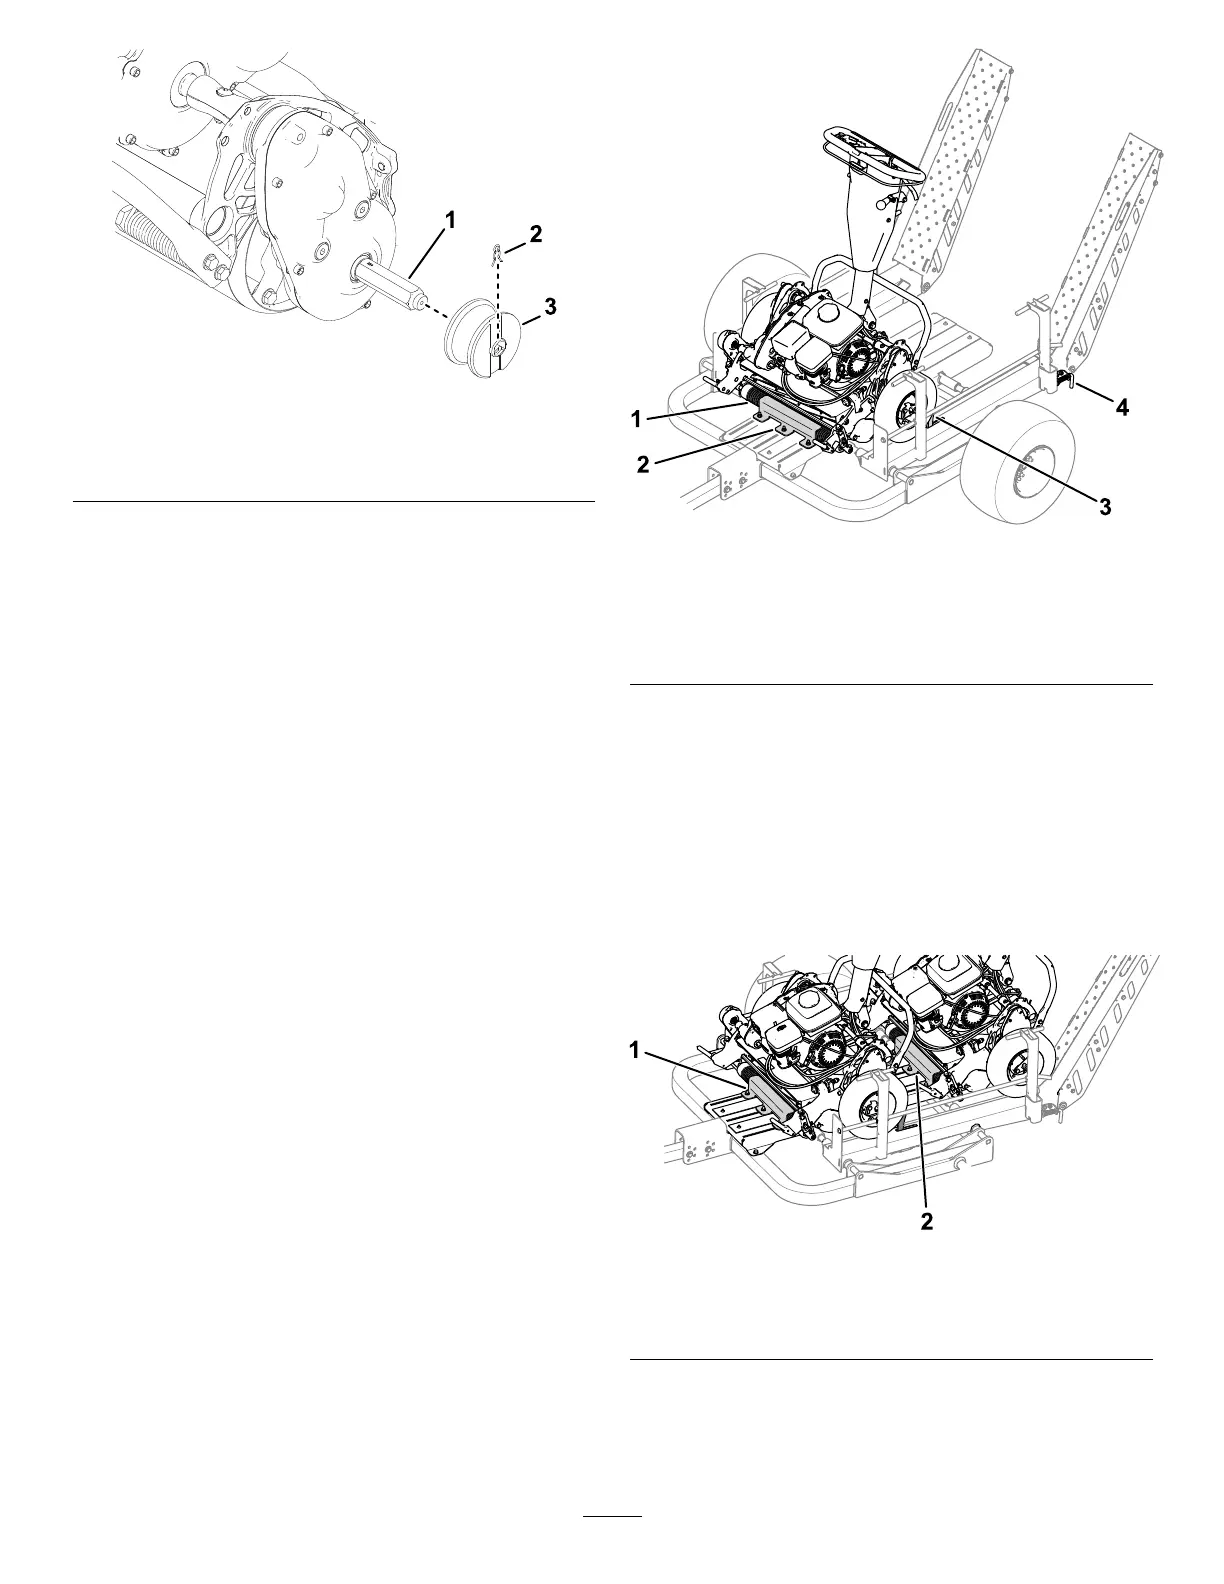
Figure29
1.Hexshaft
3.Railwheel
2.Clip
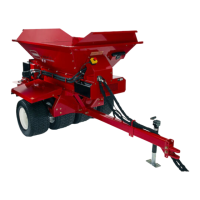
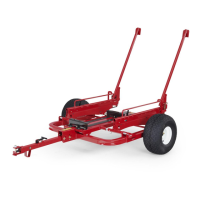
•WheelKit:Installthetransportwheelsonto
thehexshafts;refertoyourtractionunit
Operator’sManual.
LoadingaMachineontheTrailer
1.Usetheatrampsorrailstoslowlydrivethe
machineontothetraileruntilthefrontroller
seatswithintherollermount(Figure30).
Note:Whenyouloadamachineontothetrailer
forthersttime,theroller-mountfasteners
shouldbelooseandallowtherollermountto
slideforward.
2.Shutoffthemachineandengagetheparking
brake.
3.Ifyouarehauling2machines,repeatsteps1
and2forthesecondmachine.Ensurethatthe
frontrollerseatswithintherollermount.
4.Raisetherampsandengagethelatchpins
(Figure30).
•WheelKitequipped:Whenyouraisethe
ramps,thelatchpinsautomaticallyengage
thelockingbracketandkeeptherampsin
theraisedposition.
•RailKitequipped:Liftthelatchpins,raise
theramps,andreleasethelatchpinstokeep
therampsintheraisedposition.
g338779
Figure30
WheelKitequipped
1.Frontroller3.Wheelstop
2.Rollermount
4.Latchpin(leftsideshown)
5.Ifyouareloadingthetrailerforthersttime,
performthefollowingstepstosecurethe
machinesin-place:
A.Withtherampslockedintheraisedposition,
movetherearmachinetowardsthebackof
thetraileruntilthetransportwheelsorrail
wheelscontacttheramp.
B.Slidebacktherearrollermount(Figure31)
untilitcontactstherear-machinefrontroller.
g342551
Figure31
Leftwheelremovedforclarity.
1.Frontrollermount2.Rearrollermount
C.Ensurethatthefrontrolleriscompletely
seatedunderneaththerollermountand
tightentheangenutsthatsecuretheroller
13