
V
victoriahicksSep 9, 2025
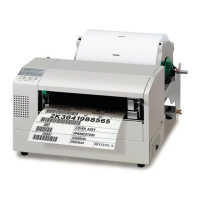
What does HEAD ERROR mean on my Toshiba B-852-TS22-QQ-R?
- AAshley TurnerSep 9, 2025
If your Toshiba Label Maker displays 'HEAD ERROR', replace the Print Head and then press the [RESTART] key. This indicates a problem with the Print Head itself.