144
Procedure 3: Writing Setting Data in EEPROM
(The EEPROM of the service P.C. board has been set to the factory default values.)
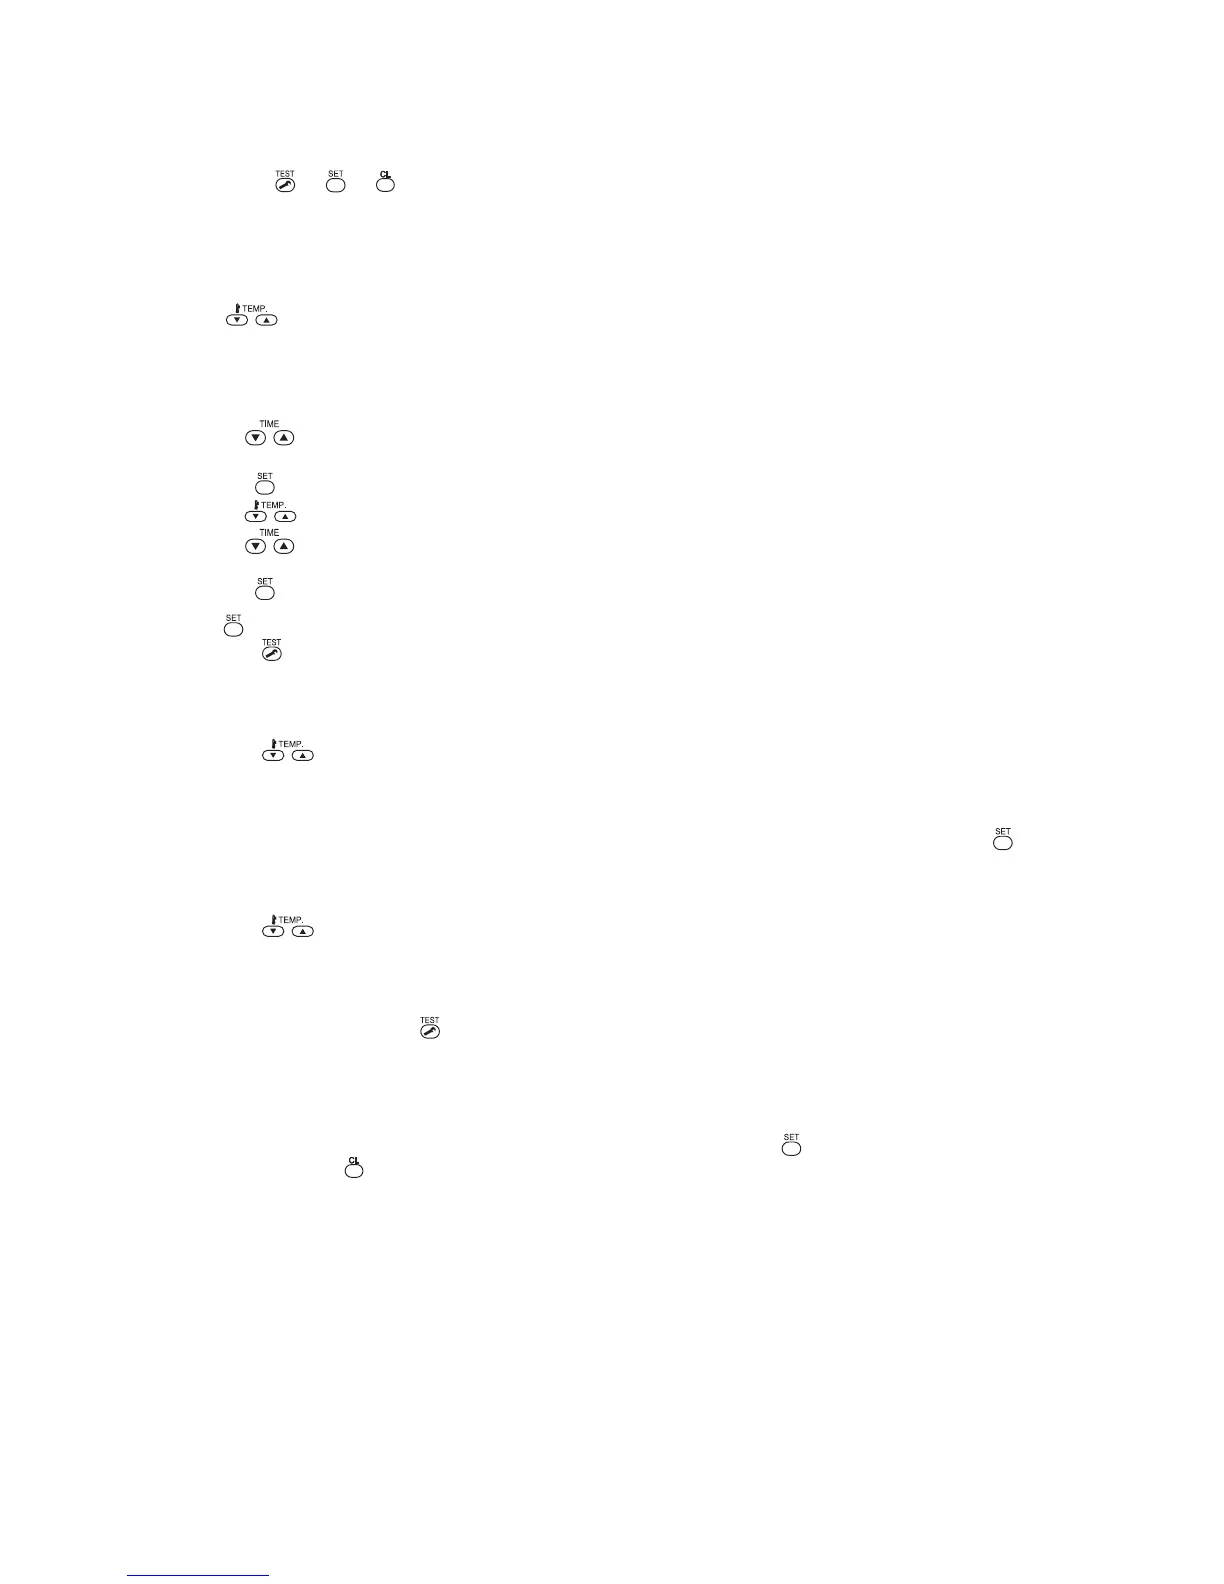
1 Push the + + buttons simultaneously and hold for at least 4 seconds. 1 (This number
corresponds to the same number shown on the Remote Controller Operation Diagram.)
(Under UNIT No., ALL is displayed.)
At the same time, the CODE No. (DN code) 10 is displayed, and the fan of the indoor unit comes on, with the
louver swinging, depending on the model.
2 The button allows you to moved the CODE No. (DN code) up/down by one place. 3
3
First, set the type and capacity codes of the indoor unit.
(Changing the type and capacity codes in EEPROM overwrites the factory default settings.)
(1) Set the CODE No. (DN code) to 10 (no change)
(2) Use the button to select the type.
4
(For example, 0001 is for the 4-way air discharge cassette type.) - Refer to the attached table 1.
(3) Push the button. (The display should change from flashing to steady.)
5
(4) Use the button to set the CODE No. (DN code) to 11.
(5) Use the button to set the capacity code.
(For example, 0012 is for the 027 type.) - See the CODE No. list.
(6) Push the button. (The display should change from flashing to steady.)
(7) Push button (The setting completes if the setting data are displayed.)
(8) Push the button to bring the system back to normal off state.
6
4
Next, write any setting changes made on-site after installation, such as address settings, in the
EEPROM. Perform the tasks specified in step 1 again.
5 Use the button to set the CODE No. (DN code) to 01 (To set filter sign lighting time)
6 Check the value displayed with the value jotted down in Procedure 1 and information proved by
the customer.
(1) If there is a discrepancy, change the setting in accordance with the jotted-down value, and push the button.
(The display should change from flashing to steady.)
(2) If there is no discrepancy, do nothing.
7 Use the button to change the CODE No. (DN code).
Again, check the value, and change the setting if necessary.
8 Repeat steps 6 and 7 until all the settings are checked.
9 When finished, push the button to bring the system back to normal off state. 6
In the case of group operation, turn the unit off, reconnect the indoor-indoor group control wiring and CN41
connectors, and turn on all the indoor units.
(It takes the system about 1 minute to become responsive to remote controller operation.)
* CODE No. (DN code) go from 01 to FF with a few gaps along the way.
If you realize you have wrongly corrected a certain setting after pushing the button, you can recover the initial
value by pushing the button, provided that the CODE No. (DN code) is yet to be changed.
 Loading...