4.Using the IP Fax Function
42 Using the IP Fax Function from the Touch Panel
3
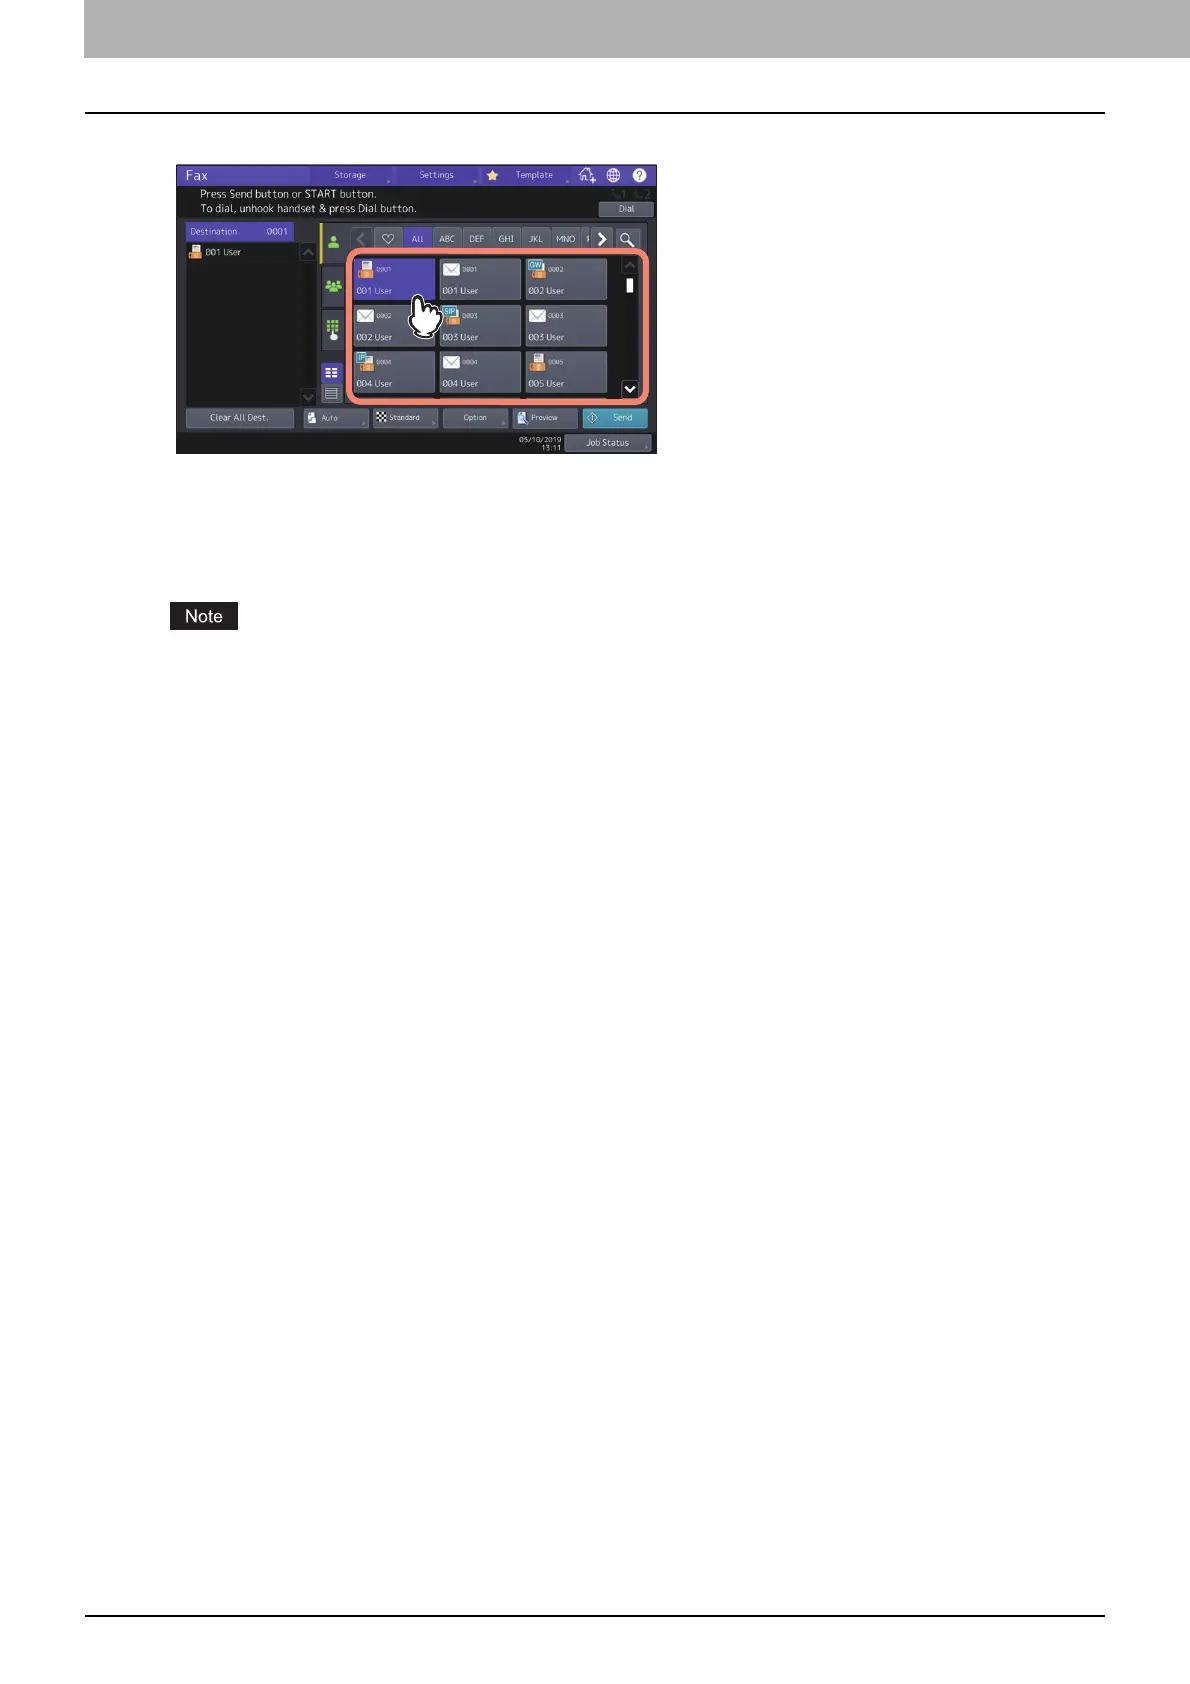
The search result is displayed. Select the desired recipient.
To cancel the selected recipient, press it again.
If you want to change the results of the search, press [Research]. You will be returned to the screen in step 2.
Specify the search string again.
You can switch the screen by selecting [Known ID Sort] or [Index Sort].
When the recipient’s number in the LDAP server is searched, the [Destination Type] screen is displayed. Select
the destination type and press [OK].
[G3] — Select this to send a G3 fax job via a public network line.
[Gateway] — Select this to send an IP Fax to a G3 Fax machine via a T.38 supporting gateway.
[SIP] — Select this to send an IP Fax to an MFP supporting the IP Fax function via a SIP server.
[Direct] — Select this to directly send an IP Fax to an MFP supporting the IP Fax function.
Under the following use condition, the [Destination Type] screen does not appear even if the recipient’s
number in the LDAP server is searched. All the jobs will be sent in a G3 format.
- When “Direct Tx” is selected in Tx Type on the [Fax] screen from [User Functions] of the Home screen.
P.47 “User Functions”
- When “Direct Tx” is selected in Tx Type on the [Fax] screen which is displayed by pressing [Option] on the
Fax screen.
- When [Monitor] is being pressed.
4
Press [Send].
 Loading...