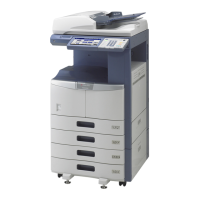
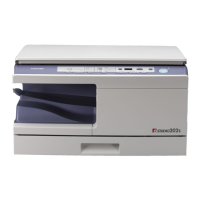
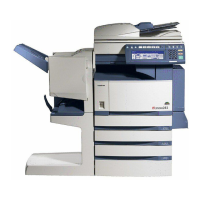
© 2004 - 2010 TOSHIBA TEC CORPORATION All rights reserved e-STUDIO200L/202L/203L/230/230L/232/233/280/282/283
ADJUSTMENT
3 - 7
3
3.2.3 Printer related adjustment
[A] Reproduction ratio of primary scanning direction (Fine adjustment of polygonal motor rotation
speed (Printer))
<Procedure>
(1) While pressing [0] and [5] simultaneously, turn the power ON. (Adjustment Mode)
(2) Press [1] [FAX]. (A grid pattern with 10 mm squares is printed out. Use A3/LD from standard
drawer of the equipment (Refer to *).
* Perform 08-477 and check the value.
If the value is 0, use the lower drawer.
If the value is 1, use the upper drawer.
(3) Check the grid pattern on the test chart printed out and measure the distance A from the 1st line
to the 21st line of the grid pattern.
(4) Check if the distance A is within 200±0.5 mm.
(5) If not, use the following procedure to change values and measure the distance A again.
(Adjustment Mode) (Key in code [401]) [START]
(Key in a value (acceptable values: 0 to 255))
[ENTER] or [INTERRUPT] (Stored in memory)
“100% A” is displayed
Press [1] [FAX] (A grid pattern is printed out.)
* The larger the adjustment value is, the longer the distance A becomes (approx. 0.125 mm/
step).
[B] Primary scanning data laser writing start position (Printer)
<Procedure>
(1) While pressing [0] and [5] simultaneously, turn the power ON. (Adjustment Mode)
(2) Press [1] [FAX]. (A grid pattern with 10 mm squares is printed out. Use A3/LD from standard
drawer of the equipment (Refer to *).
* Perform 08-477 and check the value.
If the value is 0, use the lower drawer.
If the value is 1, use the upper drawer.
(3) Check the grid pattern on the test chart printed out and measure the distance B from the left edge
of the paper to the 6th line of the grid pattern.
(4) Check if the distance B is within 52±0.5 mm.
(5) If not, use the following procedure to change values and measure the distance B again.
(Adjustment Mode) (Key in the code [411]) [START]
(Key in a value (acceptable values: 0 to 255))
[ENTER] or [INTERRUPT] (Stored in memory)
“100% A” is displayed
Press [1] [FAX] (A grid pattern is printed out.)
* The larger the adjustment value is, the longer the distance B becomes (approx. 0.05 mm/
step).
04/09

 Loading...

