e-STUDIO2006/2306/2506/2007/2307/2507/2303A/2303AM/2803AM/2309A/2809A
© 2013-2017 TOSHIBA TEC CORPORATION All rights reserved
DISASSEMBLY AND REPLACEMENT
4 - 66
4.7.26 Replacement of oil seal <20L/23L/25L/20H/23H/25H>
4.7.27 Oil seal (front side) <23LA/23LM/28LM/23HA/28HA>
(1) Insert a fine screwdriver into the depression
of the oil seal to take it out.
(2) Push in a new oil seal parallel to the frame or
bushing Refer to Fig.4-166.
(3) Apply the grease (Alvania No.2; amount of 2
rice grains) on entire surface of the oil seal
evenly.
Notes:
Wipe off the excessive grease.
Fig. 4-173
(1) Remove the developer material.
P. 4-59 "4.7.19 Removing developer
material"
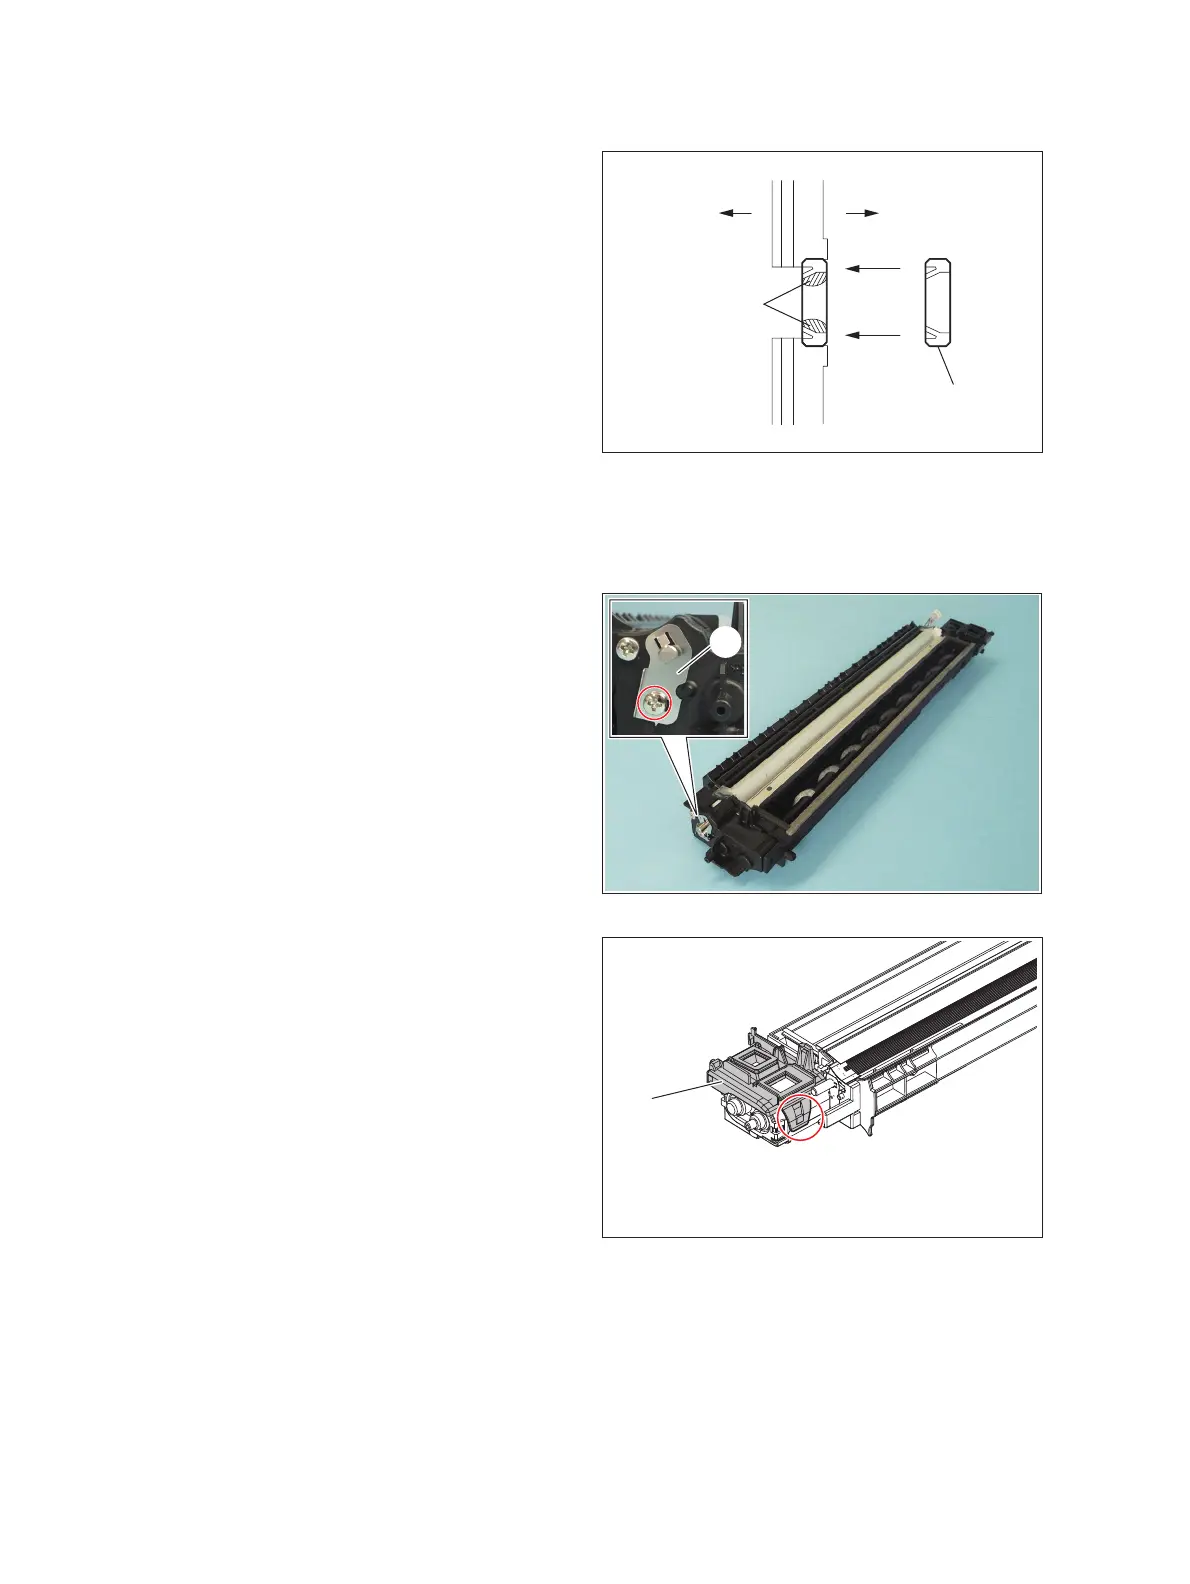
(2) Remove 1 screw and take off the polarity
adjustment lever [1].
Notes:
Make a note of the position where the
polarity adjustment lever is pointing. (Mark
the position if needed.) When reassembling,
match the polarity adjustment lever with the
previously marked position on the scale.
Fig. 4-174
(3) Release 1 latch and take off the recovered
toner supply unit [2].
Fig. 4-175
Outside
Inside
Grease
Oil seal
[1]

 Loading...


