EasyManuals Logo

Toshiba e-studio2309a Service Manual

Toshiba e-studio2309a
730 pages
To Next Page IconTo Next Page
To Previous Page IconTo Previous Page
Page #244 background imageLoading...
Page #244 background image
e-STUDIO2006/2306/2506/2007/2307/2507/2303A/2303AM/2803AM/2309A/2809A
© 2013-2017 TOSHIBA TEC CORPORATION All rights reserved
DISASSEMBLY AND REPLACEMENT
4 - 124
4.11.2 ADU sensor (S8)
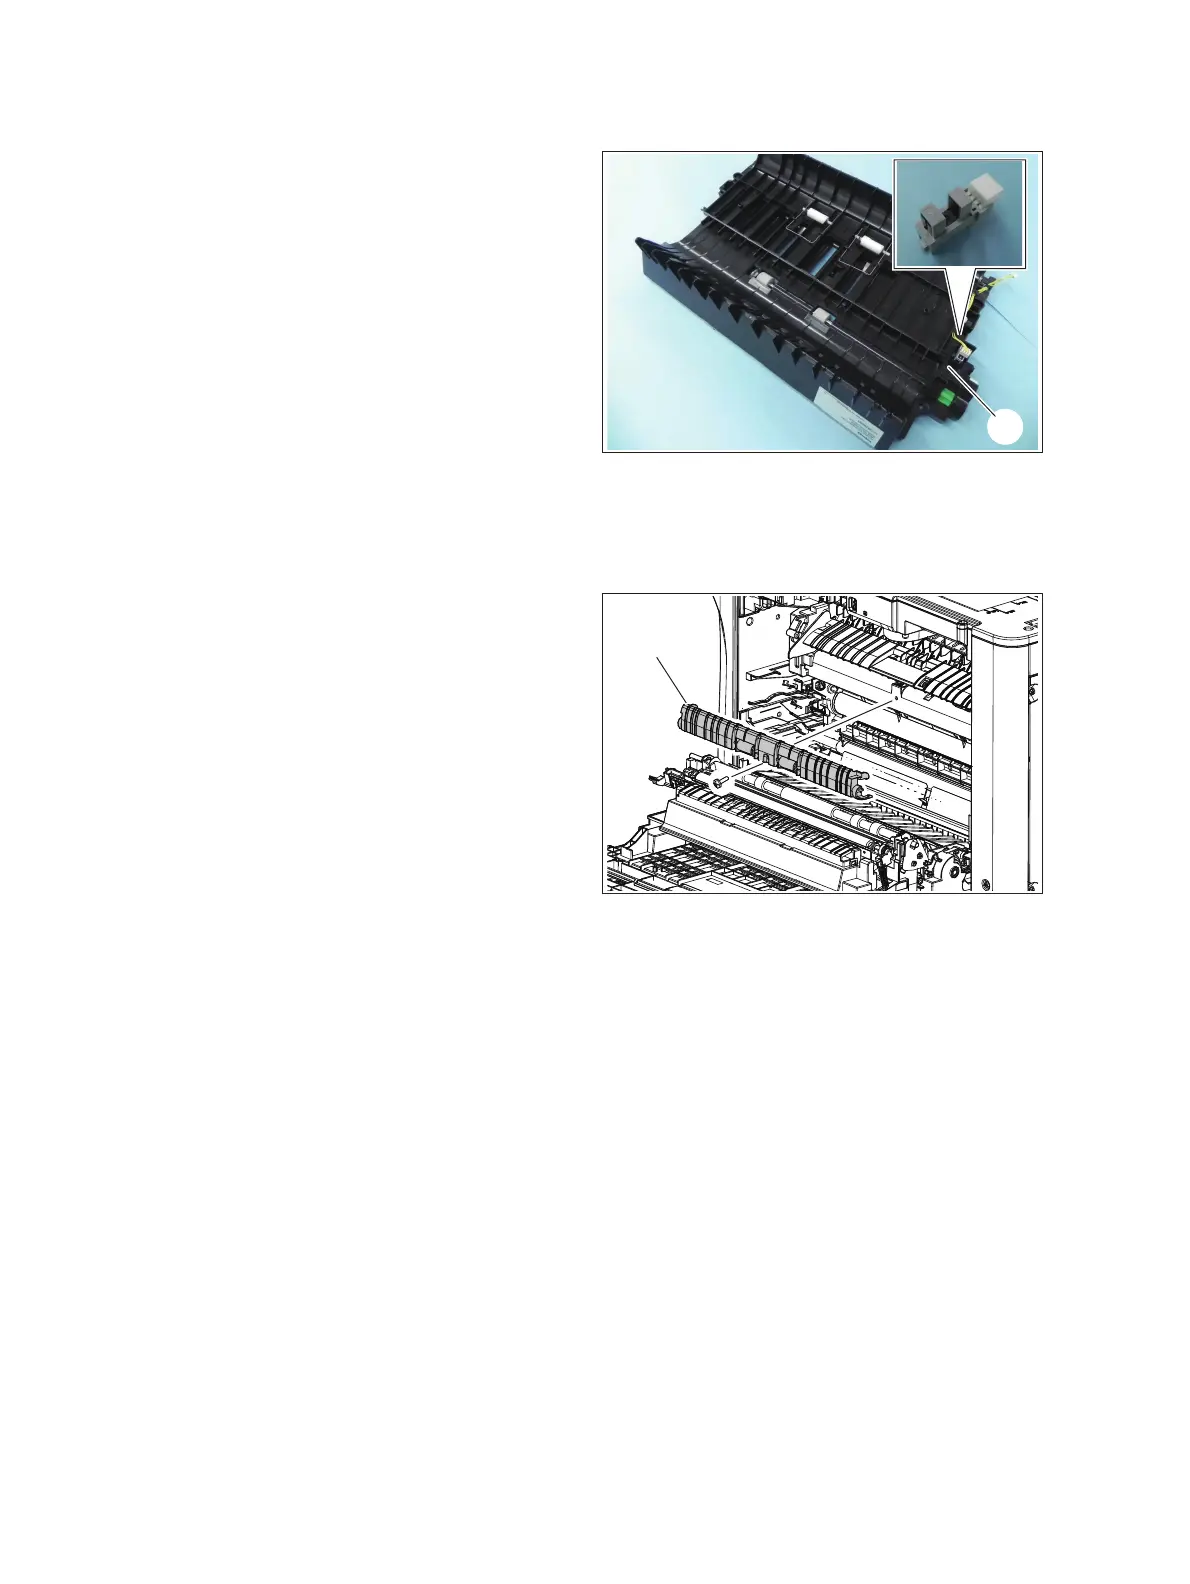
4.11.3 Fuser guide unit
(1) Remove the ADU.
 P. 4-123 "4.11.1 Automatic duplexing unit
(ADU)"
(2) Unplug 1 connector and release 3 latches
and remove the ADU sensor [1].
Fig. 4-330
(1) Remove 1 screw and remove the "fuser
guide unit" [1] that is attached to the fuser.
Fig. 4-331
[1]
[1]

Table of Contents

Other manuals for Toshiba e-studio2309a

Questions and Answers:

Question and Answer IconNeed help?

Do you have a question about the Toshiba e-studio2309a and is the answer not in the manual?

Toshiba e-studio2309a Specifications

General IconGeneral
BrandToshiba
Modele-studio2309a
CategoryAll in One Printer
LanguageEnglish

Related product manuals