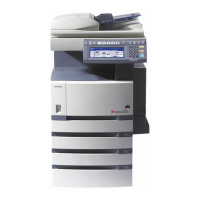
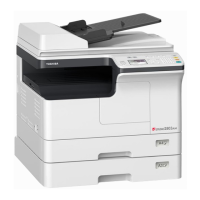
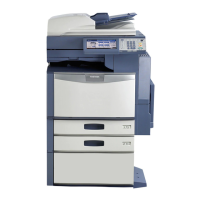
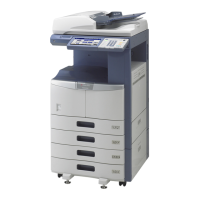
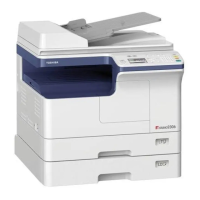
e-STUDIO2006/2306/2506/2007/2307/2507/2303A/2303AM/2803AM/2309A/2809A
© 2013-2017 TOSHIBA TEC CORPORATION All rights reserved
SELF-DIAGNOSIS MODES
5 - 32
5.11.3 Backup procedure
[ 1 ] Backup procedure
(1) Turn the power OFF.
(2) Connect the USB device to the USB port.
(3) Turn the power ON while pressing the [5] and [9] buttons simultaneously.
(4) Enter the password set in 08-8919, and then press the [OK] button. (If the password is not set,
skip this step.)
(5) When “SRAM_COPY MODE” appears on the LCD screen, select “BACKUP SRAM DATA” and
press the arrow button.
(6) Enter a password (max. 12 characters) and press the [OK] button.
Notes:
This password will be used for restoring.
(7) When “START BACKUP=OK” appears, press the [OK] button.
(8) “WAIT” appears.
(9) When “BACKUP SUCCESSFULLY” and “RESTART THE MFP” appear, turn the power OFF.
(10) Disconnect the USB device.
[ 2 ] Confirmation of errors
If the data have not been properly backed up, the following messages will appear on the LCD screen. In
this case, turn the power OFF, and then check the items below. After confirming and solving the
problem, back up the data again.
5.11.4 Restore procedure
[ 1 ] Restore procedure
(1) Turn the power OFF.
(2) Connect the USB device to the USB port.
(3) Turn the power ON while pressing the [5] and [9] button simultaneously.
(4) Enter the password set in 08-8919, and then press the [OK] button. (If the password is not set,
skip this step.)
(5) When “SRAM_COPY MODE” appears on the LCD screen, select “RESTORE_ SRAM DATA”
and press the arrow button.
(6) Enter a password (max. 12 characters) and press the [OK] button.
Notes:
This password was used for backing up.
(7) Enter the serial number and press the [OK] button.
(8) When “START RESTORE=OK” appears, press the [OK] button.
(9) “WAIT” appears.
(10) When “RESTORE SUCCESSFULLY” and “RESTART THE MFP” appear, turn the power OFF.
(11) Disconnect the USB device.
Display content Error content Measures
USB DEVICE NOT DETECTED A USB device has not been
connected.
Reconnect the USB device.
BACKUP NOT_CREATED Creating the backup file of the
flash memory has failed.
Perform the backup procedure
again.
MFP SERIAL_NUMBER NOT
SET
No serial number has been set. Set the correct serial number.
 Loading...

