– 80 –
Front panel
No. Part to be replaced Work procedure Remarks
11. DETACHMENTS
WARNING
Stop the air conditioner(including HWM) operation,
and turn off the circuit breaker.
CAUTION
Wear a pair of gloves. Otherwise, you will risk an injury
involving a replacement part or some other object.
1. Detachment
1) Remove the screws for the front panel.(4x10, 2pcs.)
2) Pull the front panel downward and then remove the
front panel.
2. Attachment
1) Carry out installation by following the detachment
procedure in reverse. Be careful of the hook provided
on the front panel.
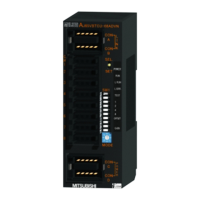
P.C. board
(MCC-1744)
1. Detachment
1) Carry out the detachment of item
1
(Front panel).
2) Remove connectors which are connected from the
control P.C.board to the other parts.
CN030 .... FS(Flow switch) Red 3P
CN033 .... LM(2way valve) Green 3P
CN102 .... TCJ Red 2P
CN101 .... TWO (TC2) Black 2P
CN100 .... TC1 Brown 3P
CN103 .... TCJ2 (TF) Green 2P
CN104 .... TWI (TA) Yellow 2P
CN082 .... PMV Blue 6P
CN067 .... AC IN Black 6P
CN074 .... TRANS-P White 3P
CN075 .... TRANS-S White 6P
CN060 .... OPTION White 6P
CN040 .... OC Blue 2P
CN041 .... RC Blue 2P
CAUTION
Unlock the lock of the housing part and then remove the
connector.
3) Unlock the locks of the card edge spacer (4 positions)
and then remove the control P.C. board.
2. Attachment
1) Carry out installation by following the detachment
procedure in reverse.
1
2
Front
panel
Hook
Front
panel
Card edge spacer
 Loading...