31
Chapter 6
Guest Network
6. 1. Create a Network for Guests
1. Visit http://tplinkwifi.net, and log in with your TP-Link ID or the password you set for
the router.
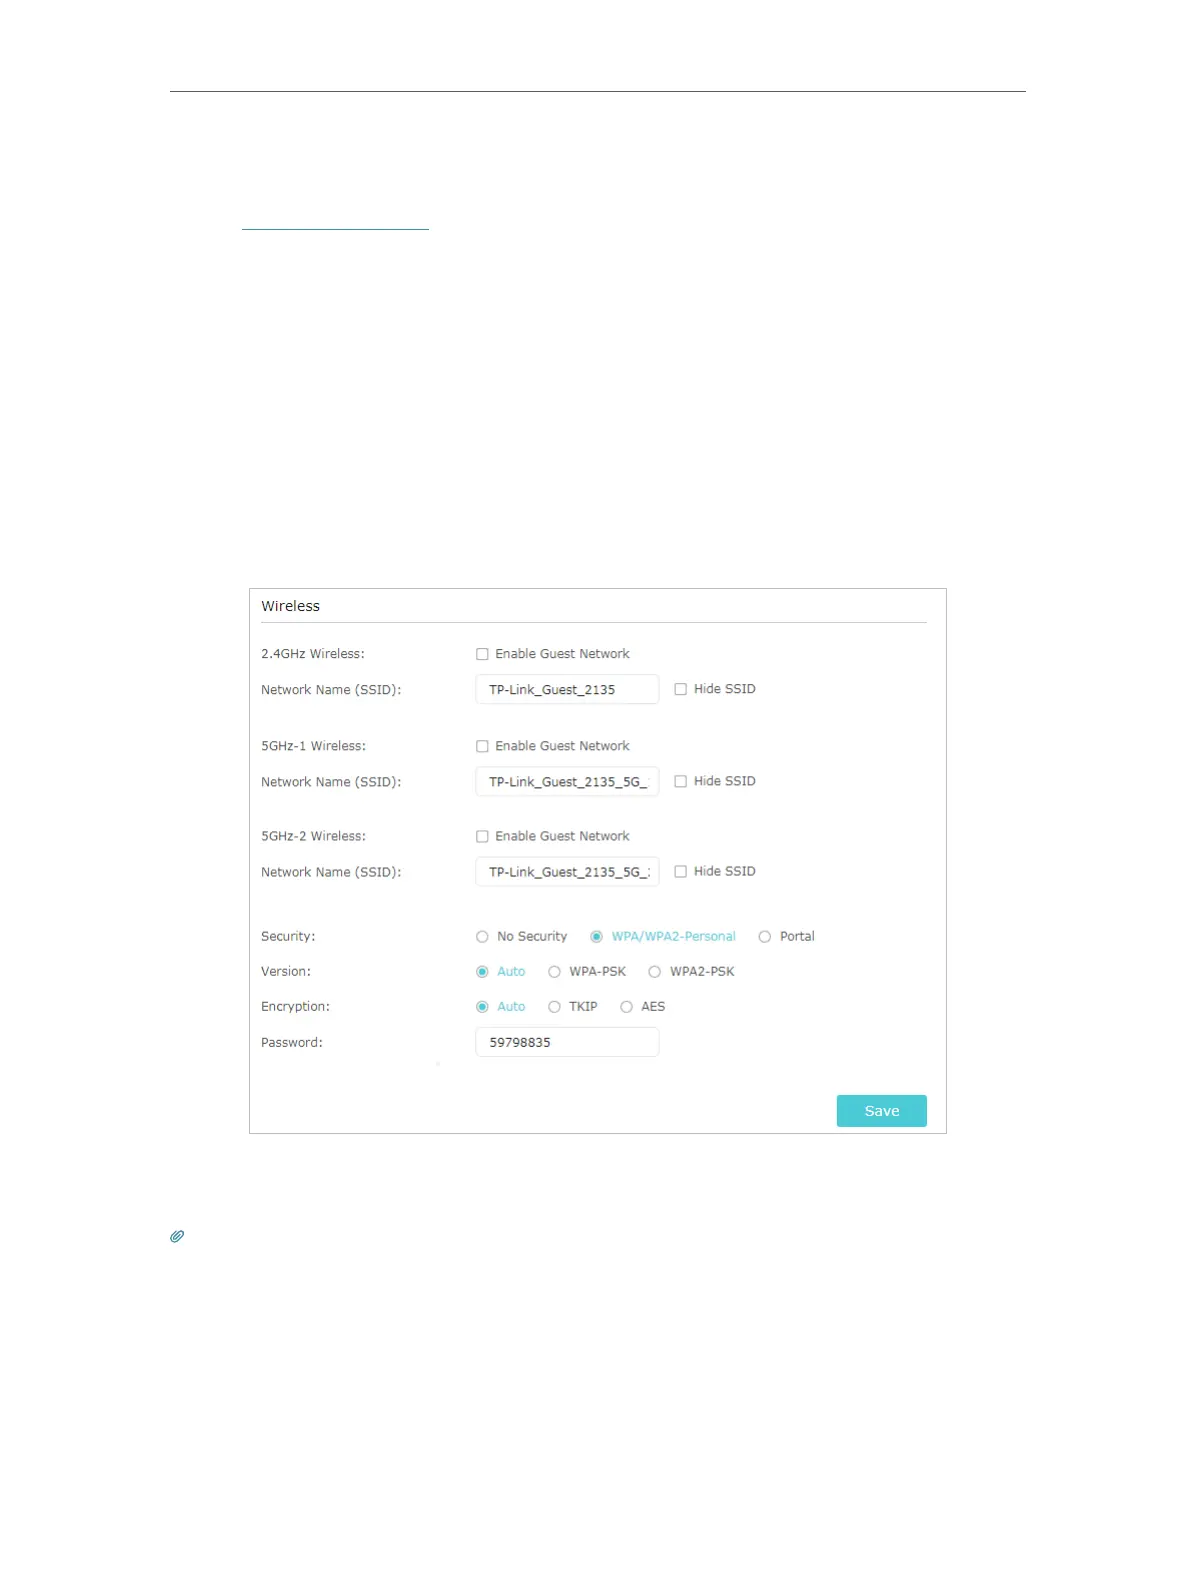
2. Go to Advanced > Guest Network. Locate the Wireless section.
3. Create a guest network as needed.
1 ) Tick the Enable Guest Network checkbox for the 2.4GHz/5GHz-1/5GH-2
wireless network.
2 ) Customize the SSID. Don‘t select Hide SSID unless you want your guests to
manually input the SSID for guest network access.
3 ) Set Security to WPA/WPA2 Personal, keep the default Version and Encryption
values, and customize your own password.
4. Click Save. Now your guests can access your guest network using the SSID and
password you set!
Tips: To view guest network information, go to Advanced > Status and locate the Guest Network section.
6. 2. Set Portal Authentication
Imagine that you run a small shop and provide a guest network for your customers.
You want to seize every opportunity to promote your shop, which makes portal
authentication an excellent choice. Customers will be directed to a web page for access