74
Chapter 12
Customize Your Network Settings
are predetermined. If not, select the LAN type to
determine which port is used to support IPTV service.
4 ) Click Save.
5 ) Connect the set-top box to the corresponding LAN port
which is predetermined or you have specified in Step 3.
Your IPTV setup is done now! You may need to configure your
set-top box before enjoying your TV.
Tips: Qos and IPTV cannot be enabled at the same time.
12. 4. Specify DHCP Server Settings
By default, the DHCP (Dynamic Host Configuration Protocol) Server is enabled and
the router acts as a DHCP server; it dynamically assigns TCP/IP parameters to client
devices from the IP Address Pool. You can change the settings of the DHCP Server if
necessary, and you can reserve LAN IP addresses for specified client devices.
1. Visit http://tplinkwifi.net, and log in with your TP-Link ID or the password you set for
the router.
2. Go to Advanced > Network > DHCP Server.
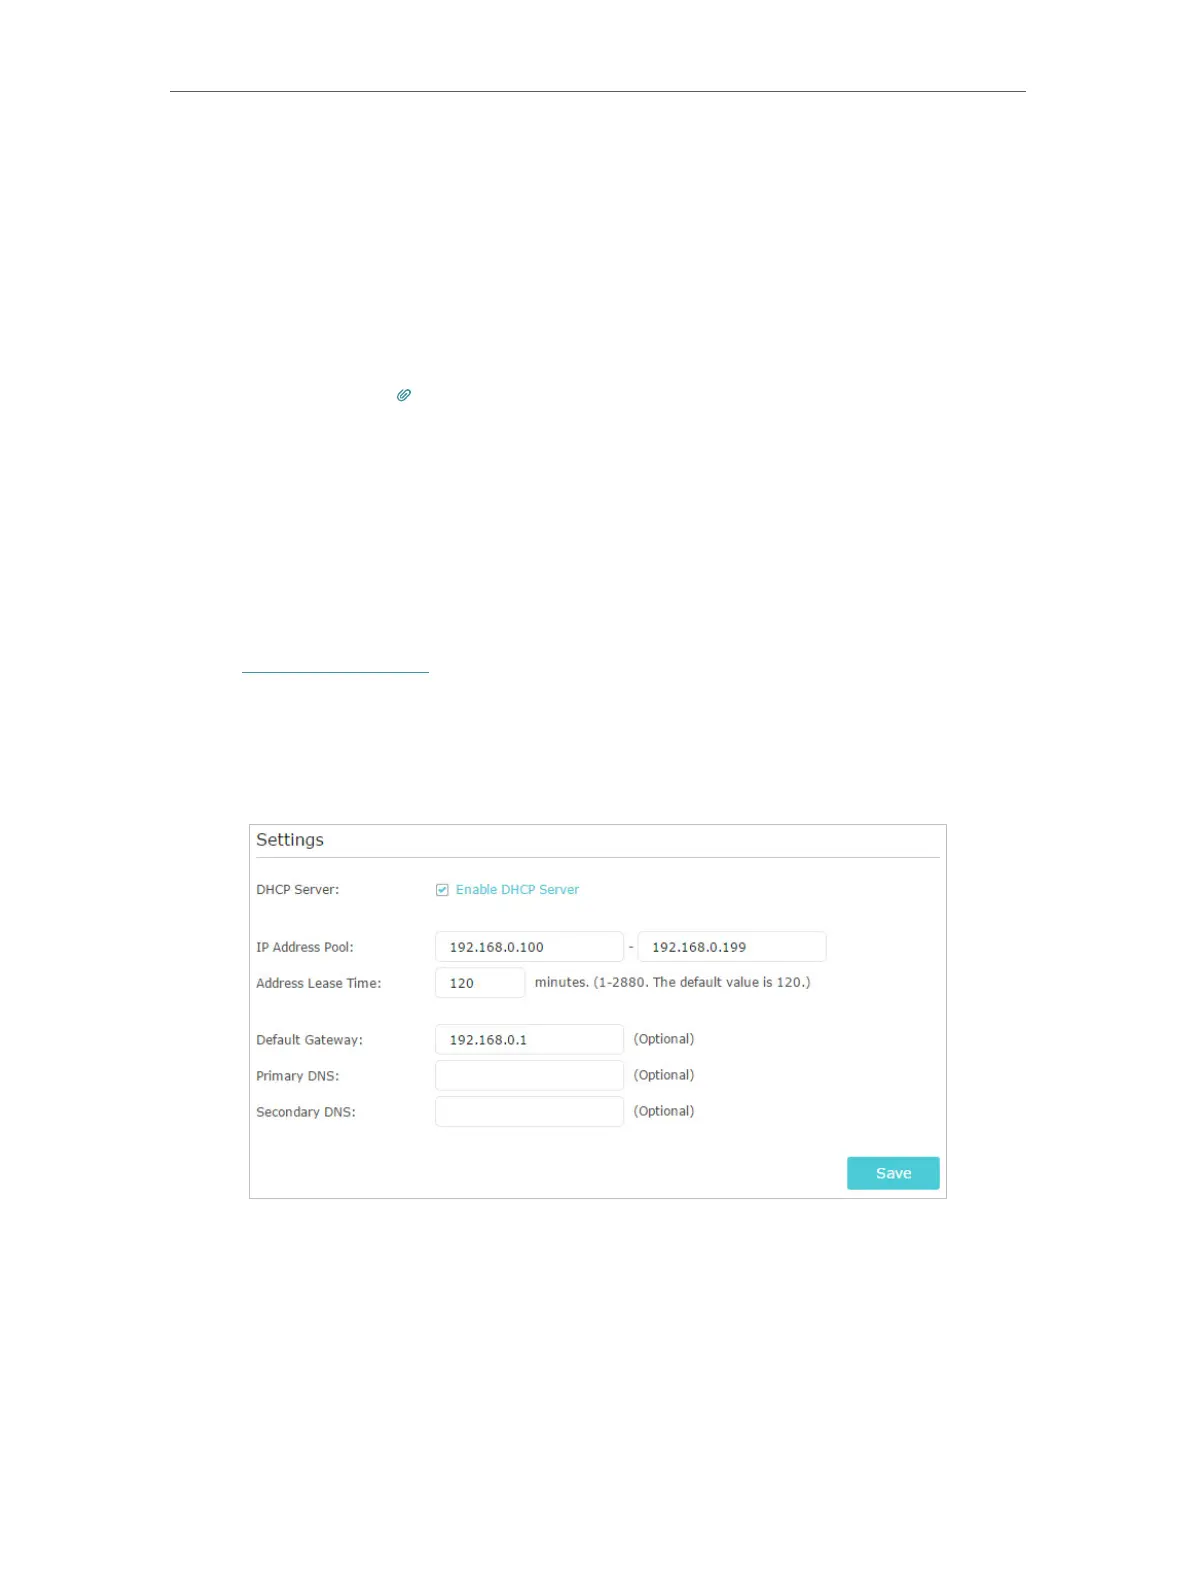
¾ To specify the IP address that the router assigns:
1. Tick the Enable DHCP Server checkbox.
2. Enter the starting and ending IP addresses in the IP Address Pool.
3. Enter other parameters if the ISP offers. The Default Gateway is automatically filled in
and is the same as the LAN IP address of the router.
4. Click Save.
¾ To reserve an IP address for a specified client device:
Done!