English
8
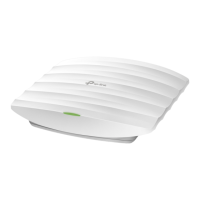
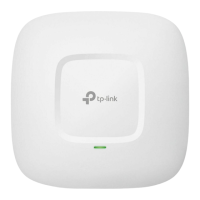
Mount the mounting bracket to the
preferred position in the wall� Push and
slide the device to lock it into place� Then
connect the antennas to the device�
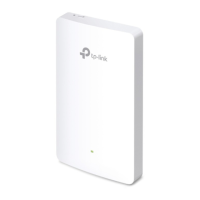
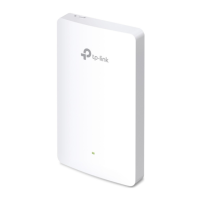
2� Install the waterproof seal� (For certain devices)
Before installing, t the Ethernet cable through
the spiral cover, bracket, and O-ring� Then follow
the steps as shown in the picture:
(1) Connect the Ethernet cable to the port�
(2) Fit the O-Ring to the head of the bracket, and
screw the bracket to the body of the device.
(3) Fit the Ethernet cable through the seal’s slit
with the thicker side towards the bracket�
(4) Plug the seal to the bracket�
(5) Screw the spiral cover to the bracket�
Spiral Cover
Seal
Bracket
1
2
3
4
5
Software Configurations
■ Managed Mode
To configure mass devices via a centralized management software or a wireless
controller, please refer to the corresponding User Guide� You can download the
User Guide from our website http://www.tp-link.com�
■ Standalone Mode
To congure a device through a web-based management system, please follow the
steps below�
1. Launch a web browser and enter the IP address of your device in the address
bar and press Enter�
Note:
• For Omada APs, you can check the IP address through the product label.
• For other products, the default IP address is 192.168.0.254 and the IP address of your
computer should be set as 192.168.0.x (“x” is any number from 1 to 253).
2. Enter admin for both User Name and Password for login�
3. Change the default User Name and Password to protect your device, then start
conguring the device.