4
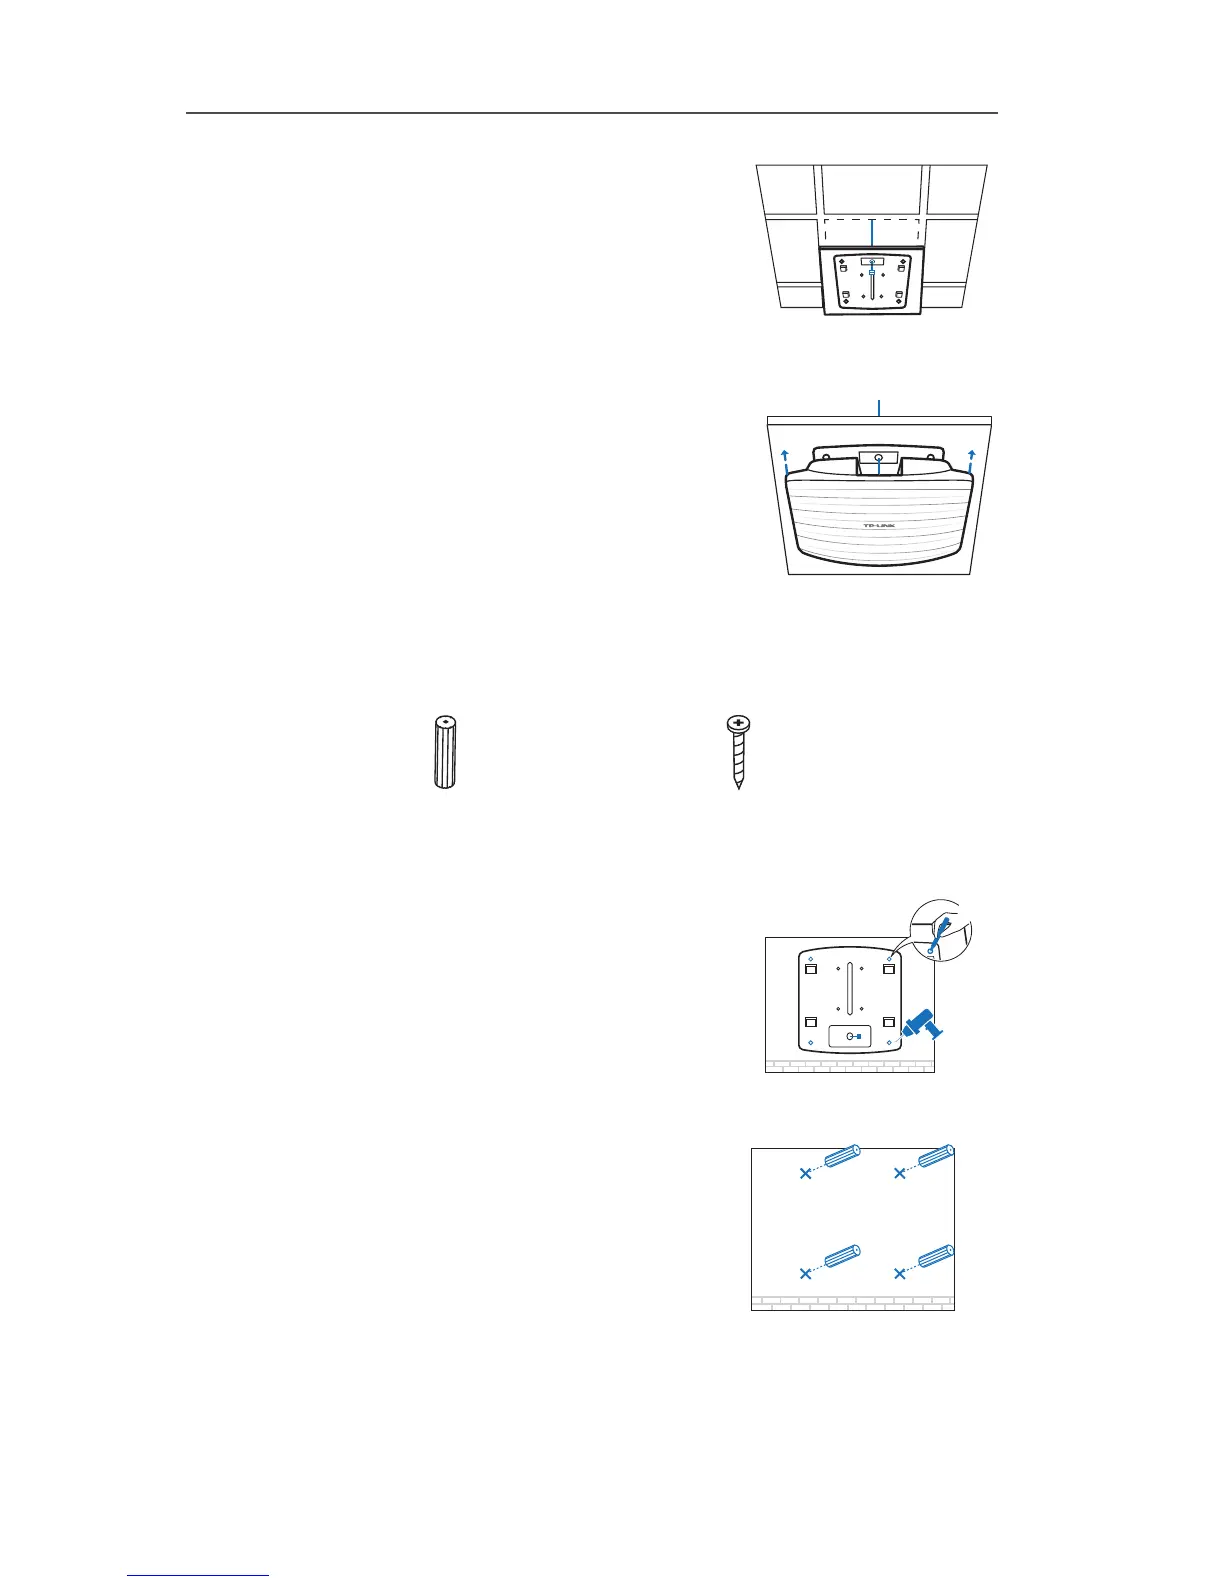
Feed the Ethernet cable through the hole.
Then set the ceiling tile back into place.
5
Connect the Ethernet cable to the
ETHERNET port and push the EAP along
the direction of arrows until it locks into place.
Then adjust the cable to make the exposed
part hidden behind the EAP.
■
Option3
:
Wall Mounting
Follow the steps below to install the EAP with the provided accessories:
1
If your Ethernet cable feeds through the wall,
you can position the mounting bracket to make
the cable through the fixing hole. Mark the four
positions of the screw holes and then drill four
6mm holes.
X4
2
Insert the plastic wall anchors into the 6mm
holes.
M3×28 Plastic Wall Anchors
(Qty.4)
M3×20 Self-tapping Screws
(Qty.4)