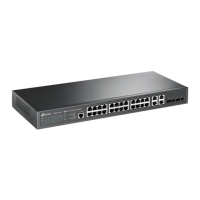
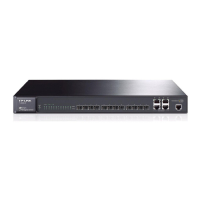
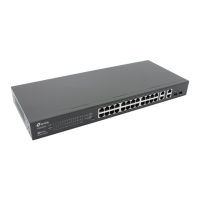
JetStream L2/L2+ Managed Switch
16 Connection
Connect the console (RJ45) port of the device with your computer by the console cable as the
following figure shows.
Figure 3-3 Connecting the Console (RJ45) Port
Connect the console (USB) port of the device with your computer by the USB cable (not provided) as
the following figure shows.
Figure 3-4 Connecting the Console (USB) Port
Note:
■
Console (RJ45) port and console (USB) port cannot be used concurrently. Console (USB) port
takes priority over the Console (RJ45) port.
■
The console (USB) port is hot-pluggable while the console (RJ45) port is not. Keep the device
power off when plugging the console cable into the console (RJ45) port.
■
Do not connect the console port with other ports by RJ45 cable.
3.4 Verify Installation
After completing the installation, verify the following items:
■
There should be 5 to 10 cm of clearance around the device for ventilation and make sure the air flow
is adequate.
■
The voltage of the power supply meets the requirement of the input voltage of the device.
■
The power socket, device and rack are well grounded.
■
The device is correctly connected to other network devices.
 Loading...
