English
4
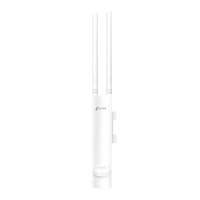
■ Mounting the Device on the Wall (for the product with mounting brackets)
Mount the mounting bracket to the
preferred position in the wall� Push and
slide the device to lock it into place� Then
connect the antennas to the device�
2� Install the waterproof seal� (For certain devices)
Before installing, t the Ethernet cable through
the spiral cover, bracket, and O-ring� Then follow
the steps as shown in the picture:
(1) Connect the Ethernet cable to the port�
(2) Fit the O-Ring to the head of the bracket, and
screw the bracket to the body of the device�
(3) Fit the Ethernet cable through the seal’s slit
with the thicker side towards the bracket�
(4) Plug the seal to the bracket�
(5) Screw the spiral cover to the bracket�
Spiral Cover
Seal
Bracket
1
2
3
4
5
 Loading...