Omada L2+ Managed Switch
19Installation
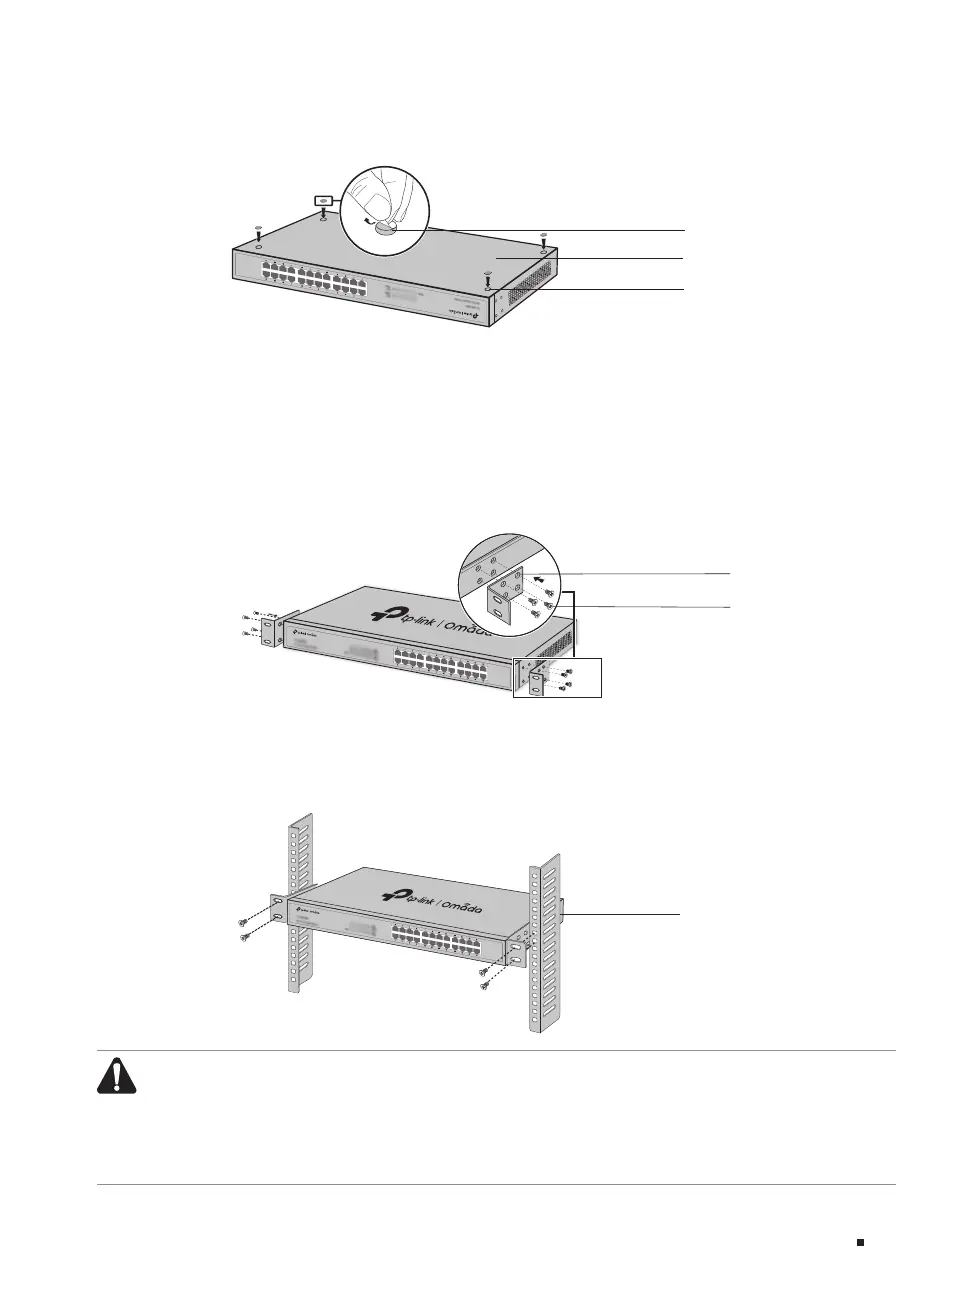
3. Turnover the device and attach the supplied rubber feet to the recessed areas on the bottom at
each corner of the device.
Figure 2-1 Desktop Installation
Feet
Bottom of the Device
Notch
■
Rack Installation
To install the device in an EIA standard-sized, 19-inch rack, follow the instructions described below:
1. Check the efficiency of the grounding system and the stability of the rack.
2. Secure the supplied rack-mounting brackets to each side of the device with supplied screws, as
illustrated in the following figure.
Figure 2-2 Bracket Installation
Rack-mounting Bracket
Screw
3. After the brackets are attached to the device, use suitable screws (not provided) to secure the
brackets to the rack, as illustrated in the following figure.
Figure 2-3 Rack Installation
Rack
Caution:
■
Leave 5 to 10 cm gaps around the devices for air circulation.
■
Avoid placing heavy things on the device.
■
Place the device with its bottom facing downwards.
■
Mount devices in sequence from the bottom to top of the rack and ensure a certain clearance
between devices for the purpose of heat dissipation.
 Loading...