JetStream L2/L2+ Managed Switch
09 Introduction
Model
100M/1G/2.5G/
5G/10Gbps RJ45
Port
100M/1000M/2.5Gbps
RJ45 Port
10/100/1000 Mbps
RJ45 Port
SFP+ Slot SFP Slot
Console
Port
TL-SG3428M P V2.0 / / 24 / 4 2
TL-SG3428X / / 24 4 / 2
TL-SG3428XMP / / 24 4 / 2
TL-SG3452 / / 48 / 4 2
TL-SG3452P / / 48 / 4 2
■
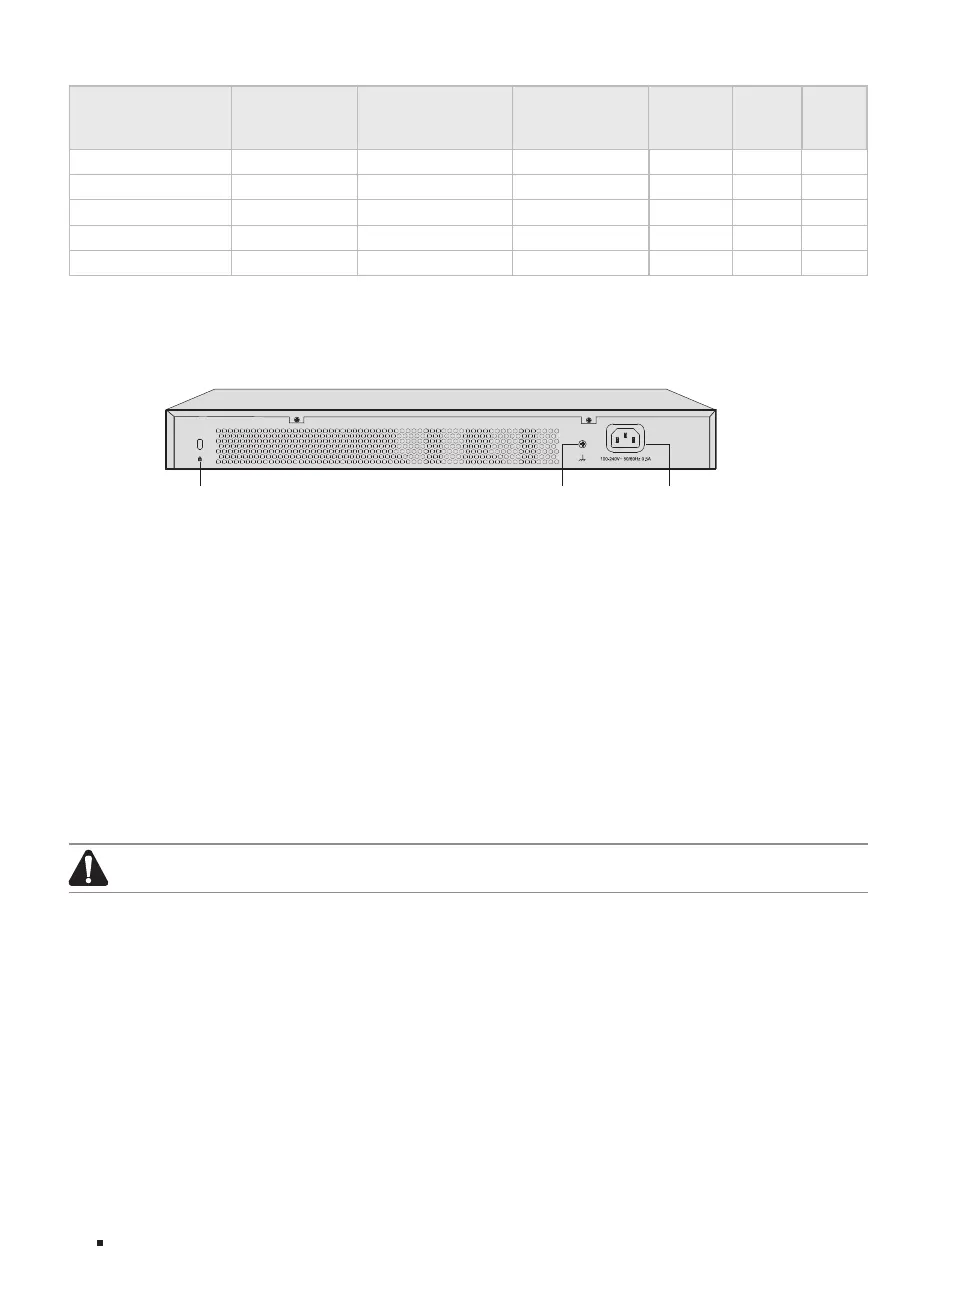
Rear Panel
The rear panel is shown as the following figure. The figure is for demonstration purposes only. Your
switch may differ in appearance from the depicted.
Figure 1-11 Rear Panel
Power SocketGrounding TerminalKensington Security slot
Kensington Security Slot
Secure the lock (not provided) into the security slot to prevent the device from being stolen.
Grounding Terminal
The switch already comes with lightning protection mechanism. You can also ground the switch through
the PE (Protecting Earth) cable of AC cord or with Ground Cable. For detailed lightning protection
measures, go to https://www.tp-link.com/support, search the model number of your switch and go to
the product Support web page, refer to the Lightning Protection Guide from the Related Documents:
https://www.tp-link.com/us/conguration-guides/lightning_protection_guide/.
Power Socket
Connect the female connector of the power cord here, and the male connector to the AC power outlet.
Make sure that the voltage of the power supply meets the requirement of the input voltage (100–240 V~
50/60 Hz).
Caution:
Please use the provided power cord.
 Loading...